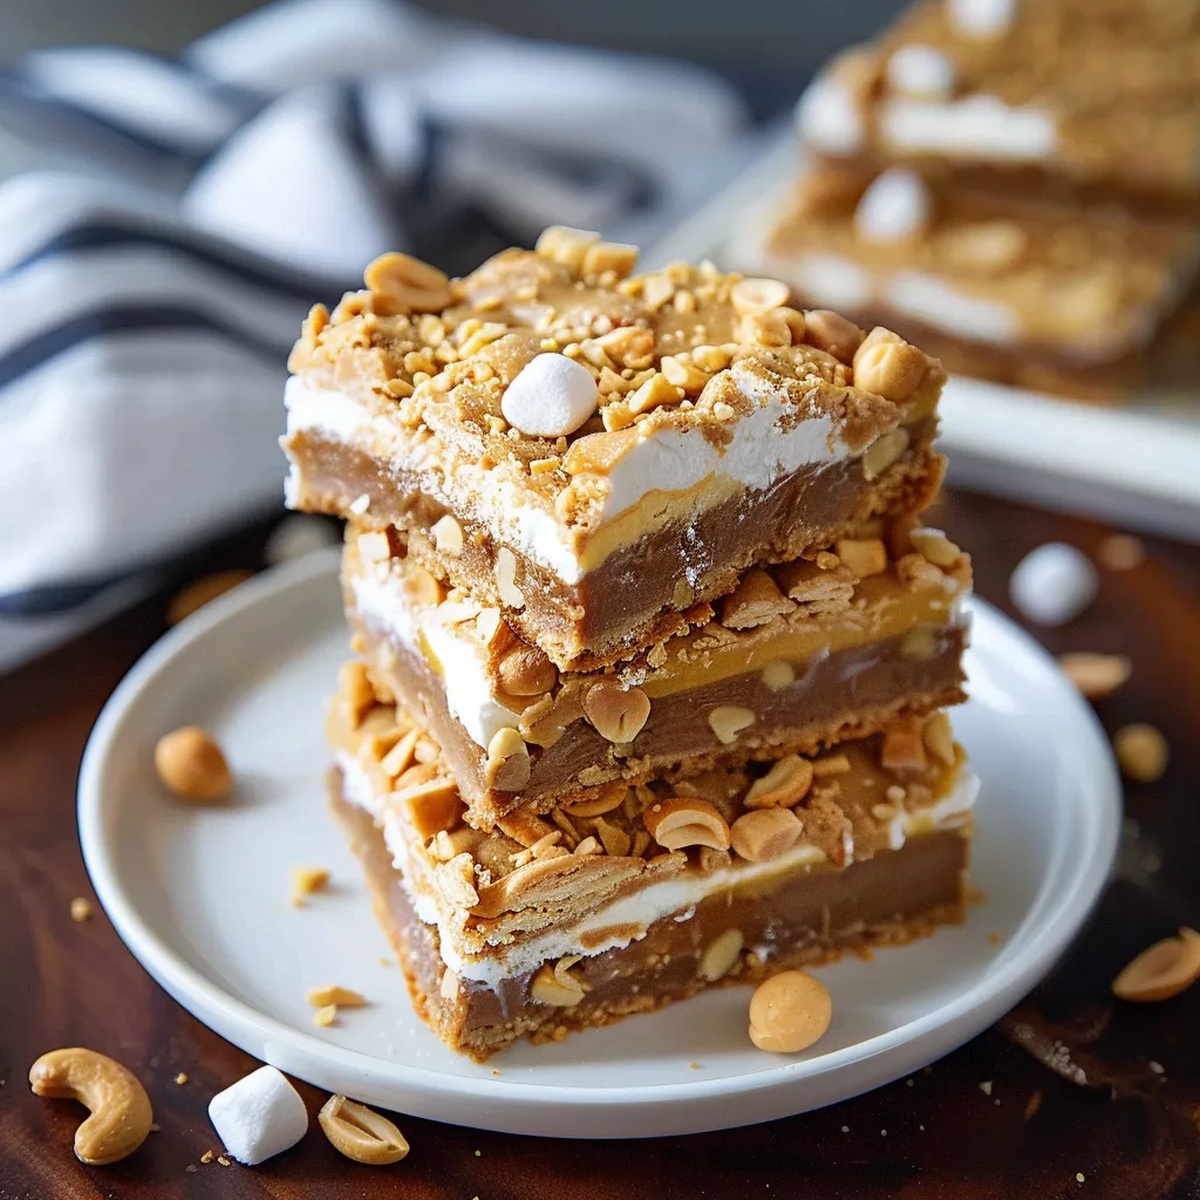
Irresistible Fluffernutter Bars Recipe: Sweet & Nutty Bliss
Chocolate and marshmallow crave a delightful dance in these irresistible fluffernutter bars that blend creamy peanut butter with sweet, gooey goodness.
Layers of indulgence stack up with each decadent bite, promising pure bliss for dessert enthusiasts.
The classic combination of marshmallow fluff and peanut butter creates a nostalgic treat that sparks childhood memories.
Soft, rich, and utterly addictive, these bars deliver a symphony of flavors in every single square.
Crafted with simple ingredients, this recipe transforms ordinary pantry staples into an extraordinary dessert sensation.
Prepare to be swept away by the ultimate comfort food that disappears faster than you can slice them.
Surrender to the magic of these irresistible bars and treat yourself to a moment of pure, unapologetic deliciousness.
Fluffernutter Bars: What Makes Them Irresistible
Everything Needed for Fluffernutter Bars
Base Ingredients:Dry Ingredients:Frosting Ingredients:Topping Ingredient:Tools to Make Fluffernutter Bars a Breeze
Fluffernutter Bars: Step-by-Step Directions
Step 1: Warm Up the Oven
Fire up your oven to 175C (350F).
Grab a 9×13-inch pan and give it a generous spray with nonstick cooking spray to prevent any sticky situations.
Step 2: Create the Delicious Base
In a large mixing bowl, blend together:Whip these ingredients with a hand mixer until they’re perfectly combined.
Crack in the eggs and splash of vanilla extract, mixing until silky smooth.
Stir in the peanut butter until the mixture looks creamy and dreamy.
Step 3: Combine Dry Ingredients
Grab another bowl and whisk together flour and salt.
Gently fold the dry ingredients into the wet mixture, stirring just until everything comes together.
Don’t overmix – you want these bars to be tender!
Step 4: Bake to Golden Perfection
Spread the batter evenly into your prepared pan.
Slide into the preheated oven and bake for 25-30 minutes.
You’ll know they’re done when the top turns a beautiful golden color and a toothpick comes out clean when inserted in the center.
Let the bars cool completely – patience is key!
Step 5: Whip Up the Fluffy Frosting
In a large bowl, beat together softened butter and marshmallow fluff until light and fluffy.
Gradually add powdered sugar, mixing between each addition until the frosting is smooth and spreadable.
Step 6: Finish with Flair
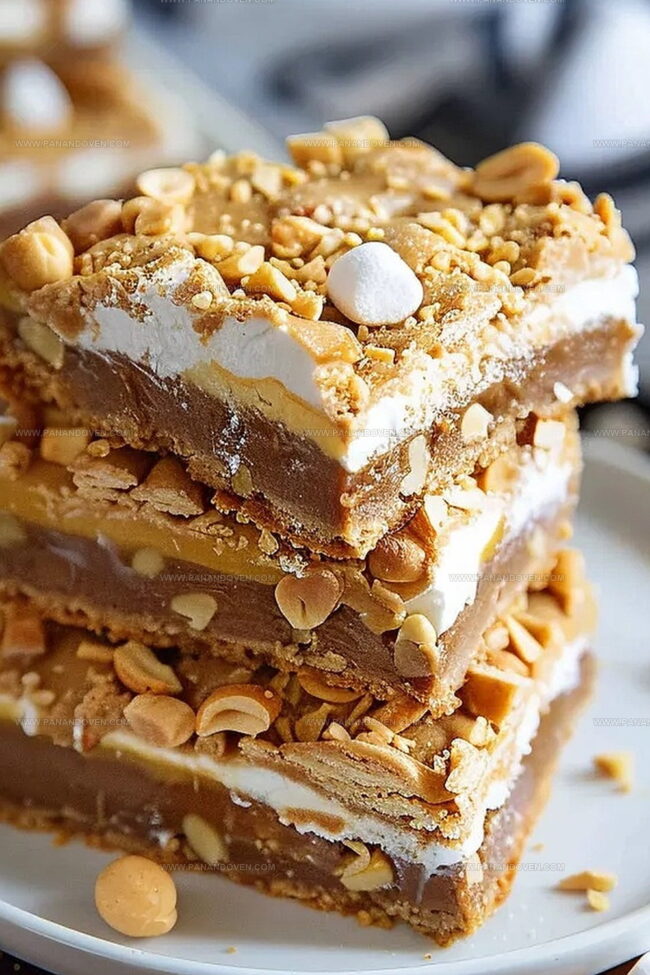
Once the bars are completely cool, spread the marshmallow frosting in an even layer.
Sprinkle chopped peanuts on top for a delightful crunch.
Slice into squares and get ready to devour these heavenly treats!
Tips for the Best Fluffernutter Bars Results
Tasty Twists to Try with Fluffernutter Bars
How to Serve Fluffernutter Bars at Any Gathering
Storing Fluffernutter Bars the Right Way
FAQs
The key ingredients are peanut butter, marshmallow fluff, butter, brown sugar, eggs, vanilla extract, flour, and chopped peanuts.
No, these bars contain peanut butter and chopped peanuts, making them unsafe for individuals with nut allergies.
Yes, you can substitute the regular flour with a gluten-free flour blend to make the recipe gluten-free.
The bars are done when they turn golden brown and a toothpick inserted in the center comes out clean, which typically takes 25-30 minutes.
Print
Fluffernutter Bars Recipe
- Total Time: 50 minutes
- Yield: 12 1x
Description
Irresistible fluffernutter bars blend marshmallow and peanut butter in a nostalgic dessert. Sweet layers create a perfect combination of creamy textures that delight taste buds and bring childhood memories to life.
Ingredients
Main Ingredients:
- 1 1/2 cups all-purpose flour
- 3/4 cup creamy peanut butter
- 2 eggs
- 1 7-ounce container marshmallow fluff
Sugars:
- 1 cup brown sugar
- 1/2 cup granulated sugar
- 2 cups powdered sugar
Fats and Enhancers:
- 3/4 cup unsalted butter, melted
- 1/2 cup unsalted butter, softened
- 2 teaspoons vanilla extract
- 1/2 teaspoon salt
- 1/2 cup chopped peanuts
Instructions
- Preheat oven to 175°C (350°F) and prepare a 9×13-inch pan with nonstick cooking spray, ensuring complete coverage.
- In a large mixing bowl, cream melted butter with brown and granulated sugars using a hand mixer until well combined and slightly fluffy.
- Incorporate eggs and vanilla extract into the sugar mixture, blending thoroughly until smooth and uniform in texture.
- Mix in peanut butter until the batter becomes creamy and consistent, eliminating any visible lumps.
- In a separate bowl, sift flour and salt together to remove potential clumps and ensure even distribution.
- Gradually fold dry ingredients into the wet mixture, stirring gently until just combined to maintain the batter’s delicate texture.
- Transfer batter to the prepared pan, spreading evenly with a spatula to create a smooth, level surface.
- Bake for 25-30 minutes, or until edges turn golden brown and a toothpick inserted in the center emerges clean.
- Remove from oven and allow bars to cool completely at room temperature, which helps set the texture.
- For frosting, whip softened butter and marshmallow fluff together until light and airy.
- Gradually add powdered sugar, mixing until the frosting becomes smooth and spreadable.
- Once bars are completely cooled, generously spread frosting across the entire surface.
- Garnish with chopped peanuts for added crunch and visual appeal.
- Slice into squares and serve at room temperature.
Notes
- Swap Peanut Butter for Dietary Needs: Use almond or sunflower seed butter for gluten-free or nut-free variations, ensuring everyone can enjoy these delectable bars.
- Control Sweetness Levels: Reduce powdered sugar in frosting by half for a less sweet version, allowing the rich peanut butter flavor to shine through.
- Enhance Texture Tip: Slightly underbake bars for extra gooey centers, creating a more decadent dessert experience that melts in your mouth.
- Storage Hack: Refrigerate bars for firmer frosting and easier cutting, keeping them fresh for up to 5 days in an airtight container.
- Prep Time: 20 minutes
- Cook Time: 30 minutes
- Category: Desserts, Snacks
- Method: Baking
- Cuisine: American
Nutrition
- Serving Size: 12
- Calories: 339
- Sugar: 27 g
- Sodium: 147 mg
- Fat: 16 g
- Saturated Fat: 6 g
- Unsaturated Fat: 10 g
- Trans Fat: 0 g
- Carbohydrates: 43 g
- Fiber: 1 g
- Protein: 4 g
- Cholesterol: 35 mg
Clara Thompson
Recipe Developer & Food Educator
Expertise
Plant-based and vegetarian recipe development, Nutritional analysis and meal planning, Culinary education and workshop facilitation, Content writing with a focus on healthy living
Education
Diploma in Culinary Arts, Mt. San Jacinto College, CA
Focus: Comprehensive culinary training with an emphasis on sustainable cooking practices.
Certificate in Nutrition and Healthy Living, Cornell University (Online Program)
Focus: Understanding the principles of nutrition to create balanced and health-conscious recipes.
Clara lives where fresh ideas and fresh ingredients meet. She pairs her culinary know-how with her passion for healthy, planet-friendly cooking.
For Clara, good food should taste great, nourish your body, and feel easy to make. Her recipes highlight whole foods, colorful produce, and a deep respect for seasonal eating.