
Jolly Christmas Oreo Balls Recipe: Festive Holiday Magic
Decadent chocolate Oreo balls bring pure joy to holiday gatherings with their irresistible blend of creamy textures and rich flavors.
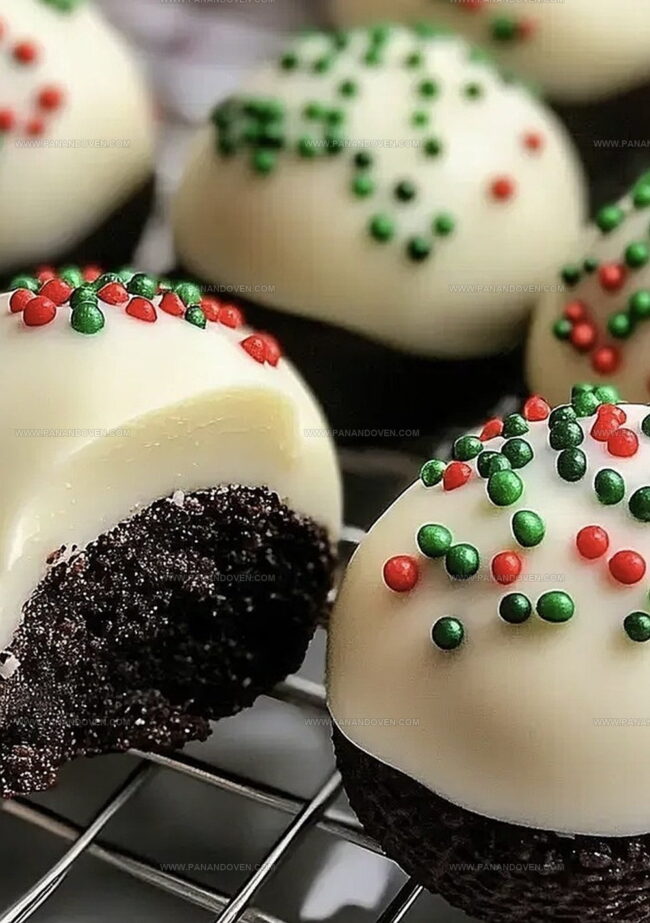
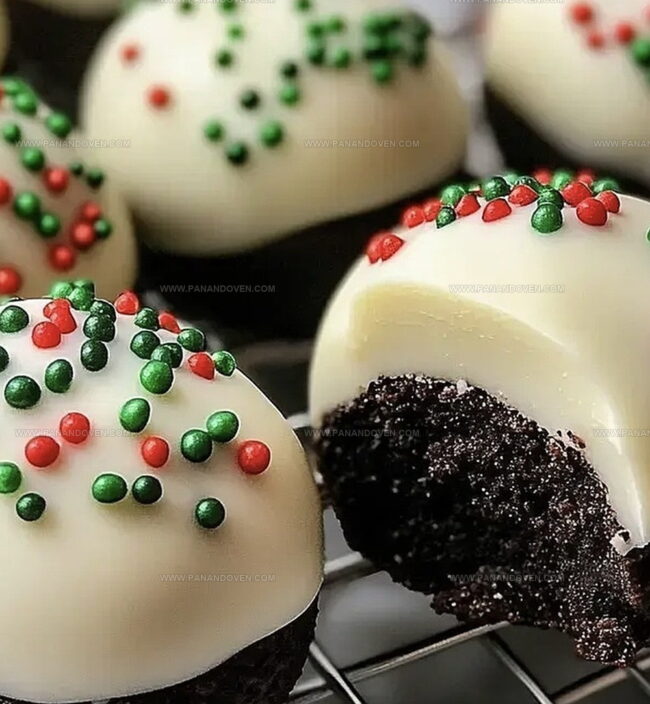
These delightful no-bake treats combine crushed Oreo cookies and cream cheese into perfectly bite-sized delights.
Sweet and simple, these Christmas Oreo balls require minimal ingredients and zero baking skills.
Each little sphere packs a delicious punch of chocolatey goodness that melts in your mouth.
The festive coating of white chocolate and colorful sprinkles transforms these treats into elegant dessert bites.
Kids and adults alike will adore these quick and delectable holiday sweets.
Whip up a batch and watch everyone’s faces light up with pure delight.
Reasons to Celebrate with Festive Christmas Oreo Balls
Everything Needed for Christmas Oreo Balls Success
Base Ingredients:Coating Ingredients:Decoration Ingredients:Tools That Make Christmas Oreo Balls Easy
How to Prepare Festive Christmas Oreo Balls at Home
Step 1: Crush and Blend Cookies
Use a food processor or place Oreo cookies in a sealed bag and crush with a rolling pin until they become fine crumbs.
Transfer crumbs to a mixing bowl and add softened cream cheese.
Mix and knead until the mixture transforms into a smooth, consistent dough that easily holds together.
Step 2: Shape Delightful Spheres
Grab small portions of the cookie mixture and roll between your palms to create perfectly round balls.
Gently place each truffle on a parchment-lined baking sheet, ensuring they are not touching each other.
Step 3: Chill and Firm
Pop the baking sheet into the refrigerator for about 30 minutes.
This cooling period helps the truffles maintain their shape and makes them easier to handle during the chocolate coating process.
Step 4: Melt Chocolate Magic
Select white, milk, or dark chocolate and melt using a double boiler or microwave.
Stir until smooth and completely liquid.
Remove chilled truffles from the refrigerator.
Step 5: Dunk in Chocolate Goodness
Using a fork, carefully dip each truffle into the melted chocolate.
Gently tap the fork to remove excess chocolate, then place back on the parchment paper.
Step 6: Add Festive Flair
Before the chocolate sets, sprinkle holiday-themed decorations:Step 7: Let Chocolate Set
Allow truffles to sit at room temperature or return to the refrigerator until the chocolate coating hardens completely.
Step 8: Store and Serve
Transfer truffles to an airtight container.
Keep refrigerated and enjoy within 5-7 days.
Perfect for holiday gatherings or sweet gift-giving!
Secret Tricks for Perfect Christmas Oreo Balls
Holiday Oreo Ball Variations for Fun and Flair
Serving Up Christmas Oreo Balls for Gatherings
Keeping Your Christmas Oreo Balls Fresh and Tasty
FAQs
Oreo balls are super easy to prepare. You only need three basic ingredients and simple steps anyone can follow, even kids can help make them.
Not at all! These Oreo balls require no baking and minimal cooking skills. Just mix, roll, and dip ingredients together, making them perfect for beginners.
Absolutely! You can prepare Oreo balls 2-3 days in advance. Keep them refrigerated in an airtight container until you’re ready to serve, which makes them great for holiday planning.
Print
Festive Christmas Oreo Balls – Easy Holiday Treats Recipe
- Total Time: 20 minutes
- Yield: 24 1x
Description
Delightful Christmas Oreo Balls bring festive cheer to holiday gatherings with their rich chocolate and cream cheese coating. Guests will savor these sweet, irresistible bites that perfectly complement seasonal celebrations.
Ingredients
Chocolate and Base Ingredients:
- 1 package (14 ounces / 396 grams) Oreo cookies, finely crushed
- 12 ounces (340 grams) white chocolate, melted
- 12 ounces (340 grams) milk or dark chocolate, melted
Dairy Ingredient:
- 8 ounces (226 grams) cream cheese, softened
Decoration:
- Red and green sprinkles or colored icing
Instructions
- Crush Oreo cookies into fine crumbs, ensuring a uniform texture that will blend smoothly with cream cheese.
- Blend crushed Oreos with softened cream cheese in a mixing bowl, kneading until the mixture forms a cohesive, moldable consistency.
- Gently shape the mixture into uniform bite-sized spheres, using clean hands to roll each portion into smooth, round balls.
- Transfer the formed balls onto a parchment-lined tray, then chill in the refrigerator for approximately 25-35 minutes to firm up their structure.
- Melt chocolate using a double boiler or microwave, stirring until achieving a silky, glossy texture without lumps.
- Carefully immerse each chilled Oreo ball into melted chocolate, using a fork to lift and allow excess coating to drip off before returning to the tray.
- While chocolate remains wet, embellish with festive red and green sprinkles or holiday-themed decorative elements for a cheerful appearance.
- Allow chocolate-coated balls to set at room temperature or expedite hardening by placing in the refrigerator for 10-15 minutes.
- Store completed Oreo balls in an airtight container within the refrigerator, maintaining freshness for up to one week.
Notes
- Chill the Oreo mixture thoroughly before rolling to prevent sticky hands and ensure neat, uniform balls.
- Use room temperature cream cheese for smoother blending and easier mixing with crushed Oreos.
- Melt chocolate carefully using a double boiler or microwave in short bursts to prevent burning and achieve a silky dipping consistency.
- Swap regular Oreos with gluten-free or alternative cookie options for dietary restrictions, maintaining the same creamy texture and delicious flavor.
- Prep Time: 20 minutes
- Cook Time: 0 minutes
- Category: Desserts, Snacks
- Method: None
- Cuisine: American
Nutrition
- Serving Size: 24
- Calories: 150
- Sugar: 10 g
- Sodium: 75 mg
- Fat: 8 g
- Saturated Fat: 4.5 g
- Unsaturated Fat: 3.5 g
- Trans Fat: 0 g
- Carbohydrates: 19 g
- Fiber: 1 g
- Protein: 2 g
- Cholesterol: 10 mg
Marcus Reed
Founder & Food Content Creator
Expertise
Single-recipe development, Seasonal and local ingredient utilization, Food photography and styling, Culinary writing and content creation
Education
Culinary Arts Certificate, Blue Ridge Community and Technical College, WV
Focus: Fundamentals of culinary techniques, emphasizing hands-on experience in small-scale kitchen settings.
Marcus’s story begins in Asheville, where good food and family kitchens shaped his earliest memories. After hands-on culinary training and a lot of trial (and a little error), he realized that real cooking isn’t about perfection, it’s about connection.
At Pan and Oven, Marcus crafts recipes that are easy to follow, packed with flavor, and built for real kitchens.