Festive Christmas Bark: A Jolly Sweet Treat Recipe
Chocolate lovers rejoice when this festive Christmas bark hits the holiday dessert table.
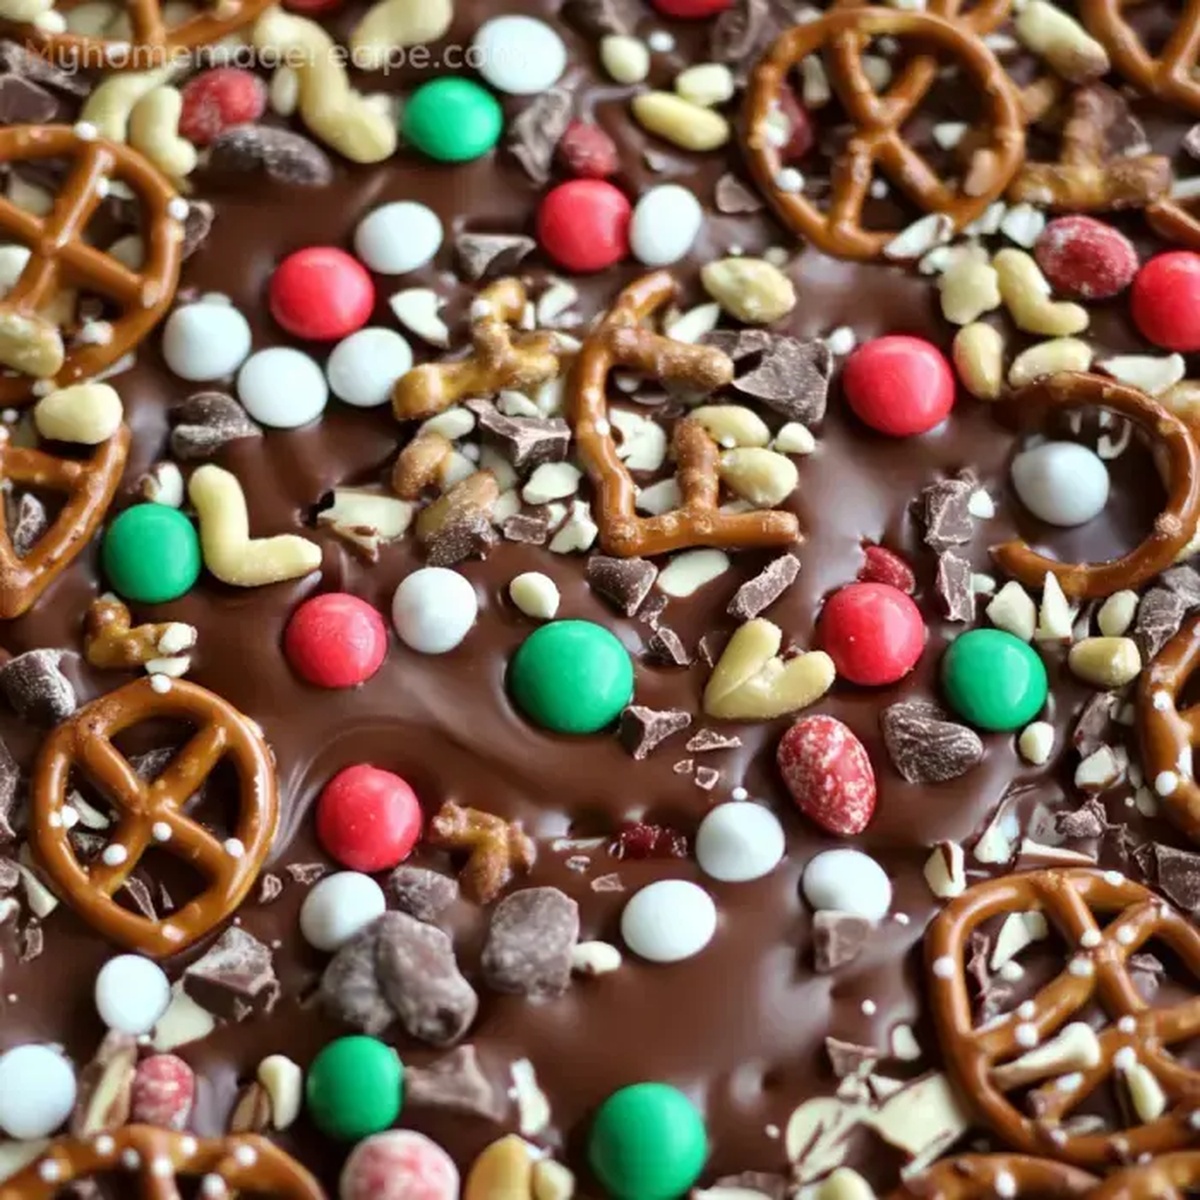
Sweet and salty combinations dance together in this simple treat that takes minutes to prepare.
The bark blends rich chocolate with delightful toppings for a crowd-pleasing dessert.
Sprinkle your favorite nuts, candies, or seasonal decorations across melted chocolate layers.
Customize this recipe to match your taste preferences or match your holiday color scheme.
Each bite promises a delightful crunch and festive cheer.
Impress your guests with this easy, elegant dessert that looks like you spent hours in the kitchen.
Why Christmas Bark Is a Crowd-Pleaser
What’s in Festive Christmas Bark
Chocolate Base:White Chocolate Layer:Festive Toppings:Tools Needed for Making Christmas Bark
How to Make Christmas Bark Magic
Step 1: Prepare Chocolate Base
Grab a microwave-safe bowl and toss in semi-sweet chocolate chips with a dollop of coconut oil.
Zap in the microwave at half power for one minute, then give it a gentle stir until the chocolate starts melting smoothly.
Keep nuking in short bursts, stirring between each round to create a silky, glossy chocolate mixture.
Step 2: Create Chocolate Canvas
Line a baking sheet with wax paper for easy cleanup.
Pour the molten chocolate onto the sheet, using smooth tilting motions to spread it into an even, delectable layer that covers the entire surface.
Step 3: Decorate With Festive Goodies
Sprinkle your favorite fun toppings across the chocolate landscape.
Consider adding:Step 4: Chill and Set
Let the chocolate rest at room temperature or pop in the refrigerator.
Wait patiently for 2-3 hours until the chocolate becomes firm and solid to the touch.
Step 5: Break Into Delightful Pieces
Once set, use your hands to break the chocolate into rustic, irregular chunks.
Each piece becomes a unique sweet treat perfect for sharing or gifting.
Step 6: Optional White Chocolate Layer
Repeat the melting process with white chocolate, creating a beautiful marbled effect or a completely separate batch of bark.
Follow the same spreading and topping technique for a stunning two-tone dessert.
Christmas Bark Tips You’ll Love
Fun Twists on Christmas Bark Treats
How to Serve Christmas Bark Treats
Tips for Storing Christmas Bark Fresh
FAQs
Yes, you can use milk, dark, or white chocolate. Just ensure they’re high-quality chocolate chips or baking chocolate for best results.
No, you just need a microwave-safe bowl, wax paper, and a cookie sheet. Basic kitchen tools work perfectly for this recipe.
Always use 50% power, stir frequently, and microwave in short intervals. This helps prevent overheating and ensures smooth melted chocolate.
Absolutely! Kids can help sprinkle toppings and break chocolate pieces. Adult supervision is recommended for melting chocolate in the microwave.
Print
Festive Christmas Bark – Quick and Customizable Recipe
- Total Time: 3 hours 15 minutes
- Yield: 12 1x
Description
Christmas bark blends peppermint chocolate magic with festive cheer. Sweet layers of white and dark chocolate create a delightful holiday treat you’ll savor with friends and family.
Ingredients
Main Chocolate Ingredients:
- 1 (10-11 ounces/280-310 grams) bag semi-sweet chocolate chips
- 1 (10-11 ounces/280-310 grams) bag white chocolate melting wafers or white chocolate chips
Fat/Binding Ingredients:
- 2 tablespoons (30 milliliters) coconut oil or shortening, divided
Decorative Toppings:
- Pretzels
- Nuts
- Chopped candy
- Chopped cookies
- Sprinkles
Instructions
- Prepare a clean, flat surface by lining a baking sheet with wax paper, ensuring complete coverage for easy chocolate removal.
- Combine semi-sweet chocolate chips with coconut oil in a microwave-safe bowl, using 50% power to prevent scorching.
- Microwave for 1 minute, then stir thoroughly until smooth and no warmth remains in the bowl.
- Continue microwaving in 45-second intervals, stirring between each session until chocolate reaches a completely liquid consistency.
- Carefully pour melted chocolate onto the prepared wax paper, using gentle tilting motions to create an even, thin layer across the sheet.
- Quickly distribute selected toppings like pretzels, nuts, candy pieces, cookies, and sprinkles across the liquid chocolate surface.
- Allow the chocolate to set at room temperature for 2-3 hours until completely firm and no longer glossy.
- Repeat the entire melting process with white chocolate and remaining coconut oil, creating a second layer or separate batch.
- Once chocolate has fully hardened, break into irregular, rustic pieces using hands or a knife.
- Store bark in an airtight container at room temperature for up to one week, separating layers with parchment paper to prevent sticking.
Notes
- Temper chocolate slowly to prevent burning by using 50% microwave power and stirring between intervals.
- Choose high-quality chocolate chips for smoother melting and richer flavor profiles.
- Experiment with different toppings like crushed candy canes, dried fruits, or sea salt for unique variations.
- Chill bark in refrigerator for faster setting and firmer texture, especially in warm kitchens.
- Prep Time: 15 minutes
- Cook Time: 3 hours
- Category: Snacks, Desserts
- Method: Melting
- Cuisine: American
Nutrition
- Serving Size: 12
- Calories: 170
- Sugar: 16g
- Sodium: 30mg
- Fat: 9g
- Saturated Fat: 5g
- Unsaturated Fat: 4g
- Trans Fat: 0g
- Carbohydrates: 22g
- Fiber: 1g
- Protein: 2g
- Cholesterol: 0mg
Clara Thompson
Recipe Developer & Food Educator
Expertise
Plant-based and vegetarian recipe development, Nutritional analysis and meal planning, Culinary education and workshop facilitation, Content writing with a focus on healthy living
Education
Diploma in Culinary Arts, Mt. San Jacinto College, CA
Focus: Comprehensive culinary training with an emphasis on sustainable cooking practices.
Certificate in Nutrition and Healthy Living, Cornell University (Online Program)
Focus: Understanding the principles of nutrition to create balanced and health-conscious recipes.
Clara lives where fresh ideas and fresh ingredients meet. She pairs her culinary know-how with her passion for healthy, planet-friendly cooking.
For Clara, good food should taste great, nourish your body, and feel easy to make. Her recipes highlight whole foods, colorful produce, and a deep respect for seasonal eating.