
The Best Homemade Pizza Rolls Recipe That Kids Adore
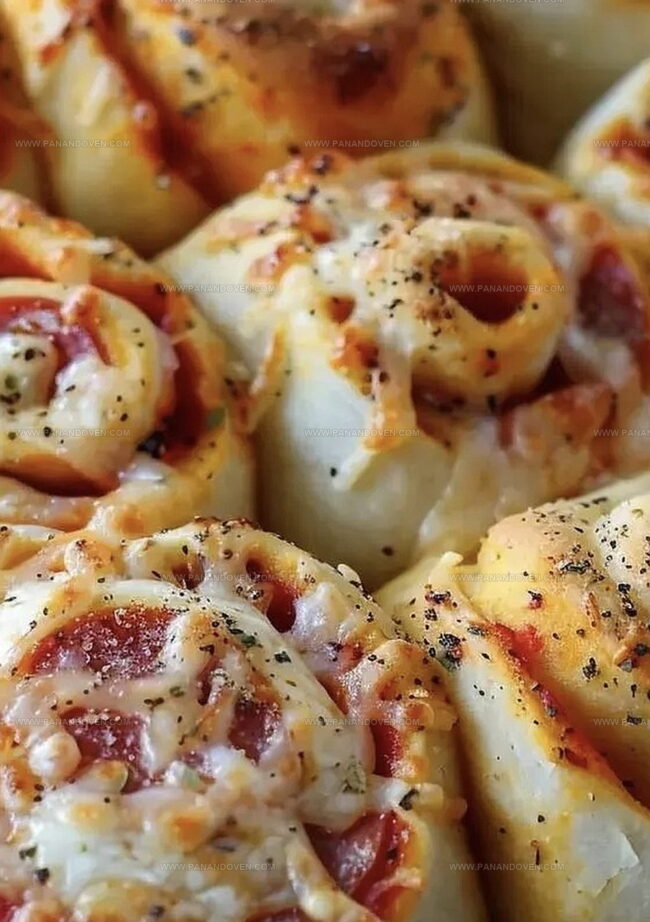
Crispy, golden pizza rolls bursting with cheesy goodness have become a weekend staple for many home cooks seeking an easy homemade pizza rolls recipe that satisfies those snack cravings.
These bite-sized delights pack a punch of flavor in every single morsel.
The aroma of melted cheese and savory sauce will fill your kitchen with mouthwatering anticipation.
Kids and adults alike go crazy for these handheld treats that combine the best elements of pizza into one perfect package.
Quick to prepare and even faster to disappear, these rolls transform simple ingredients into something extraordinary.
Each roll offers a delicious blend of gooey cheese, zesty sauce, and crisp edges that make them irresistible.
Gather your ingredients and get ready to become the snack hero of your household.
Easy Homemade Pizza Rolls: Bite-Sized Pizza Fun for All
Essential Ingredients for Pizza Roll Perfection
Base Ingredients:Seasoning Ingredients:Serving Ingredients:Additional Ingredients:Pizza Roll Tools for Easy Prep and Baking
Rolling and Baking Homemade Pizza Rolls
Step 1: Warm Up the Oven
Preheat your oven to a toasty 425°F (218°C) so it’s ready for your delicious pizza rolls.
Step 2: Prepare the Surface
Sprinkle a generous amount of flour on your countertop or cutting board to prevent sticking.
Step 3: Stretch the Dough
Gently roll out the pizza crust, creating a smooth and even surface for your toppings.
Step 4: Season the Base
Sprinkle these flavor boosters across the dough:Distribute them evenly to ensure every bite is packed with taste.
Step 5: Layer the Delicious Toppings
Scatter these tasty ingredients over the crust, leaving a small border around the edges:Step 6: Create the Roll
Starting from the shorter end, carefully roll the crust into a tight, compact log.
Press gently to seal the edges.
Step 7: Slice into Bite-Sized Pieces
Using a sharp serrated knife or pizza cutter, slice the roll into 1-inch sections.
Each slice will become a perfect pizza roll.
Step 8: Bake to Golden Perfection
Place the pizza rolls on a lightly greased baking sheet.
Slide them into the preheated oven and bake for 10-12 minutes until they turn a beautiful golden brown.
Step 9: Serve and Enjoy
Pull out the hot pizza rolls and serve immediately with a side of marinara sauce for dipping.
Watch them disappear quickly!
Tips for Gooey, Cheesy Pizza Rolls Every Time
Flavor Variations for Custom Pizza Rolls
Creative Ways to Serve Pizza Rolls
How to Store and Reheat Pizza Roll Snacks
FAQs
Yes! While mozzarella and parmesan work great, you can experiment with cheddar, provolone, or gouda for unique flavor combinations.
No special equipment is needed. A basic baking sheet, rolling pin, and knife or pizza cutter are all you’ll require.
Absolutely! You can prepare the rolls and refrigerate them before baking. Just add 2-3 extra minutes to the baking time when cooking from cold.
Yes, pizza rolls are perfect for meal prep. They can be stored in the refrigerator for 3-4 days and quickly reheated in the oven or air fryer for a quick snack or lunch.
Print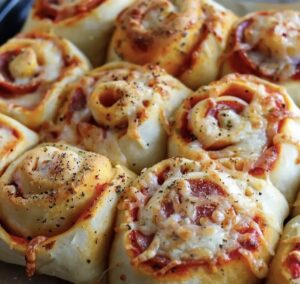
Easy Homemade Pizza Rolls Recipe
- Total Time: 27 minutes
- Yield: 8 1x
Description
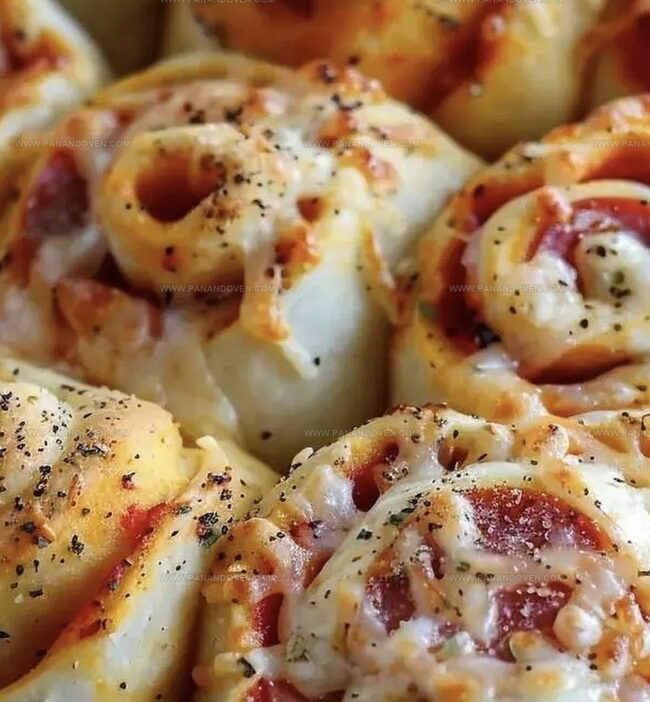
These delectable pizza rolls blend classic Italian flavors in a quick homemade recipe perfect for snacking. Crispy dough pockets filled with melted cheese and zesty marinara sauce offer a delightful meal you’ll crave again and again.
Ingredients
Main Ingredients:
- 2 tubes refrigerated pizza crust
- 1 cup (226 grams) shredded mozzarella cheese
- 1 cup (100 grams) sliced and chopped pepperoni
- 1/2 cup (50 grams) parmesan cheese
Seasoning Ingredients:
- Garlic salt
- Italian seasoning
Sauce:
- Marinara sauce
Instructions
- Prepare the oven by heating it to 425F (218C), ensuring an evenly heated cooking environment.
- Generously dust a clean work surface with flour to prevent sticking and roll out the pizza crusts with smooth, even motions.
- Enhance the crust’s flavor profile by sprinkling garlic salt and Italian seasoning across the entire surface, creating a savory base.
- Distribute Mozzarella and Parmesan cheeses evenly, followed by diced pepperoni, leaving a small border around the edges to prevent overflow during rolling.
- Carefully initiate rolling from the shorter end, applying gentle pressure to create a compact, tightly wound log that maintains structural integrity.
- Use a serrated knife or sharp pizza cutter to slice the rolled log into uniform 1-inch sections, ensuring consistent cooking and presentation.
- Arrange the pizza roll segments on a lightly greased baking pan, positioning them with slight separation to allow proper heat circulation.
- Bake for 10-12 minutes until the rolls transform into a golden-brown, crispy exterior with melted, bubbly cheese inside.
- Immediately serve the hot pizza rolls alongside marinara sauce for a delectable dipping experience, ensuring maximum flavor and temperature enjoyment.
Notes
- Experiment with different cheese combinations like sharp cheddar or provolone for deeper flavor profiles.
- Swap pepperoni with vegetarian alternatives like sliced bell peppers, mushrooms, or plant-based meat substitutes for dietary flexibility.
- Enhance crispiness by brushing rolled crust edges with olive oil before slicing and baking, ensuring a perfectly golden exterior.
- Prep rolls ahead of time and freeze uncooked for quick weeknight meals, simply extending baking time by 3-5 minutes when cooking from frozen state.
- Prep Time: 15 minutes
- Cook Time: 12 minutes
- Category: Snacks, Appetizer, Dinner
- Method: Baking
- Cuisine: Italian
Nutrition
- Serving Size: 8
- Calories: 250
- Sugar: 1g
- Sodium: 600mg
- Fat: 14g
- Saturated Fat: 6g
- Unsaturated Fat: 7g
- Trans Fat: 0g
- Carbohydrates: 24g
- Fiber: 1g
- Protein: 10g
- Cholesterol: 25mg
Marcus Reed
Founder & Food Content Creator
Expertise
Single-recipe development, Seasonal and local ingredient utilization, Food photography and styling, Culinary writing and content creation
Education
Culinary Arts Certificate, Blue Ridge Community and Technical College, WV
Focus: Fundamentals of culinary techniques, emphasizing hands-on experience in small-scale kitchen settings.
Marcus’s story begins in Asheville, where good food and family kitchens shaped his earliest memories. After hands-on culinary training and a lot of trial (and a little error), he realized that real cooking isn’t about perfection, it’s about connection.
At Pan and Oven, Marcus crafts recipes that are easy to follow, packed with flavor, and built for real kitchens.