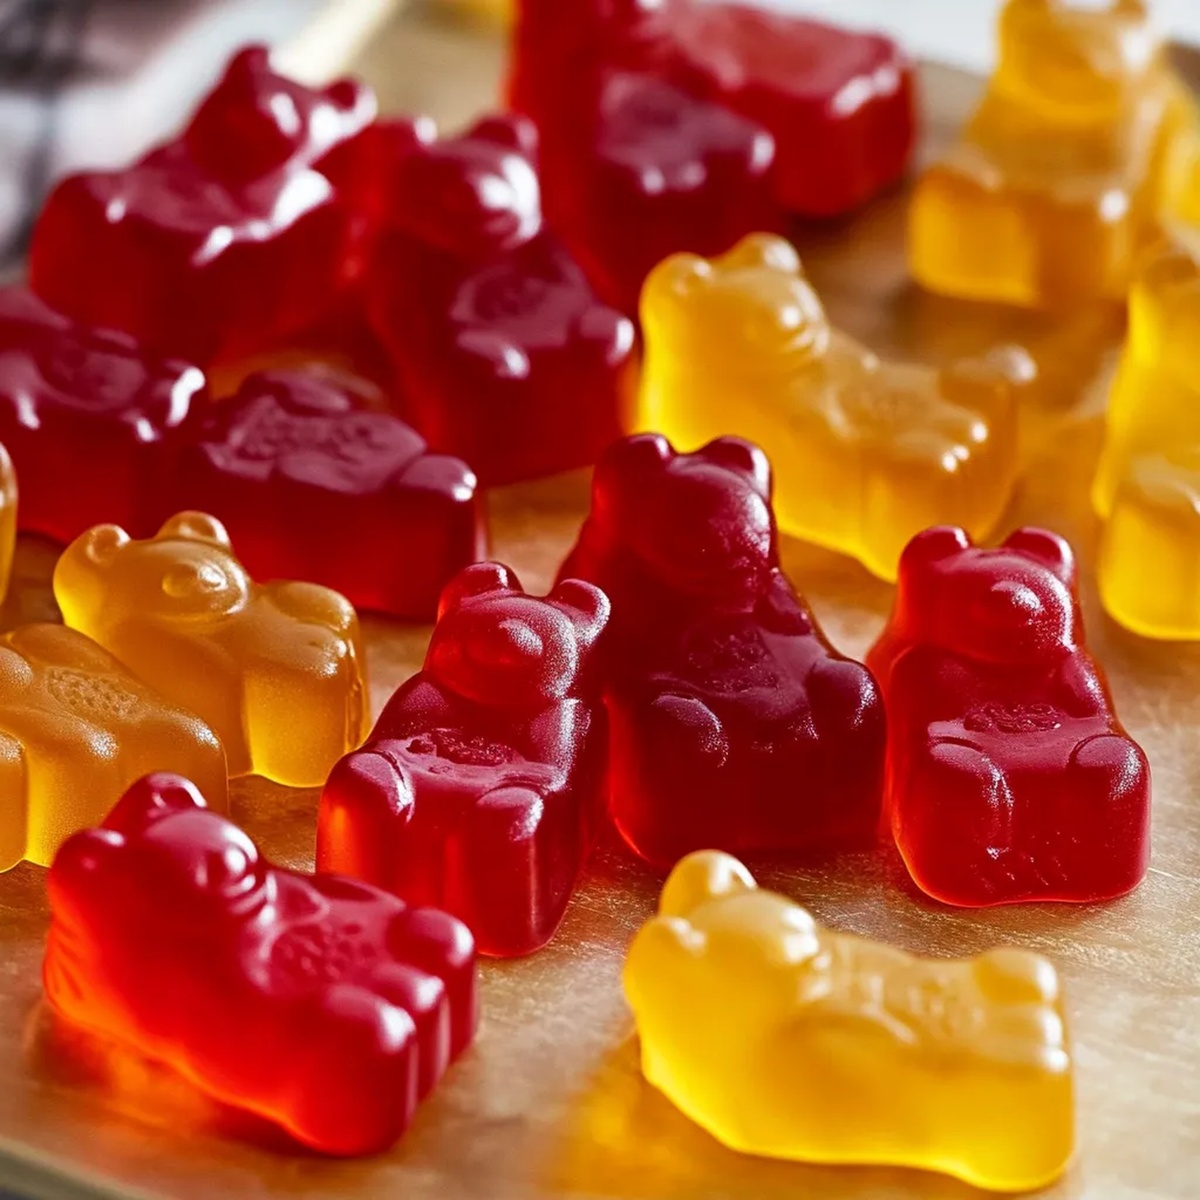
The Best Healthy Homemade Gummies Recipe for Sweet Smiles
Sweet, chewy gummies with a nutritious homemade gummies recipe can turn ordinary snack time into a delightful wellness experience.
These vibrant treats pack a punch of natural goodness and minimal ingredients.
Crafting your own gummies allows complete control over sugar and nutritional content.
Kids and adults alike will love the burst of fruity flavors in every bite.
The process is surprisingly simple and quick, requiring just a few kitchen staples.
homemade gummies offer a healthier alternative to store-bought versions loaded with artificial additives.
Whip up a batch and watch these colorful, jiggly delights disappear in moments.
Healthy Homemade Gummies Sweet Advantage
Gummies Ingredient List
Primary Ingredients:Optional Sweeteners:Additional Ingredients:Tools Needed for Gummy Creation
Making Homemade Gummies at Home
Step 1: Whip Up Fruity Base
Grab your favorite fresh fruits and transform them into a silky smooth puree using a blender.
Pour the vibrant puree into a large mixing bowl.
Drizzle in some golden honey to enhance the natural sweetness if you want an extra flavor boost.
Step 2: Activate Gelatin Magic
Pour juice into a small saucepan and set it over medium-low heat.
Sprinkle gelatin powder into the liquid and start whisking.
Keep stirring constantly as the mixture warms up.
Watch for the gelatin to completely dissolve, which typically takes around 3 minutes.
The liquid will turn clear or slightly opaque when ready.
Step 3: Blend Flavor Fusion
Gently pour the warm gelatin-infused juice into the fruit puree.
Whisk everything together with enthusiasm, ensuring all ingredients are thoroughly combined and create a harmonious mixture.
Step 4: Shape and Chill
Choose your favorite silicone mold or prepare a glass pan.
Carefully pour the mixture into the molds, being mindful not to overfill.
Slide the tray into the freezer and let the gummies set for 15 minutes.
Step 5: Release and Preserve
Remove the tray from the freezer and gently pop out the gummies.
Transfer these delightful treats to an airtight container and store in the refrigerator.
They’ll stay fresh and delicious for up to 2 weeks.
Tips for Chewy, Flavorful Gummies
Gummy Variations to Try Out
Plating Homemade Gummies for Sharing
Homemade Gummies Storage
FAQs
Gelatin is a protein derived from collagen that helps bind ingredients together and creates a firm, chewy texture when cooled. It’s the key ingredient that transforms liquid into a gummy-like consistency.
Yes, both fresh and frozen fruits work well. Just ensure you blend them into a smooth puree before mixing with the gelatin mixture. Frozen fruits can actually be easier to puree and often have intense flavor.
No, traditional gelatin is made from animal collagen. Vegetarians would need to substitute with agar-agar or pectin to create a similar gummy texture.
Print
Easy Healthy Homemade Gummies Recipe
- Total Time: 13 minutes
- Yield: 4 1x
Description
Crafting delightful Homemade Gummies brings a playful twist to snack time with minimal ingredients and maximum flavor. Colorful, nutrient-packed treats provide a simple way to enjoy a guilt-free indulgence you can savor anytime.
Ingredients
Main Ingredients:
- 1 cup (240 milliliters) 100% fruit juice
- 8 teaspoons (40 grams) grass-fed gelatin
- 2 tablespoons (30 milliliters) honey
Optional Sweeteners:
- 2 tablespoons (30 milliliters) honey (if not already used)
Preparation Enhancers:
- 2/3 cup (160 milliliters) fruit puree (alternative to fruit juice)
- 1/3 cup (80 milliliters) 100% fruit juice (alternative to full juice amount)
Instructions
- Transform fresh or frozen fruit into a smooth puree using a blender, ensuring a uniform consistency for optimal flavor and texture.
- In a small saucepan, gently warm juice over medium-low heat, gradually whisking gelatin into the liquid until completely dissolved and the mixture turns translucent, approximately 3 minutes.
- Carefully merge the warm gelatin-infused juice with the fruit puree, thoroughly incorporating both components to create a homogeneous mixture.
- Select a silicone mold or shallow glass pan, positioning it on a stable baking sheet for easy transfer. Delicately pour the liquid mixture into the molds, avoiding overfilling to maintain clean edges.
- Transfer the filled molds to the freezer for a quick 15-minute setting period, allowing the gummies to firm up and develop their signature texture.
- Extract the gummies from the molds, gently releasing each piece. Transfer to an airtight container and refrigerate, where they will remain fresh and delectable for up to two weeks.
Notes
- Customize fruit selection by choosing ripe, sweet fruits like strawberries, mango, or mixed berries for maximum natural flavor.
- Adjust sweetness levels by experimenting with honey, maple syrup, or stevia depending on dietary preferences and health goals.
- Use high-quality, unflavored gelatin from grass-fed sources for better nutritional profile and smoother texture in gummies.
- Consider using silicone molds with various shapes to make the gummies more fun and appealing, especially for children or picky eaters.
- Prep Time: 10 minutes
- Cook Time: 3 minutes
- Category: Snacks, Desserts
- Method: Blending
- Cuisine: American
Nutrition
- Serving Size: 4
- Calories: 50
- Sugar: 8 g
- Sodium: 0 mg
- Fat: 0 g
- Saturated Fat: 0 g
- Unsaturated Fat: 0 g
- Trans Fat: 0 g
- Carbohydrates: 12 g
- Fiber: 0 g
- Protein: 1 g
- Cholesterol: 0 mg
Clara Thompson
Recipe Developer & Food Educator
Expertise
Plant-based and vegetarian recipe development, Nutritional analysis and meal planning, Culinary education and workshop facilitation, Content writing with a focus on healthy living
Education
Diploma in Culinary Arts, Mt. San Jacinto College, CA
Focus: Comprehensive culinary training with an emphasis on sustainable cooking practices.
Certificate in Nutrition and Healthy Living, Cornell University (Online Program)
Focus: Understanding the principles of nutrition to create balanced and health-conscious recipes.
Clara lives where fresh ideas and fresh ingredients meet. She pairs her culinary know-how with her passion for healthy, planet-friendly cooking.
For Clara, good food should taste great, nourish your body, and feel easy to make. Her recipes highlight whole foods, colorful produce, and a deep respect for seasonal eating.