Gooey Homemade Garlic Butter Cheese Bombs Recipe
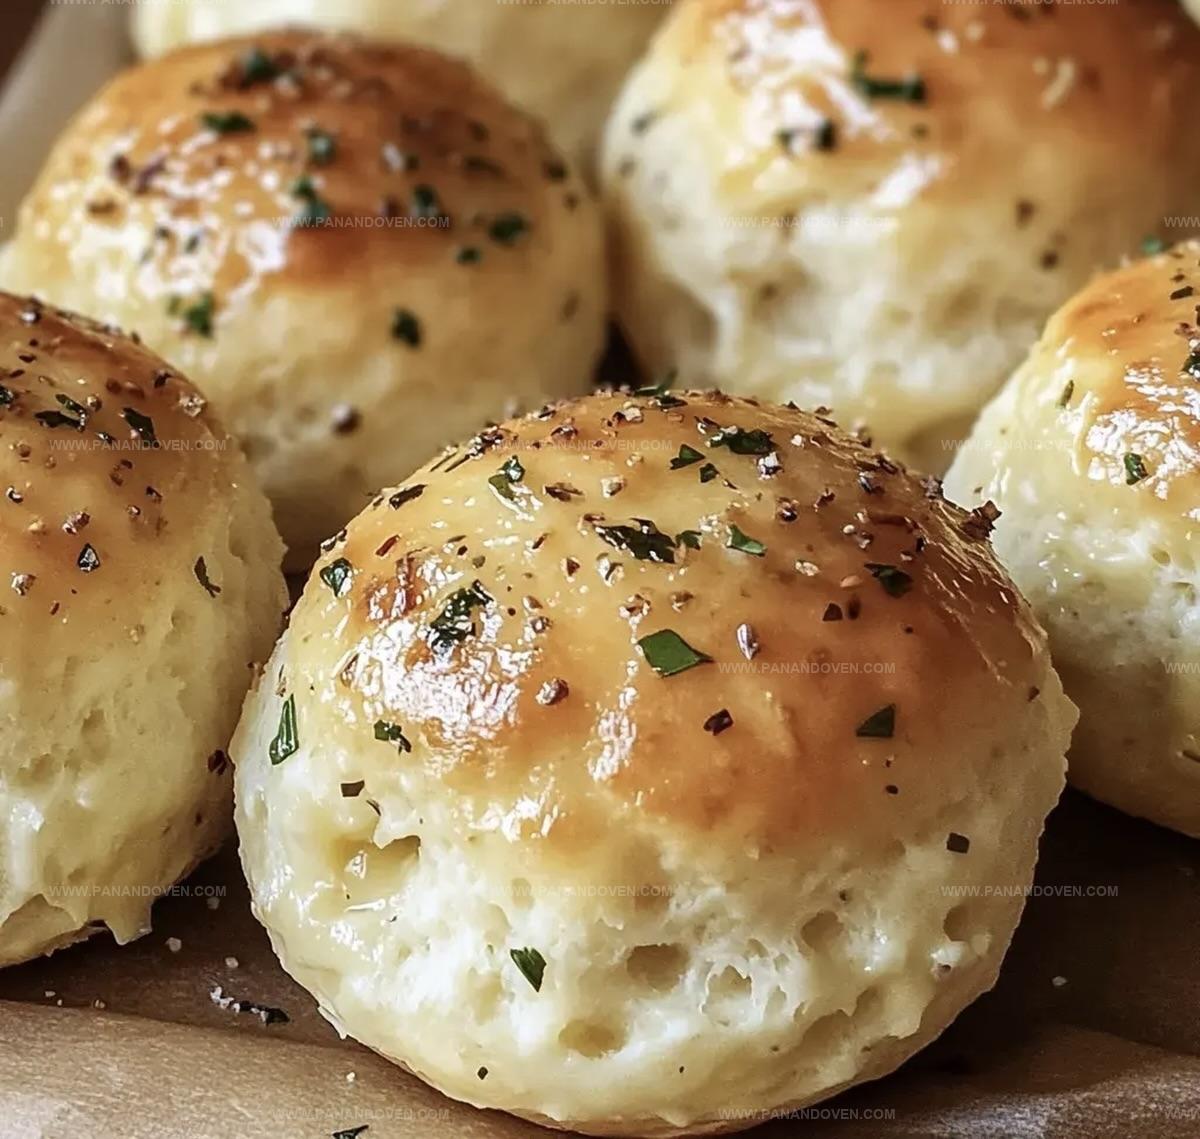
Warm, golden cheese bombs bursting with garlic butter are the ultimate crowd-pleasing appetizer that will make taste buds dance.
These delectable morsels combine soft, pillowy dough with melted cheese and rich garlic butter in every single bite.
cheese lovers rejoice as we reveal a recipe that promises pure comfort and indulgence.
Simple ingredients come together quickly to create something truly magical in your kitchen.
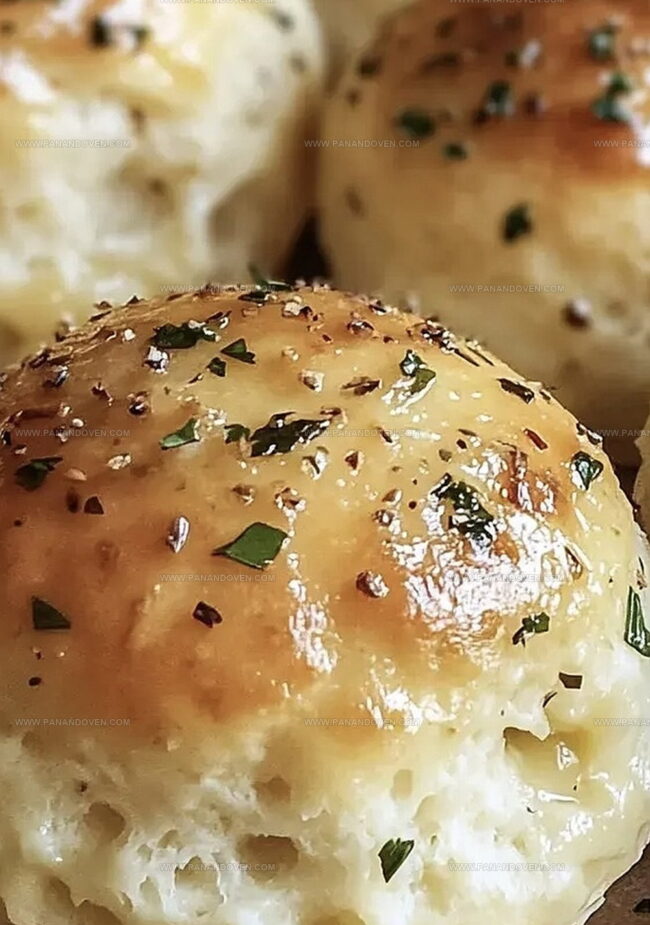
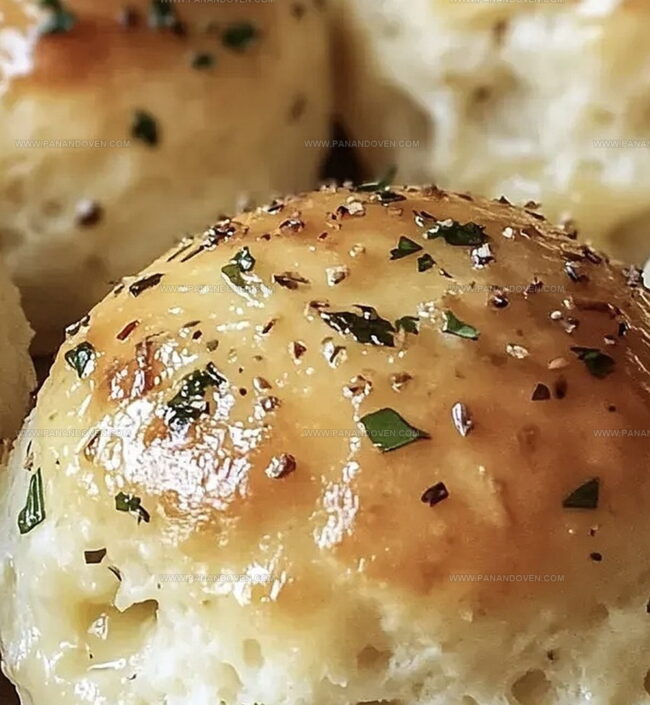
Each bomb delivers a crispy exterior that gives way to a molten, cheesy center packed with aromatic garlic.
The aroma alone will draw everyone to the table, eager to sample these irresistible treats.
Prepare to wow your guests with this foolproof recipe that turns ordinary ingredients into extraordinary moments of culinary bliss.
Garlic Butter Cheese Bombs Bursting With Flavor
The Secret Ingredients for Ooey Gooey Bites
Main Ingredients:Flavor Enhancers:Kitchen Tools For Cheese Bomb Perfection
Cheese Bombs From Scratch Step by Step
Step 1: Prepare Oven and Baking Surface
Crank up your oven to a toasty 400°F (200°C).
Grab a baking sheet and line it with parchment paper for easy cleanup and perfect golden edges.
Step 2: Cheese Up the Biscuits
Carefully separate your biscuit dough and get ready for a cheesy adventure.
Grab your cheese selection:Place a chunk of cheese right in the center of each biscuit piece.
Step 3: Seal the Cheesy Treasure
Gently wrap the biscuit dough around the cheese, using your fingertips to pinch and seal every single edge.
Make sure no cheese can escape during baking!
Step 4: Arrange on Baking Sheet
Position your cheese-stuffed dough balls on the prepared baking sheet.
Flip them seam-side down to keep the cheesy goodness locked inside.
Step 5: Bake to Golden Perfection
Slide the baking sheet into the hot oven.
Let the bombs bake for 10-12 minutes until they transform into a gorgeous golden brown color.
The cheese inside should be completely melted and gooey.
Step 6: Whip Up Butter Magic
While the bombs are baking, create a flavor explosion by mixing:Step 7: Butter Bath
The moment the cheese bombs emerge from the oven, generously brush them with the magical butter mixture.
Let every nook and cranny get coated in deliciousness.
Step 8: Serve and Devour
Plate these hot, cheesy bombs immediately.
Watch as people’s eyes light up with excitement when they see these golden, buttery treats.
Prepare for compliments and empty plates!
Tips For Maximum Cheese Pull and Crunch
Cheese Bomb Twist Ideas For Snack Time Fun
Serving Hot Cheese Bombs With Dipping Sauces
Saving Leftover Cheese Bombs for Later Cravings
FAQs
Mozzarella is ideal, but you can use soft mozzarella cubes, shredded mozzarella, string cheese, or even cheddar for variety and great melting properties.
Carefully wrap the dough around the cheese, pressing and pinching the edges to create a tight seal. Place the balls seam-side down on the baking sheet to help maintain the seal.
Yes, you can assemble the cheese bombs and refrigerate them before baking. Just add a few extra minutes to the baking time if they’re cold from the refrigerator.
Print
Easy Garlic Butter Cheese Bombs Recipe
- Total Time: 22 minutes
- Yield: 8 1x
Description
Garlic butter cheese bombs bring explosive flavor to your appetizer game. Simple ingredients merge into irresistible golden pastry pockets packed with melted cheese and zesty garlic essence. Hungry crowds will devour these quick, crowd-pleasing bites.
Ingredients
Main Ingredients:
- 1 (16 ounces / 454 grams) container of refrigerated biscuit dough (8 biscuits)
- 4 ounces (113 grams) mozzarella cheese (soft, shredded, or diced string cheese)
Seasoning Ingredients:
- 1 teaspoon garlic powder
- 1 teaspoon Italian seasoning
- 1 pinch of salt
Finishing Ingredients:
- 4 tablespoons (60 milliliters) melted butter (half a stick)
Instructions
- Arrange oven rack in the middle position and preheat to 400F (200C). Line a baking sheet with parchment paper for easy cleanup and non-stick surface.
- Carefully separate refrigerated biscuits without tearing the dough. Position a cube of mozzarella cheese in the center of each biscuit round.
- Gently fold dough edges around the cheese, creating a complete seal by pinching and rolling the edges to prevent cheese from escaping during baking.
- Position stuffed dough balls on the prepared baking sheet with the sealed side facing downward, ensuring they are evenly spaced for consistent cooking.
- Transfer baking sheet to preheated oven and bake for 10-12 minutes until the surface turns a rich golden brown color, indicating crispy exterior and melted interior.
- During baking, create the flavor-enhancing butter mixture by melting butter and incorporating garlic powder, Italian seasoning, and a delicate sprinkle of salt.
- Remove baked cheese bombs from oven and immediately brush with the aromatic garlic butter mixture, ensuring complete and even coverage for maximum flavor.
- Serve the cheese bombs immediately while hot and crispy, allowing guests to experience the gooey melted cheese and fragrant garlic butter coating.
Notes
- Seal Cheese Carefully seal the dough completely around the cheese to prevent leakage during baking, using gentle pinching motions with your fingers.
- Experiment with different cheese varieties like sharp cheddar, pepper jack, or blue cheese to create unique flavor profiles and match personal taste preferences.
- Use cold cheese cubes for better melting control and to reduce the chances of cheese escaping during baking, ensuring a perfect molten center.
- Adjust baking time based on your oven’s performance and watch closely to prevent over-browning, as each oven can heat differently and impact the final texture.
- Prep Time: 10 minutes
- Cook Time: 12 minutes
- Category: Appetizer, Snacks
- Method: Baking
- Cuisine: American
Nutrition
- Serving Size: 8
- Calories: 180
- Sugar: 1g
- Sodium: 330mg
- Fat: 12g
- Saturated Fat: 7g
- Unsaturated Fat: 4g
- Trans Fat: 0g
- Carbohydrates: 15g
- Fiber: 0g
- Protein: 5g
- Cholesterol: 30mg
Marcus Reed
Founder & Food Content Creator
Expertise
Single-recipe development, Seasonal and local ingredient utilization, Food photography and styling, Culinary writing and content creation
Education
Culinary Arts Certificate, Blue Ridge Community and Technical College, WV
Focus: Fundamentals of culinary techniques, emphasizing hands-on experience in small-scale kitchen settings.
Marcus’s story begins in Asheville, where good food and family kitchens shaped his earliest memories. After hands-on culinary training and a lot of trial (and a little error), he realized that real cooking isn’t about perfection, it’s about connection.
At Pan and Oven, Marcus crafts recipes that are easy to follow, packed with flavor, and built for real kitchens.