
The Best Cherry Pie Bites Recipe: Adorable Sweet Treats
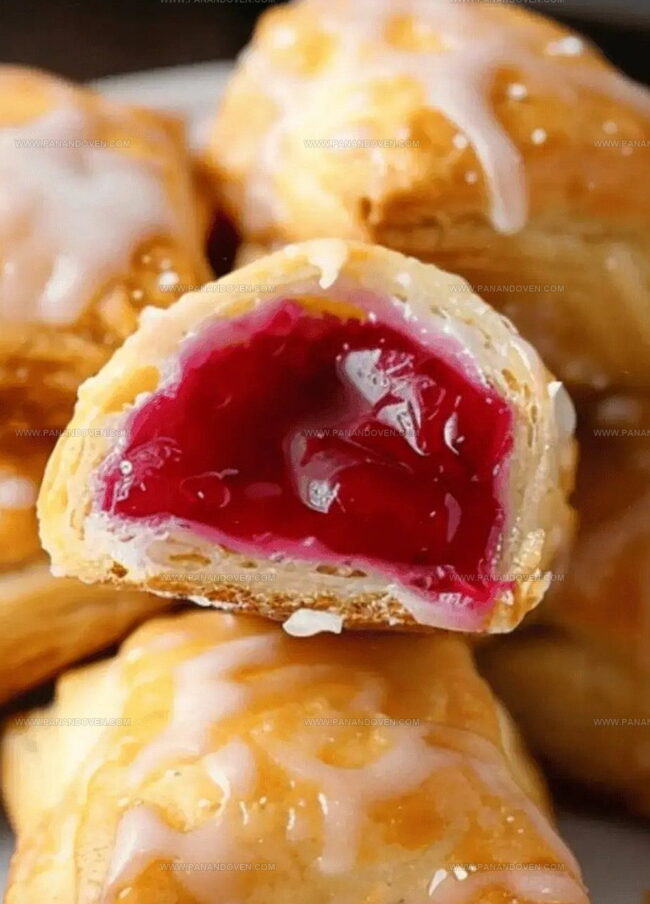
Sweet, bite-sized treats that capture summer’s essence, these delightful cherry pie bites burst with homemade flavor and charm.
Combining flaky pastry and rich cherry filling, this simple cherry pie bites recipe delivers pure dessert magic.
Pastry lovers will adore how quickly these miniature delicacies come together in the kitchen.
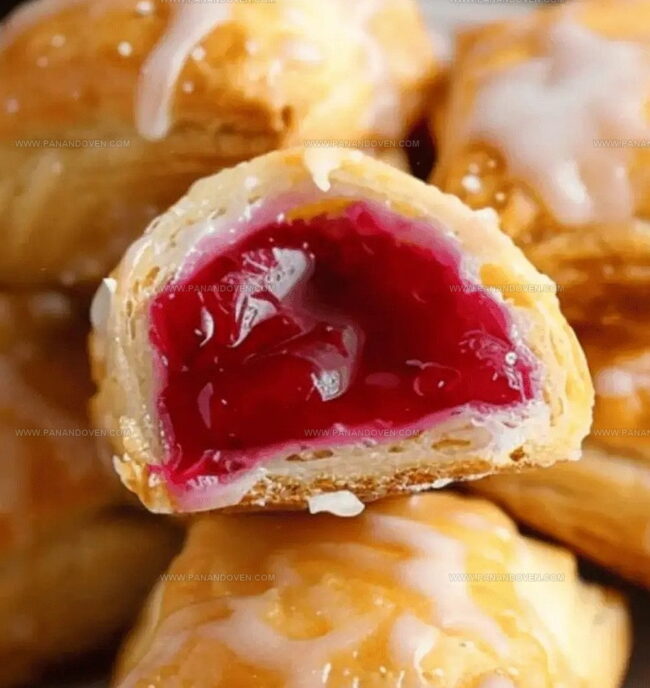
Each tiny morsel promises a delectable explosion of fruity goodness that melts in your mouth.
Crisp edges and soft, jammy centers make these little bites irresistible for any gathering or quiet afternoon snack.
Minimal ingredients and straightforward preparation mean you can whip up these crowd-pleasing treats in no time.
Prepare to fall in love with the most adorable dessert that packs maximum flavor into every single bite.
Why Easy Cherry Pie Bites Steal the Show
Cherry Pie Bite Ingredients for Quick Treats
Base Ingredients:Glaze Ingredients:Preparation Ingredients:Tools Needed for Baking Mini Cherry Pies
How to Bake Simple Cherry Pie Bites Fast
Step 1: Warm Up the Oven
Preheat the oven to 375F (190C).
Coat a standard muffin tin with nonstick cooking spray to prevent sticking and ensure easy removal of your delightful bites.
Step 2: Shape the Dough
Gently unroll the crescent roll dough and nestle each piece into the muffin tin.
Make sure the widest part of the dough sits at the bottom of each cup, creating a perfect base for your filling.
Step 3: Fill with Fruity Goodness
Generously spoon cherry pie filling into each dough pocket.
Aim for 3 to 4 heaping tablespoons per bite, making sure each morsel is packed with sweet, juicy cherries.
Step 4: Wrap and Tuck
Carefully fold the dough edges around the filling.
Bring the three corners together, creating a cozy blanket that covers most of the cherry mixture and prevents leaking during baking.
Step 5: Bake to Golden Perfection
Place the muffin tin in the preheated oven and bake for 13-14 minutes.
Watch for a beautiful golden-brown color that signals your pie bites are ready to be devoured.
Step 6: Whip Up a Sweet Drizzle
In a small mixing bowl, combine:Whisk until the mixture becomes smooth and glossy.
Adjust the consistency by adding a bit more milk or sugar as needed.
Step 7: Add the Finishing Touch
Once the cherry pie bites have cooled slightly, use a spoon to drizzle the glaze over the top.
Let the sweet cascade create an appetizing pattern that will make mouths water.
Tips for Golden and Sweet Cherry Pie Bites
Cherry Pie Bite Variations for Snackers
Cherry Pie Bite Serving Inspiration
Best Way to Keep Cherry Pie Bites Fresh
FAQs
Yes, you can easily swap cherry pie filling with other fruit fillings like blueberry, apple, or peach. Just ensure the filling is thick and not too runny.
No, you only need a standard muffin tin and basic kitchen tools like a spoon and mixing bowl. A simple whisk works great for the glaze.
Gently pull the three corners of the crescent roll dough towards the center, slightly overlapping them to cover most of the filling. Don’t worry about making it perfect – they’ll still look delicious.
Print
Easy Cherry Pie Bites Recipe
- Total Time: 24 minutes
- Yield: 12 1x
Description
Miniature cherry pie bites pack maximum flavor into small pastry shells. Flaky crusts filled with sweet Michigan cherries create perfect handheld desserts for quick and delightful snacking.
Ingredients
Main Ingredients:
- 2 (8 ounces / 226 grams) tubes crescent roll dough
- 21 ounces (595 grams) can cherry pie filling
Sweet Topping:
- 1 cup (120 grams) powdered sugar
- 1–2 tablespoons (15–30 milliliters) milk
Instructions
- Heat the oven to 375F (190C) and coat a muffin tin thoroughly with nonstick spray to prevent sticking.
- Separate the crescent roll dough and carefully press each piece into the muffin cavities, ensuring the widest section covers the bottom and sides of each cup.
- Generously spoon cherry pie filling into each dough-lined cavity, distributing approximately 3-4 heaping tablespoons per bite to create a rich, fruity center.
- Carefully gather and pinch the dough corners toward the center, creating a rustic covering that mostly conceals the vibrant cherry filling.
- Transfer the muffin tin to the preheated oven and bake for 13-14 minutes until the pastry achieves a golden, crispy exterior.
- While the bites cool slightly, whisk powdered sugar and milk in a small bowl until achieving a smooth, pourable glaze consistency.
- Drizzle the prepared glaze across the warm cherry pie bites, allowing it to cascade naturally over the pastry’s surface for an elegant finish.
Notes
- Swap crescent roll dough with puff pastry for a flakier texture that melts in your mouth.
- Reduce sugar content by using low-sugar cherry pie filling or fresh cherries mixed with minimal sweetener for a healthier version.
- Prevent soggy bottoms by lightly dusting the muffin tin with flour before spraying with nonstick cooking spray, ensuring crisp and golden edges.
- Experiment with different fruit fillings like blueberry, apple, or peach to create versatile bite-sized desserts that suit various taste preferences.
- Prep Time: 10 minutes
- Cook Time: 14 minutes
- Category: Desserts, Snacks
- Method: Baking
- Cuisine: American
Nutrition
- Serving Size: 12
- Calories: 150
- Sugar: 12g
- Sodium: 200mg
- Fat: 6g
- Saturated Fat: 1.5g
- Unsaturated Fat: 3.5g
- Trans Fat: 0g
- Carbohydrates: 21g
- Fiber: 0g
- Protein: 2g
- Cholesterol: 0mg
Marcus Reed
Founder & Food Content Creator
Expertise
Single-recipe development, Seasonal and local ingredient utilization, Food photography and styling, Culinary writing and content creation
Education
Culinary Arts Certificate, Blue Ridge Community and Technical College, WV
Focus: Fundamentals of culinary techniques, emphasizing hands-on experience in small-scale kitchen settings.
Marcus’s story begins in Asheville, where good food and family kitchens shaped his earliest memories. After hands-on culinary training and a lot of trial (and a little error), he realized that real cooking isn’t about perfection, it’s about connection.
At Pan and Oven, Marcus crafts recipes that are easy to follow, packed with flavor, and built for real kitchens.