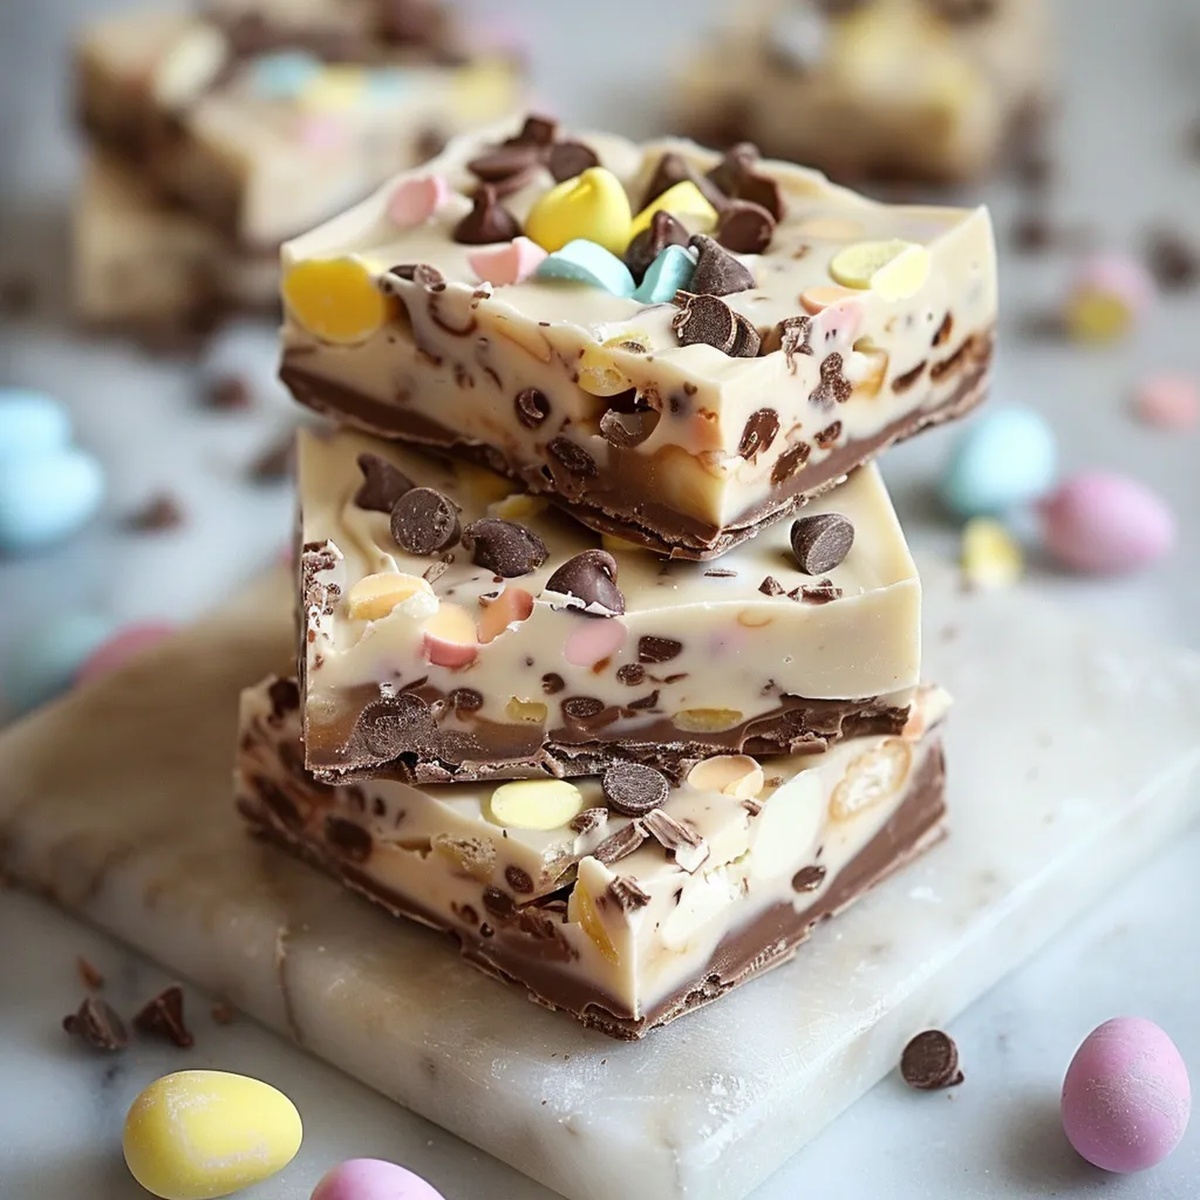
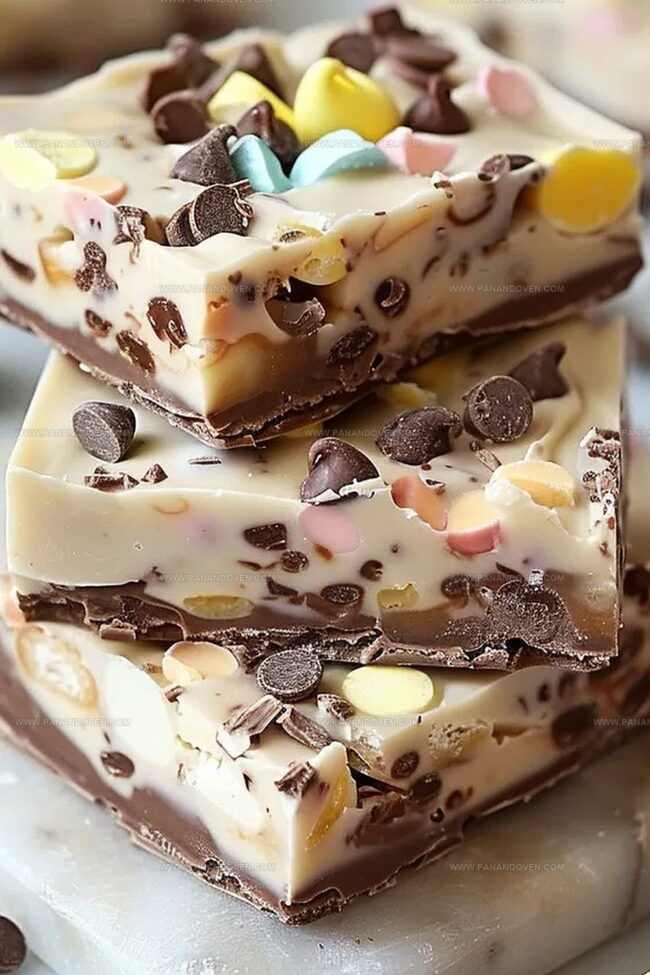
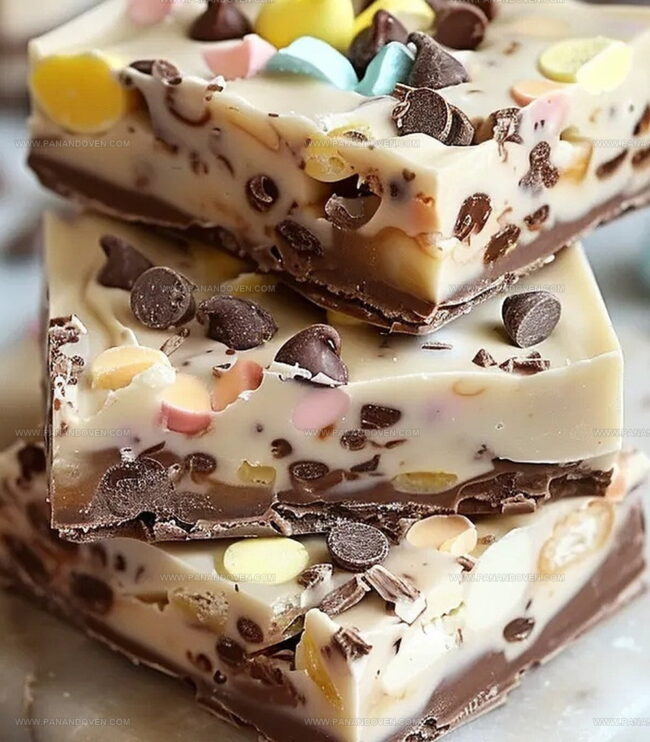
Dreamy Easter Cadbury Fudge Recipe for Sweet Holiday Treats
Chocolate lovers rejoice with this delectable Easter Cadbury fudge that promises pure indulgence.
Rich, creamy textures melt on your tongue with every delightful bite.
The classic British treat brings warmth and nostalgia to any dessert table.
Sweet chunks of Cadbury chocolate create a luxurious swirl throughout this simple yet decadent recipe.
Each batch delivers a smooth, velvety experience that celebrates seasonal celebrations.
Minimal ingredients and straightforward steps make this fudge accessible for bakers of all skill levels.
Let this irresistible Easter dessert become your new favorite sweet tradition.
Why Easter Cadbury Fudge Is a Holiday Must
All You Need for Easter Cadbury Fudge Squares
Chocolate Base:White Chocolate Layer:Decoration and Texture:Preparation Ingredient:Tools for Smooth, Creamy Easter Cadbury Fudge
How to Make Easter Cadbury Fudge Effortlessly
Step 1: Prepare Crushing Station
Grab your Cadbury mini eggs and crush them into delightful bite-sized pieces.
Pop these colorful nuggets into the freezer to keep them crisp and ready for action.
Step 2: Create Chocolate Foundation
Combine semi-sweet chocolate chips and half of the sweetened condensed milk in a microwave-safe bowl.
Zap the mixture in 30-second intervals, stirring between each blast until the chocolate transforms into a silky smooth landscape.
Step 3: Establish First Layer
Pour the glossy chocolate mixture into a parchment-lined 8×8 pan.
Spread the chocolate evenly across the bottom, creating a perfect base.
Slide the pan into the refrigerator for a quick chill.
Step 4: Craft White Chocolate Magic
In a fresh microwave-safe bowl, merge the remaining sweetened condensed milk with white chocolate chips.
Heat in 30-second bursts, stirring thoroughly until the mixture becomes a creamy wonderland.
Step 5: Introduce Crunchy Elements
Swiftly fold the frozen crushed Cadbury eggs into the white chocolate mixture, distributing the colorful pieces throughout the creamy base.
Step 6: Layer and Decorate
Gently pour the white chocolate mixture over the chocolate foundation.
Spread it smooth and sprinkle additional crushed Cadbury eggs on top for extra visual appeal.
Step 7: Chill and Slice
Allow the fudge to set in the refrigerator for one hour.
Once firm, slice into tantalizing squares and serve to delighted guests.
Tips for Soft and Rich Easter Cadbury Fudge
Flavor Swaps for Easter Cadbury Fudge Fans
How to Present Easter Cadbury Fudge Beautifully
Best Ways to Store Easter Cadbury Fudge Leftovers
FAQs
Freezing the eggs prevents them from melting when mixed into the white chocolate layer, keeping their shape and crunch intact.
Yes, you can substitute semi-sweet or white chocolate chips with milk or dark chocolate chips based on your preference, but it might slightly alter the final taste.
No, just a microwave-safe bowl, 8×8 pan, parchment paper, and basic kitchen utensils like a spatula are sufficient for making this recipe.
When stored in an airtight container in the refrigerator, the Easter Cadbury Fudge will remain fresh for up to 7-10 days.
Print
Easter Cadbury Fudge Recipe
- Total Time: 1 hour 20 minutes
- Yield: 12 1x
Description
Cadbury fudge celebrates Easter’s sweetness with rich chocolate and creamy texture. Chocolate lovers will delight in this simple, indulgent treat that brings festive joy to family gatherings.
Ingredients
Chocolate Base:
- 1 cup semi sweet chocolate chips
- 1/2 (14.5 ounces / 414 grams) can sweetened condensed milk
White Chocolate Layer:
- 1 cup white chocolate chips
- 1/2 (14.5 ounces / 414 grams) can sweetened condensed milk
Toppings and Mix-ins:
- 1 cup crushed mini Cadbury eggs
- Additional crushed mini Cadbury eggs for topping (optional)
Instructions
- Prepare a chilled workspace by crushing Cadbury mini eggs and placing them in the freezer. Line an 8×8 inch pan with parchment paper for easy removal.
- Create the chocolate base by combining semi-sweet chocolate chips with half of the sweetened condensed milk. Microwave in 30-second intervals, stirring thoroughly until the mixture becomes silky and uniform.
- Evenly spread the chocolate mixture across the prepared pan’s bottom. Refrigerate to set the initial layer while preparing the next component.
- Craft the white chocolate layer by mixing remaining sweetened condensed milk with white chocolate chips. Use 30-second microwave intervals, stirring between each session until achieving a smooth consistency.
- Incorporate the frozen crushed Cadbury mini eggs into the white chocolate mixture, ensuring even distribution throughout the fudge.
- Gently pour the white chocolate mixture over the chocolate base, creating a layered effect. Distribute additional crushed Cadbury eggs on top for visual appeal and extra crunch.
- Refrigerate the fudge for 1 hour to completely solidify. Once set, slice into squares and serve chilled for optimal texture and flavor.
Notes
- Freeze crushed eggs beforehand to prevent color bleeding and maintain distinct egg pieces in the fudge.
- Use high-quality chocolate chips for smoother, richer texture and more consistent melting during preparation.
- Stir chocolate mixtures vigorously to prevent separation and achieve a silky, glossy finish that ensures professional-looking fudge.
- Allow fudge to set completely in the refrigerator for clean, precise cutting and optimal flavor development.
- Prep Time: 20 minutes
- Cook Time: 1 hour
- Category: Desserts, Snacks
- Method: Blending
- Cuisine: British
Nutrition
- Serving Size: 12
- Calories: 200
- Sugar: 21g
- Sodium: 75mg
- Fat: 10g
- Saturated Fat: 6g
- Unsaturated Fat: 4g
- Trans Fat: 0g
- Carbohydrates: 26g
- Fiber: 1g
- Protein: 2g
- Cholesterol: 5mg


Clara Thompson
Recipe Developer & Food Educator
Expertise
Plant-based and vegetarian recipe development, Nutritional analysis and meal planning, Culinary education and workshop facilitation, Content writing with a focus on healthy living
Education
Diploma in Culinary Arts, Mt. San Jacinto College, CA
Focus: Comprehensive culinary training with an emphasis on sustainable cooking practices.
Certificate in Nutrition and Healthy Living, Cornell University (Online Program)
Focus: Understanding the principles of nutrition to create balanced and health-conscious recipes.
Clara lives where fresh ideas and fresh ingredients meet. She pairs her culinary know-how with her passion for healthy, planet-friendly cooking.
For Clara, good food should taste great, nourish your body, and feel easy to make. Her recipes highlight whole foods, colorful produce, and a deep respect for seasonal eating.