The Simplest Pepper Jelly Cheese Dip Recipe You’ll Love
When summer barbecues call for a quick and irresistible easiest pepper jelly cheese dip recipe, nothing satisfies quite like this crowd-pleasing appetizer.
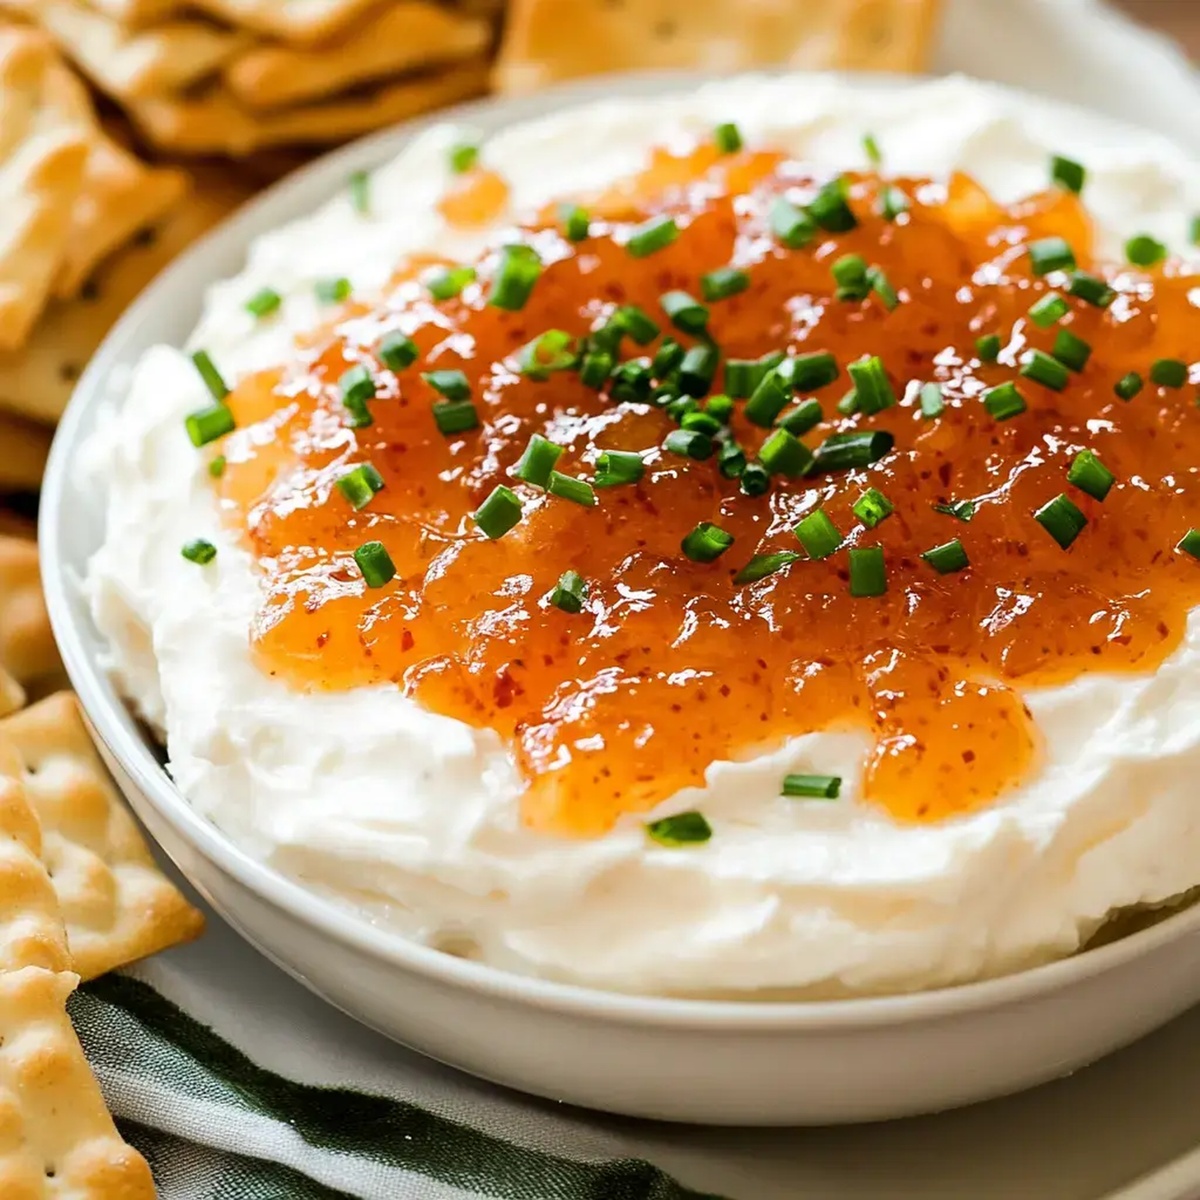
Creamy cheese blends seamlessly with zesty pepper jelly, creating a perfect balance of smooth and spicy flavors.
Guests will be reaching for crackers and bread to scoop up every last bite of this simple yet delectable spread.
The combination of tangy cream cheese and sweet-hot pepper jelly transforms an ordinary gathering into a memorable culinary experience.
Minimal ingredients and just a few minutes of prep make this dip a go-to for spontaneous entertaining.
Serve this crowd-favorite at your next game day, potluck, or casual get-together, and watch as everyone asks for the recipe.
Pepper Jelly Cheese Dip Flavor Boosters
Ingredients for Pepper Jelly Cheese Dip Magic
Base Cheese:Topping:Serving Accompaniments:Tools Needed for Pepper Jelly Cheese Dip
Pepper Jelly Cheese Dip Preparation Steps
Step 1: Blend Creamy Base
Grab your food processor and toss in the softened Boursin cheese along with half and half.
Pulse and whirl the mixture until it becomes silky smooth and fully integrated.
Take a moment to scrape down the sides of the processor to ensure everything combines perfectly.
Step 2: Create Cheese Canvas
Select your favorite serving dish or platter.
Gently spread the whipped cheese mixture across the surface, creating an even, inviting layer that will serve as the foundation for your delightful dip.
Step 3: Drizzle Vibrant Topping
Warm the pepper jelly slightly to make it more spreadable if needed.
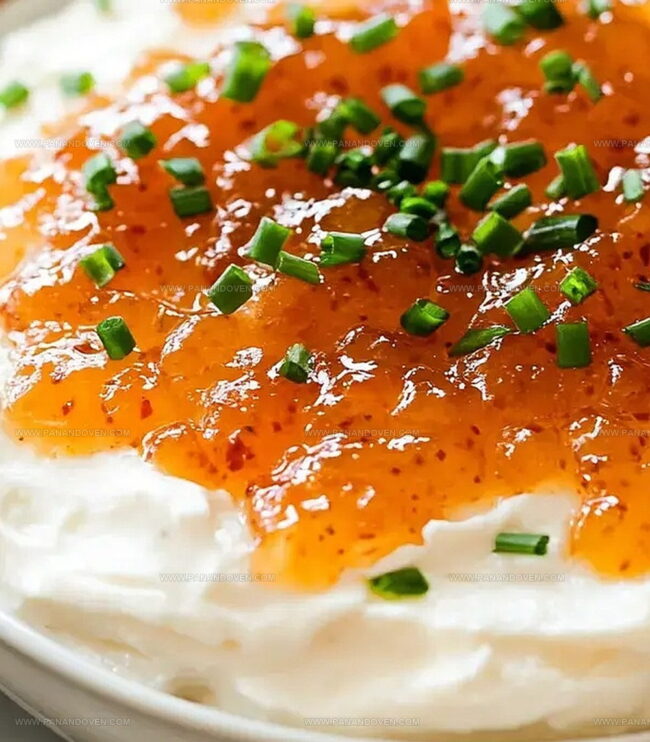
Carefully pour and spread the jelly over the creamy cheese base.
For an extra pop of color and freshness, sprinkle some finely chopped chives across the top.
Step 4: Ready to Munch
Arrange an assortment of crispy crackers or crunchy pita chips alongside your dip.
Invite friends to dive in and enjoy the tangy, creamy, and slightly spicy flavor explosion waiting to be devoured.
Top Tips for Pepper Jelly Cheese Dip

Fun Variations on Pepper Jelly Cheese Dip
Ways to Serve Up Pepper Jelly Cheese Dip
Storage Suggestions for Pepper Jelly Cheese Dip
FAQs
Boursin cheese is ideal due to its creamy texture and herb-infused flavor, making it perfect for this quick and easy dip.
Yes, you can prepare the dip up to a day in advance. Just cover and refrigerate, then let it sit at room temperature for 15-20 minutes before serving to soften.
Pepper jelly varies in heat levels. Some are mild with a subtle pepper flavor, while others can be quite spicy. Choose a jelly that matches your heat preference.
Crackers and pita chips are great, but you can also use fresh vegetable sticks, baguette slices, or even as a spread on sandwiches for extra flavor.
Print
Easiest Pepper Jelly Cheese Dip Recipe
- Total Time: 6 minutes
- Yield: 8 1x
Description
Pepper jelly cheese dip combines tangy cream cheese with spicy-sweet jalapeño preserves for an irresistible appetizer. Guests will devour this simple, zesty spread that delivers bold flavor in minutes.
Ingredients
Main Cheese Ingredients:
- 2 blocks (5.3 ounces / 150 grams each) Boursin cheese, softened
Jelly Ingredient:
- 1 jar (10 ounces / 283 grams) pepper jelly
Complementary Ingredients:
- 1 tablespoon (15 milliliters) half and half
- 1 tablespoon fresh chives, chopped (optional)
- 1 container (10 ounces / 283 grams) wheat or butter crackers
Instructions
- Blend softened Boursin cheese with half and half in a food processor for 20-30 seconds until smooth and creamy, pausing to scrape down sides of the processor bowl.
- Transfer the whipped cheese mixture into a serving dish, spreading it evenly across the surface to create a uniform base.
- Gently warm the pepper jelly in the microwave for 10-15 seconds to enhance spreadability, then carefully pour and distribute it over the prepared cheese layer.
- Optionally, garnish the dip with finely chopped fresh chives for added color and a subtle onion-like flavor.
- Present the cheese dip alongside crisp crackers or crunchy pita chips, allowing guests to scoop and enjoy the tangy, creamy appetizer.
Notes
- Soften cheese completely at room temperature for smooth, airy texture without lumps.
- Experiment with different pepper jellies like jalapeño, red pepper, or habañero for varied heat levels and flavor profiles.
- Use full-fat Boursin for richest, creamiest consistency; lower-fat versions might separate during mixing.
- Transform this appetizer into a gluten-free option by serving with vegetable sticks like cucumber, bell peppers, or carrot batons instead of crackers.
- Prep Time: 5 minutes
- Cook Time: 1 minute
- Category: Appetizer, Snacks
- Method: Blending
- Cuisine: American
Nutrition
- Serving Size: 8
- Calories: 180
- Sugar: 6 g
- Sodium: 320 mg
- Fat: 11 g
- Saturated Fat: 6 g
- Unsaturated Fat: 4 g
- Trans Fat: 0 g
- Carbohydrates: 18 g
- Fiber: 1 g
- Protein: 3 g
- Cholesterol: 30 mg
Clara Thompson
Recipe Developer & Food Educator
Expertise
Plant-based and vegetarian recipe development, Nutritional analysis and meal planning, Culinary education and workshop facilitation, Content writing with a focus on healthy living
Education
Diploma in Culinary Arts, Mt. San Jacinto College, CA
Focus: Comprehensive culinary training with an emphasis on sustainable cooking practices.
Certificate in Nutrition and Healthy Living, Cornell University (Online Program)
Focus: Understanding the principles of nutrition to create balanced and health-conscious recipes.
Clara lives where fresh ideas and fresh ingredients meet. She pairs her culinary know-how with her passion for healthy, planet-friendly cooking.
For Clara, good food should taste great, nourish your body, and feel easy to make. Her recipes highlight whole foods, colorful produce, and a deep respect for seasonal eating.