Irresistible Mini Cheesecakes with Cherry Topping Recipe
Creamy, decadent mini cheesecakes with cherry topping dance with pure indulgence.
These bite-sized desserts blend smooth cream cheese and sweet cherries into a delightful treat.
Each petite cheesecake promises a burst of rich flavor that melts effortlessly on your tongue.
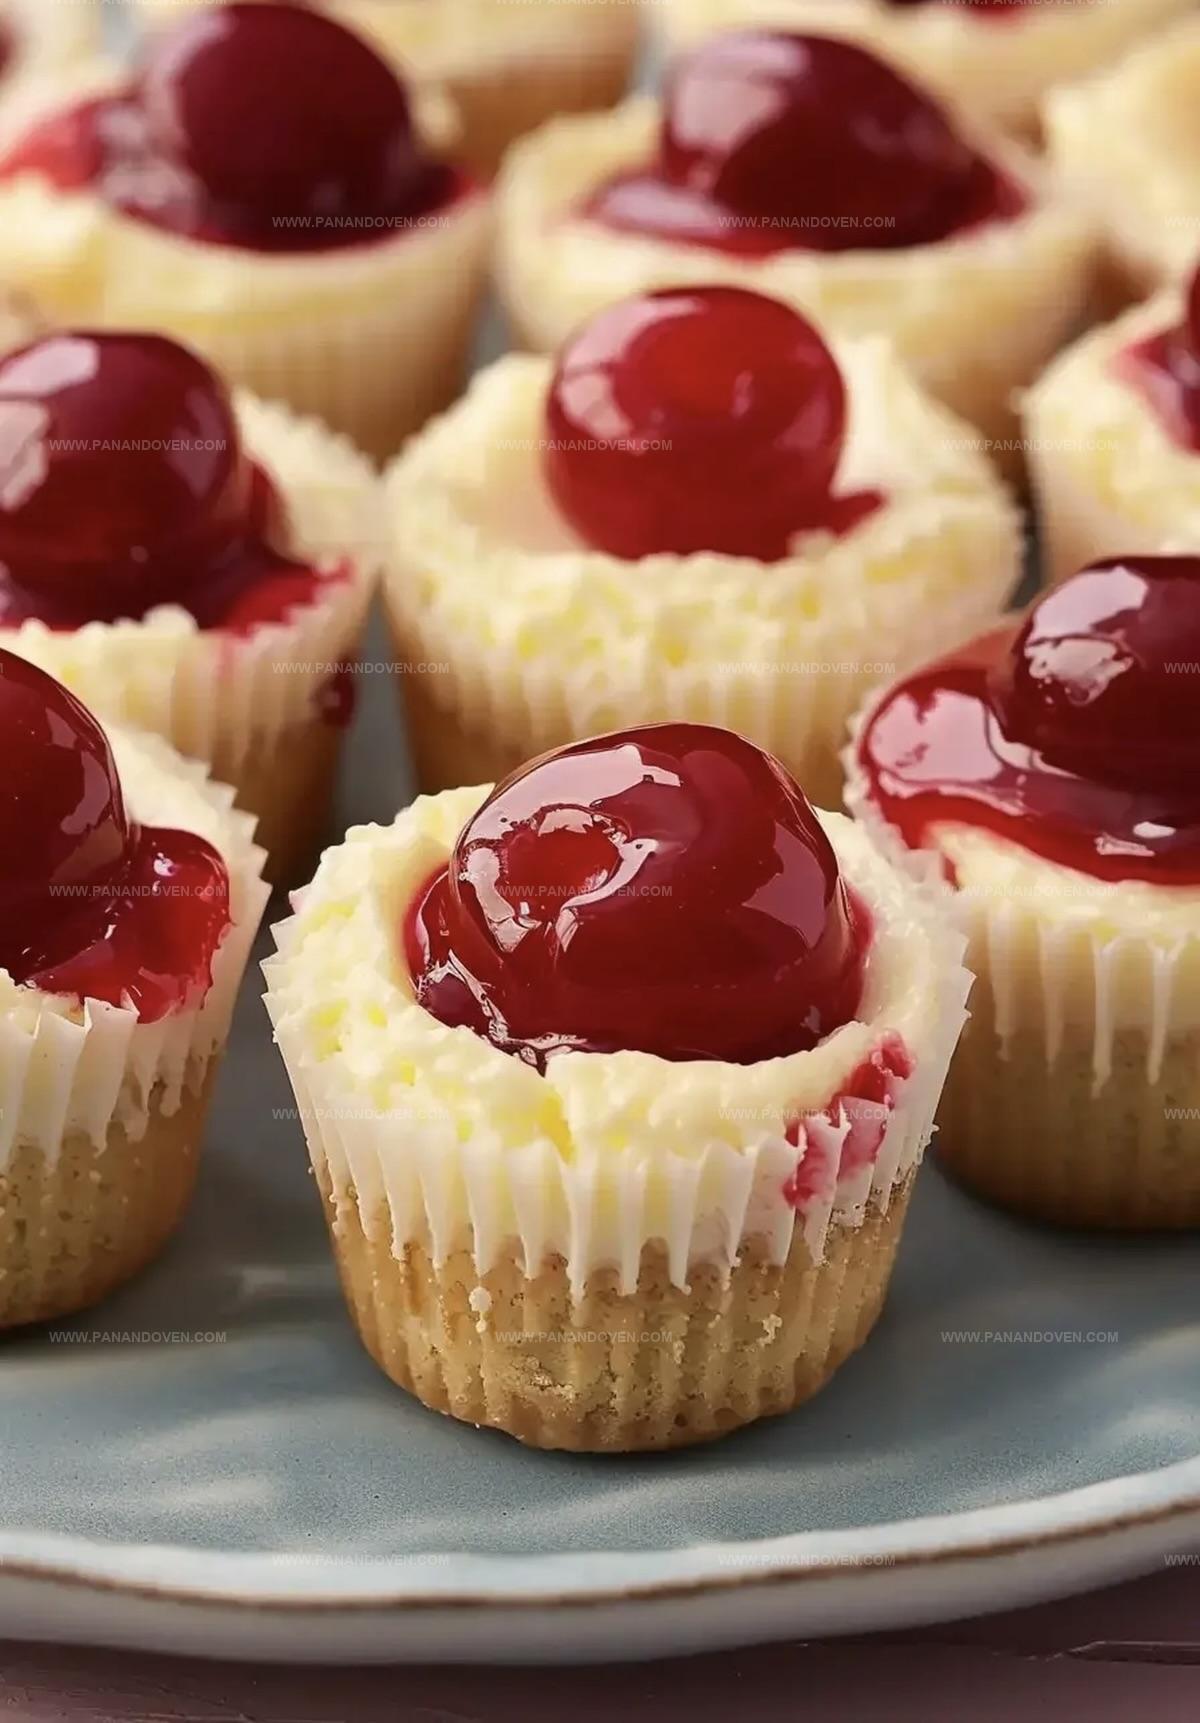
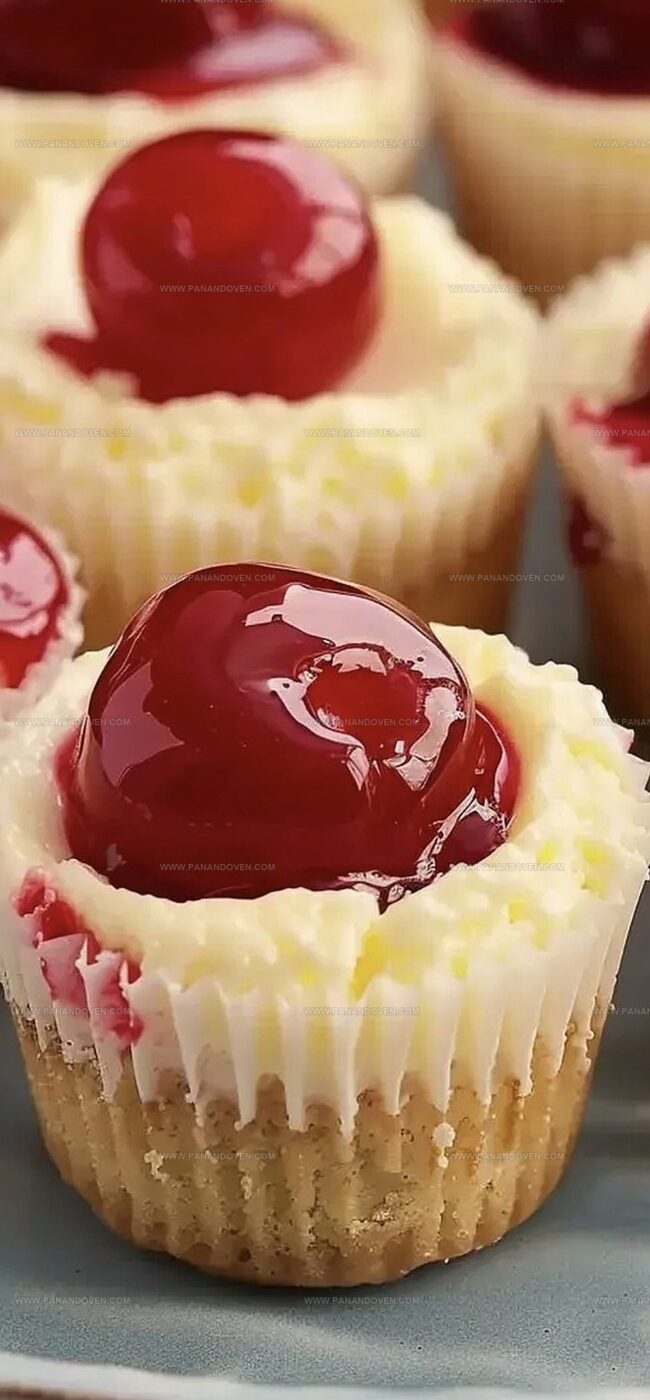
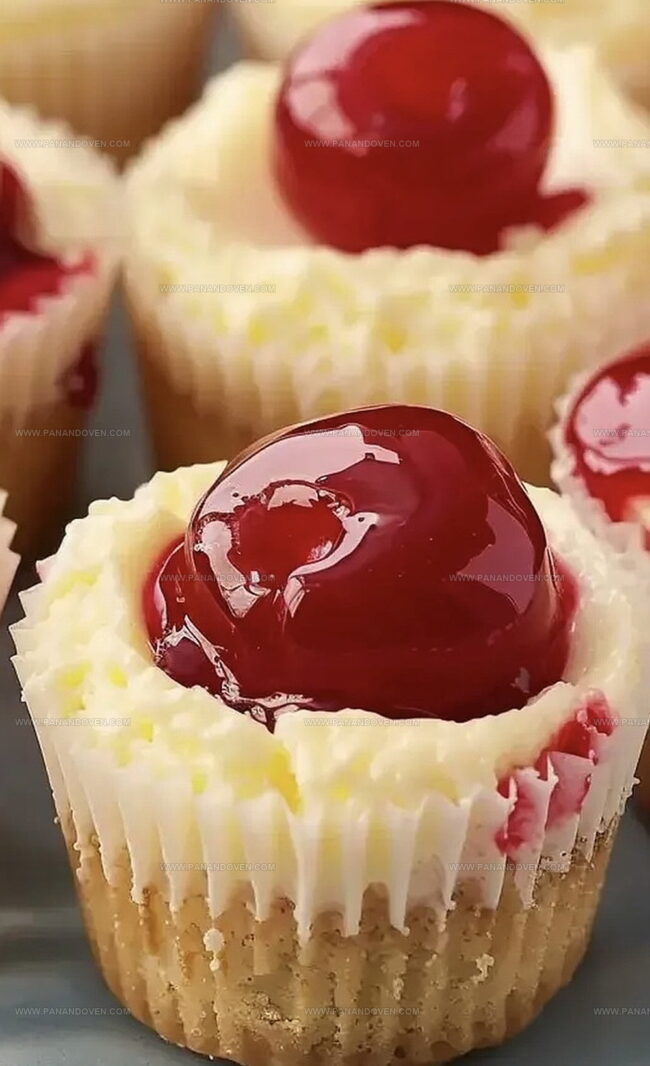
The delicate graham cracker crust provides a perfect crisp foundation for the silky filling.
Bright red cherries crown these miniature delights, adding a vibrant pop of color and tangy sweetness.
Perfectly portioned and elegantly presented, these mini cheesecakes are sure to impress at any gathering.
You’ll find yourself falling in love with every single delectable bite.
Cherry-Topped Mini Cheesecakes: Sweet Bites Of Joy
Delectable Ingredients In Every Mini Cheesecake
Crust Base:Cheesecake Filling:Topping:Mini Cheesecake Tools For Effortless Baking
Easy Steps For Baking Cherry Cheesecake Minis
Step 1: Set Up the Oven
Warm up your oven to 350F (175C).
Grab two miniature muffin tins and line them completely with cute paper liners.
This will make removing your tiny cheesecakes super easy later.
Step 2: Create the Crunchy Base
Smash vanilla wafers into fine, delicate crumbs using a food processor or rolling pin.
Gently press about a half teaspoon of these crumbs into the bottom of each paper liner, creating a delightful crispy foundation for your mini cheesecakes.
Step 3: Whip Up the Creamy Filling
In a large mixing bowl, blend your ingredients until they transform into a smooth, cloud-like mixture:Mix thoroughly until the filling looks light, airy, and completely free of lumps.
This will ensure your mini cheesecakes are silky and perfect.
Step 4: Fill and Prepare for Baking
Carefully spoon the creamy filling into each paper liner, filling them almost to the very top.
The mixture will slightly settle during baking, creating a beautiful, professional look.
Step 5: Bake to Perfection
Slide the muffin tins into the preheated oven.
Bake for approximately 15 minutes.
You’ll know they’re done when the centers look set and slightly firm to the touch.
Step 6: Cool and Decorate
Allow the mini cheesecakes to cool completely at room temperature.
Once cooled, crown each tiny cheesecake with a generous dollop of vibrant cherry pie filling, adding a burst of fruity flavor.
Step 7: Serve and Enjoy
Arrange these bite-sized treasures on a beautiful platter.
Watch as your guests delight in these miniature cheesecake wonders that are perfect for any gathering or sweet craving!
Pro Secrets For Creamy, Smooth Cheesecakes
Cherry Cheesecake Mini Variations For Fun Flavors
Party-Ready Ways To Serve Mini Cheesecakes
Tips For Keeping Mini Cheesecakes Fresh
FAQs
To prevent cracking, avoid overmixing the batter, use room temperature ingredients, and don’t overbake. Remove the cheesecakes from the oven when the centers are slightly jiggly.
Yes, graham crackers or digestive biscuits work great as alternatives to vanilla wafers. Just crush them finely and press into the muffin liners.
Use paper liners and let the cheesecakes cool completely before removing. If they stick, gently run a knife around the edges to loosen them.
Absolutely! You can prepare them a day in advance and store them in the refrigerator.
Print
Delicious Mini Cheesecakes with Cherry Topping Recipe
- Total Time: 30 minutes
- Yield: 12 1x
Description
Mini cheesecakes with cherry topping showcase creamy New York-style dessert perfection. Delicate graham cracker crusts complement rich cream cheese filling, while sweet-tart cherry compote adds elegant finishing touches you cannot resist.
Ingredients
Main Ingredients:
- 2 8-ounce (226 grams) packages cream cheese
- 2 large eggs
- 1 12-ounce (340 grams) package vanilla wafers
- 3/4 cup (150 grams) white sugar
Flavoring:
- 1 teaspoon vanilla extract
Topping:
- 1 21-ounce (595 grams) can cherry pie filling
Instructions
- Prepare the workspace by gathering all necessary utensils and ingredients for mini cheesecakes.
- Preheat oven to 350°F (175°C) and line miniature muffin tins with paper liners for easy removal.
- Pulverize vanilla wafers into fine crumbs using a food processor or rolling pin, creating a crisp base.
- Gently press approximately 1/2 teaspoon of crushed wafer crumbs into the bottom of each paper liner, forming a compact foundation.
- In a mixing bowl, combine cream cheese, sugar, eggs, and vanilla extract, whisking until the mixture becomes smooth and airy.
- Carefully spoon the cream cheese mixture into each lined muffin cup, filling them nearly to the top edge.
- Place muffin tins in the preheated oven and bake for 15 minutes, watching for a set texture and slightly golden surface.
- Remove cheesecakes from oven and allow them to cool completely at room temperature.
- Once cooled, delicately top each mini cheesecake with a teaspoon of vibrant cherry pie filling.
- Refrigerate for at least 1 hour to enhance flavor and firmness before serving.
Notes
- Make crust extra crispy by toasting vanilla wafer crumbs in a skillet for 2-3 minutes before pressing into liners, enhancing the base’s texture and nutty flavor.
- Prevent cracking by using room temperature ingredients and avoiding overmixing the cheesecake batter, which introduces excess air and can cause surface splits.
- Create dairy-free version by substituting cream cheese with coconut cream or cashew-based cream cheese and using plant-based egg replacer for a vegan-friendly option.
- Customize toppings by swapping cherry pie filling with fresh berries, chocolate ganache, or caramel sauce to match different taste preferences and seasonal ingredients.
- Prep Time: 15 minutes
- Cook Time: 15 minutes
- Category: Desserts, Snacks
- Method: Baking
- Cuisine: American
Nutrition
- Serving Size: 12
- Calories: 180
- Sugar: 10 g
- Sodium: 150 mg
- Fat: 9 g
- Saturated Fat: 5 g
- Unsaturated Fat: 3 g
- Trans Fat: 0 g
- Carbohydrates: 23 g
- Fiber: 0 g
- Protein: 3 g
- Cholesterol: 40 mg
Marcus Reed
Founder & Food Content Creator
Expertise
Single-recipe development, Seasonal and local ingredient utilization, Food photography and styling, Culinary writing and content creation
Education
Culinary Arts Certificate, Blue Ridge Community and Technical College, WV
Focus: Fundamentals of culinary techniques, emphasizing hands-on experience in small-scale kitchen settings.
Marcus’s story begins in Asheville, where good food and family kitchens shaped his earliest memories. After hands-on culinary training and a lot of trial (and a little error), he realized that real cooking isn’t about perfection, it’s about connection.
At Pan and Oven, Marcus crafts recipes that are easy to follow, packed with flavor, and built for real kitchens.