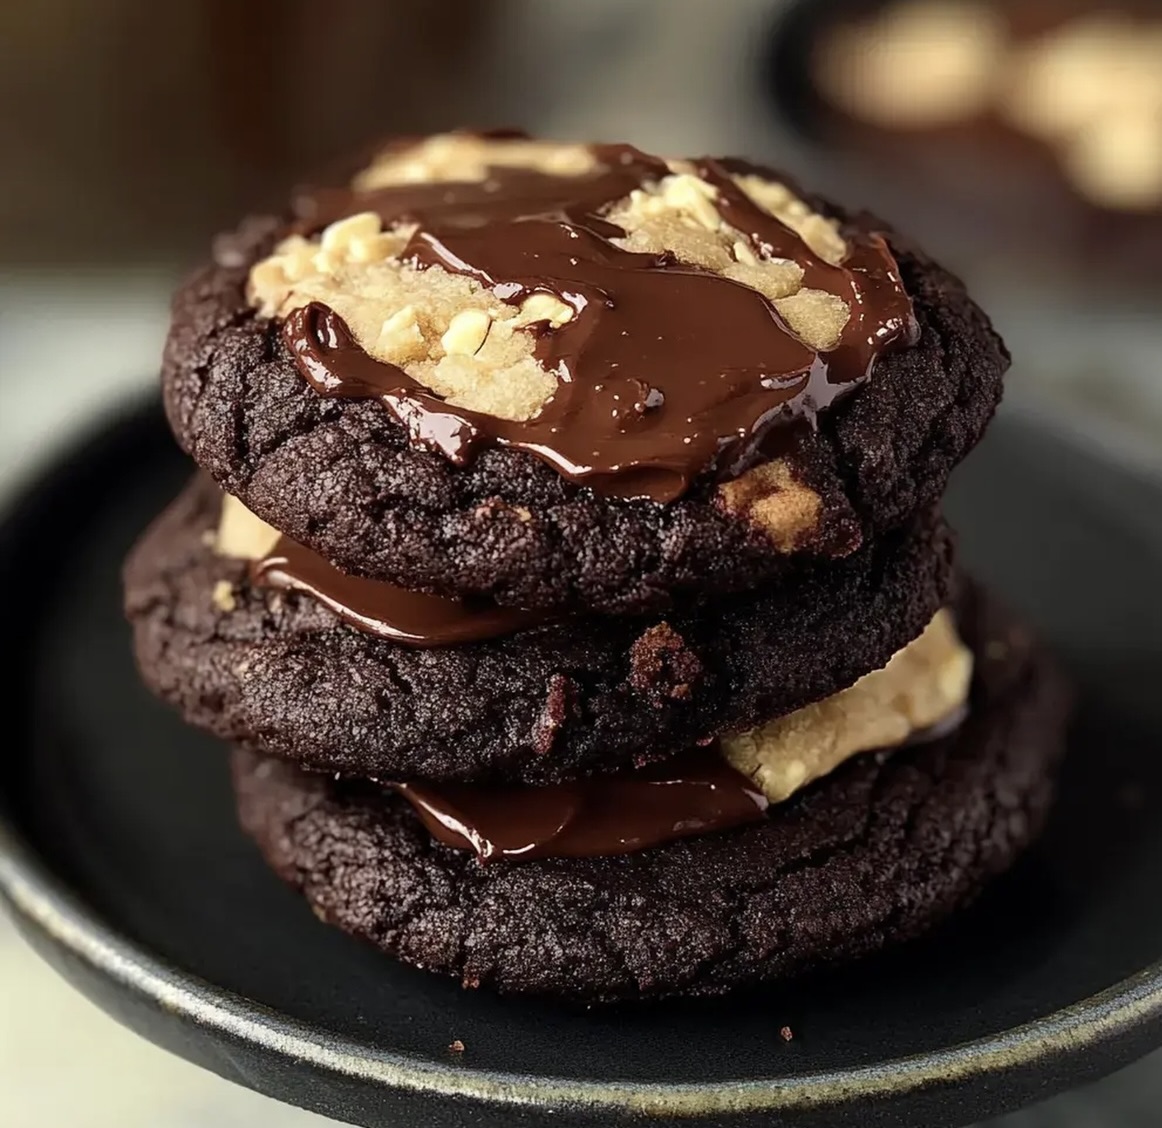
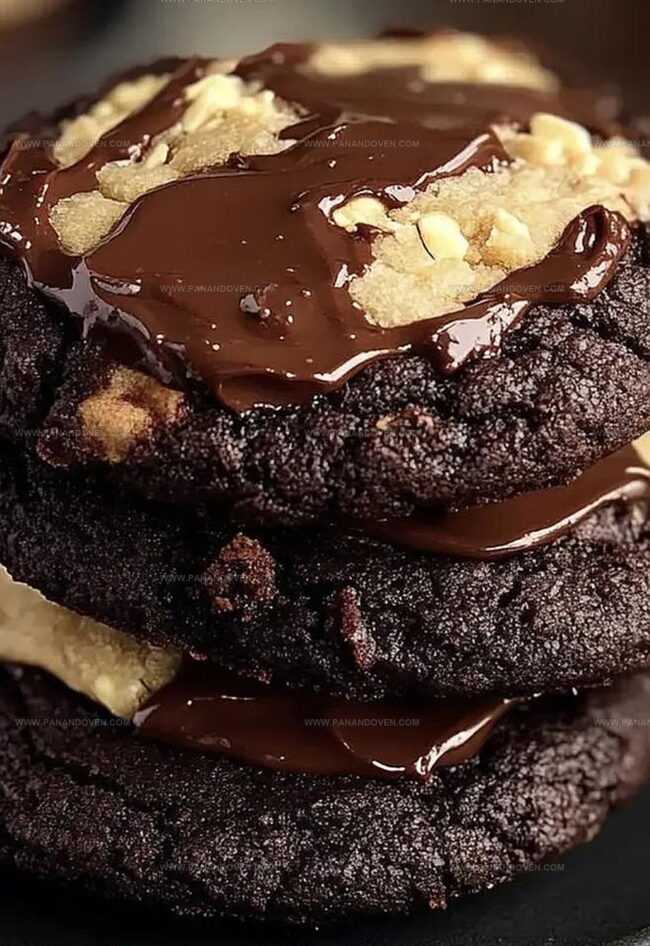
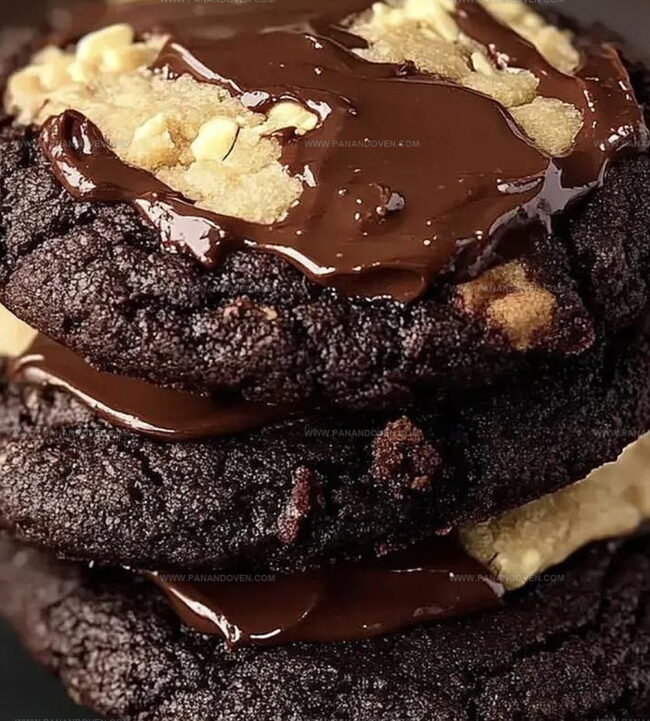
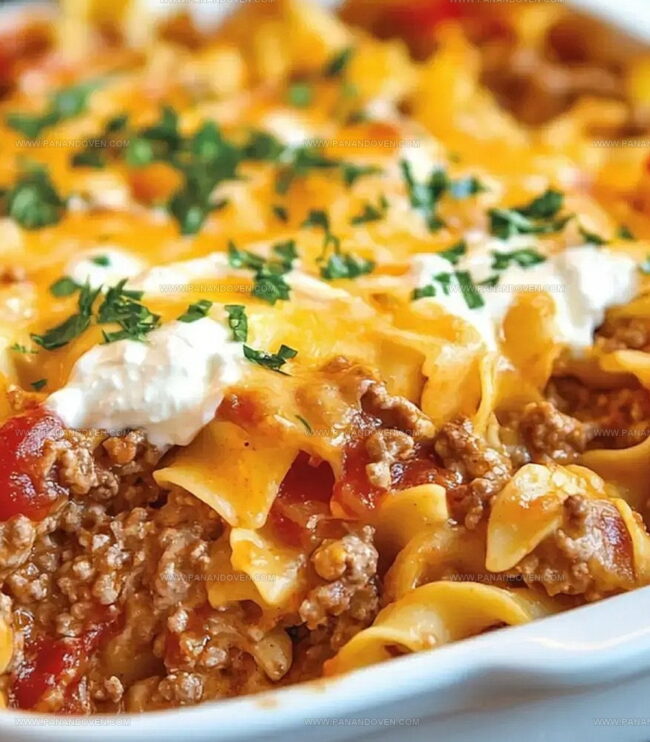
Heavenly Decadent Buckeye Cookies Recipe That Melts Hearts
Chocolate and peanut butter lovers unite over these irresistible buckeye cookies that blend rich, creamy flavors into one delightful treat.
Fans of classic desserts will instantly fall in love with this sweet sensation.
The recipe captures the iconic taste of traditional buckeye candies in a convenient cookie form.
Each bite delivers a perfect balance of smooth peanut butter and silky chocolate that melts effortlessly on your tongue.
These cookies promise to be the star of any dessert spread, tempting everyone with their luxurious texture and nostalgic taste.
Whip up a batch and watch as friends and family devour these decadent delights in moments of pure culinary bliss.
Buckeye Brownie Cookies: Sweet Highlights
Pantry Picks for Buckeye Brownie Cookies
Brownie Base:Peanut Butter Filling:Chocolate Topping:Tools for Brownie Cookie Magic
How to Make Buckeye Brownie Cookies
Step 1: Whip Up Brownie Base
In a large mixing bowl, gather these ingredients:Blend everything together until you create a rich, thick batter that promises deliciousness.
Step 2: Prepare Baking Surface
Line a baking sheet with parchment paper.
Scoop the brownie mixture into perfectly rounded balls, spacing them evenly to ensure beautiful cookies.
Step 3: Bake to Perfection
Slide the baking sheet into a preheated oven set at 350°F.
Let the cookies bake for 11-12 minutes until the edges look set and the bottoms are golden brown.
Step 4: Craft Peanut Butter Centers
While cookies are baking, create the creamy filling by combining:Roll the mixture into small, compact balls that will nestle perfectly into each cookie.
Step 5: Add Peanut Butter Surprise
Once cookies have cooled slightly, gently press a peanut butter ball into the center of each warm cookie, creating a delightful hidden treasure.
Step 6: Drizzle Chocolate Elegance
Melt chocolate chips or Candiquik in the microwave, stirring until smooth.
Carefully spoon the melted chocolate over each cookie, allowing it to cascade beautifully and partially cover the peanut butter center.
Step 7: Chill and Serve
Place the completed Buckeye Brownie Cookies in the refrigerator for a few minutes to help the chocolate set.
Serve and watch everyone’s eyes light up with excitement.
Best Brownie Cookie Baking Tips
Buckeye Cookie Mix-Up Options
Presenting Buckeye Brownies at Parties

Delightful Dessert Companions: Serving Up Sweetness
Brownie Cookie Storage Tips
FAQs

The recipe balances sweetness with rich chocolate and creamy peanut butter. The powdered sugar in the peanut butter center and chocolate coating provide controlled sweetness.
Stick with traditional creamy peanut butter. Natural peanut butter has different oil content and might make the center too runny or separate during mixing.
Look for set edges and a slightly crackly top. The cookies should look slightly underbaked in the center but firm around the edges. They’ll continue cooking slightly after removing from the oven.
Print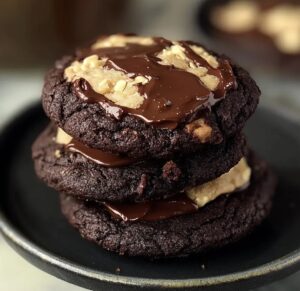
Decadent Buckeye Cookies Recipe
- Total Time: 27 minutes
- Yield: 24 1x
Description
Rich and indulgent buckeye cookies blend Ohio’s classic chocolate and peanut butter treat into a delightful dessert. Chocolate-dipped peanut butter balls create a nostalgic sweet experience that connects home bakers with Midwestern comfort.
Ingredients
Main Ingredients:
- 1 box fudge brownie mix (19.5 ounces / 553 grams)
- 1 cup creamy peanut butter
- 4 ounces (113 grams) cream cheese, softened
Binding and Moisture Ingredients:
- 1 large egg
- 1/4 cup (57 grams) butter, melted
Finishing and Flavor Ingredients:
- 1 cup powdered sugar
- 4 ounces (113 grams) semi-sweet chocolate chips
Instructions
- Empty the brownie mix into a large mixing bowl, reserving any dry ingredients, and incorporate melted butter, softened cream cheese, and egg until a thick, uniform batter forms.
- Line a baking sheet with parchment paper and carefully drop rounded spoonfuls of the brownie mixture, ensuring consistent size and spacing.
- Heat the oven to 350°F, positioning the rack in the center for even baking.
- Bake the cookies for 11-12 minutes, watching for set edges and fully cooked bottoms, which indicate proper doneness.
- During baking, combine peanut butter and powdered sugar in a separate bowl, kneading the mixture until smooth and easily moldable.
- Once cookies emerge from the oven, allow them to cool slightly for 2-3 minutes, then gently press a pre-formed peanut butter ball into the center of each warm cookie.
- Melt chocolate chips or Candiquik in a microwave-safe bowl, stirring at 30-second intervals until completely smooth and glossy.
- Drizzle or carefully spoon the melted chocolate over the peanut butter centers, ensuring complete coverage and an attractive finish.
Notes
- Customize Brownie Mix Selection pick a high-quality brownie mix or opt for gluten-free alternatives to accommodate dietary restrictions.
- Achieve Perfect Texture ensure the batter is thick and not runny by carefully measuring ingredients and mixing thoroughly.
- Control Peanut Butter Consistency chill the peanut butter mixture briefly if it’s too soft, making it easier to form and place on warm cookies.
- Chocolate Drizzling Technique use a spoon or piping bag for clean, even chocolate coverage and create an attractive professional finish.
- Prep Time: 15 minutes
- Cook Time: 12 minutes
- Category: Desserts, Snacks
- Method: Baking
- Cuisine: American
Nutrition
- Serving Size: 24
- Calories: 190
- Sugar: 12 g
- Sodium: 150 mg
- Fat: 9 g
- Saturated Fat: 4 g
- Unsaturated Fat: 5 g
- Trans Fat: 0 g
- Carbohydrates: 25 g
- Fiber: 1 g
- Protein: 3 g
- Cholesterol: 20 mg
Marcus Reed
Founder & Food Content Creator
Expertise
Single-recipe development, Seasonal and local ingredient utilization, Food photography and styling, Culinary writing and content creation
Education
Culinary Arts Certificate, Blue Ridge Community and Technical College, WV
Focus: Fundamentals of culinary techniques, emphasizing hands-on experience in small-scale kitchen settings.
Marcus’s story begins in Asheville, where good food and family kitchens shaped his earliest memories. After hands-on culinary training and a lot of trial (and a little error), he realized that real cooking isn’t about perfection, it’s about connection.
At Pan and Oven, Marcus crafts recipes that are easy to follow, packed with flavor, and built for real kitchens.