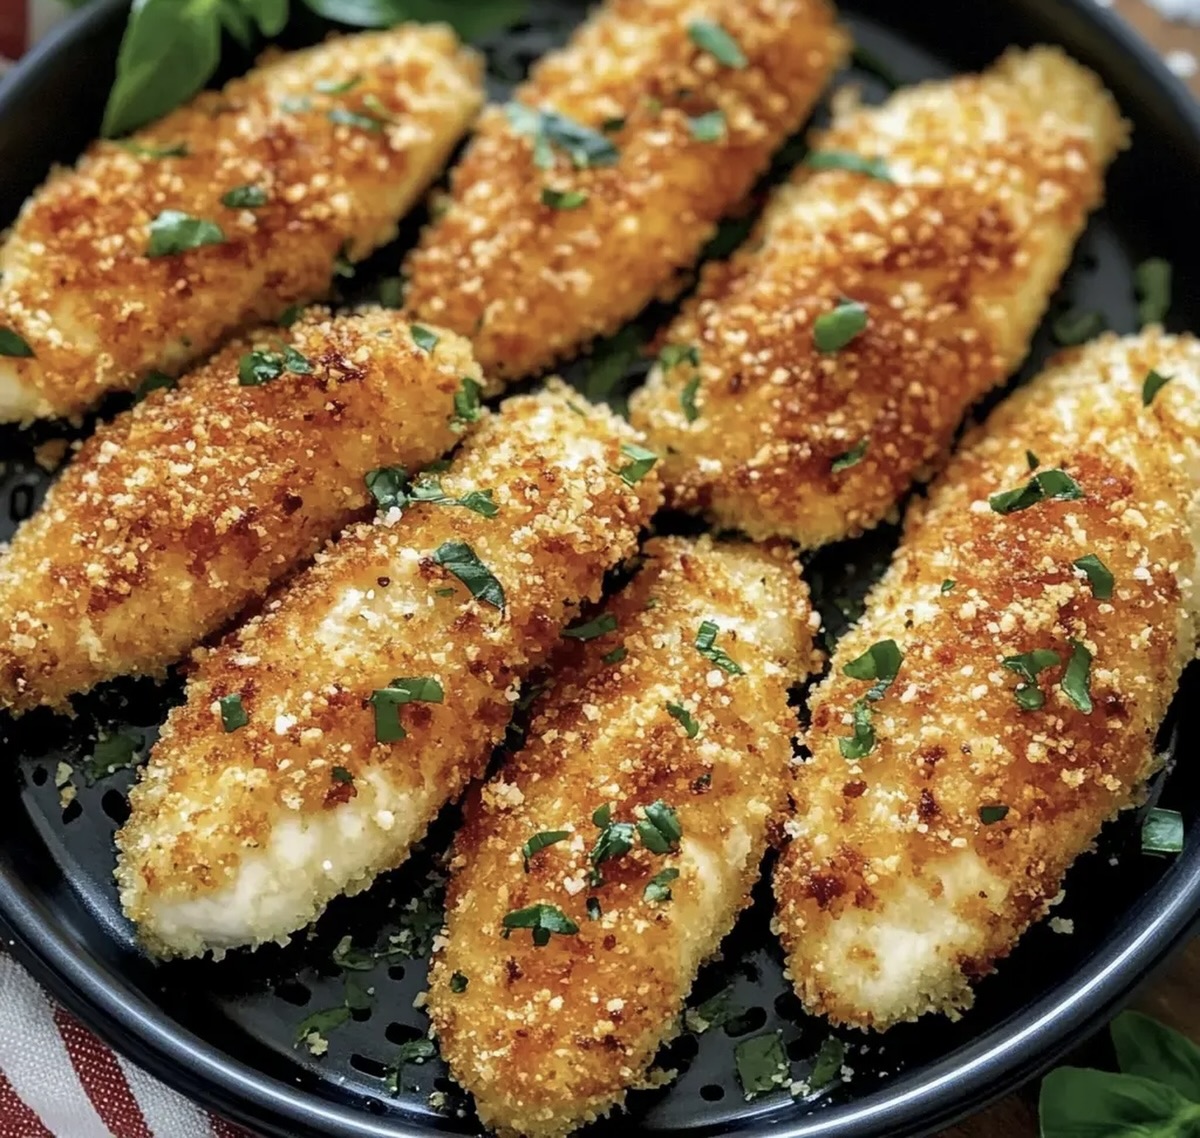
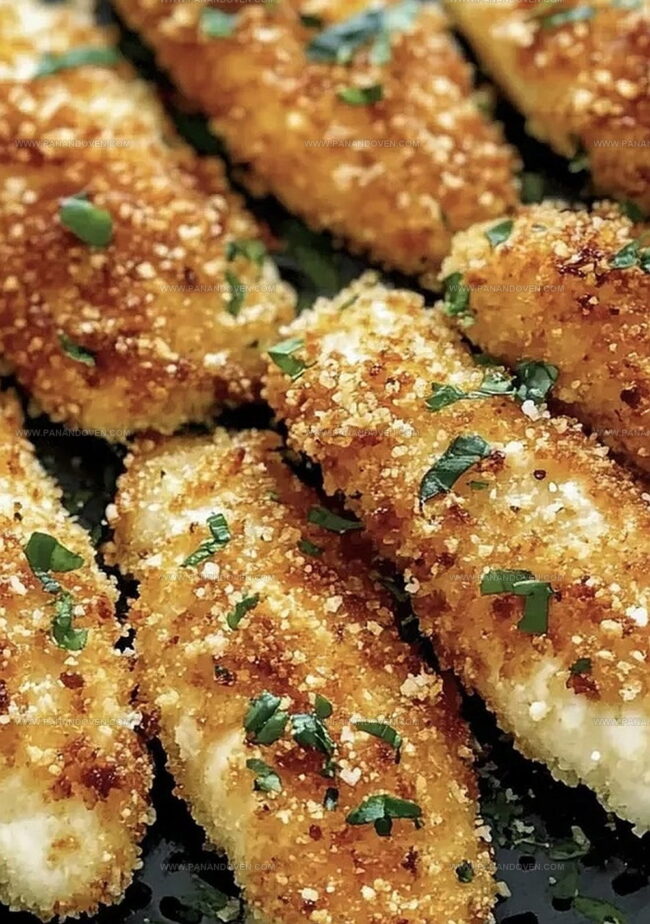
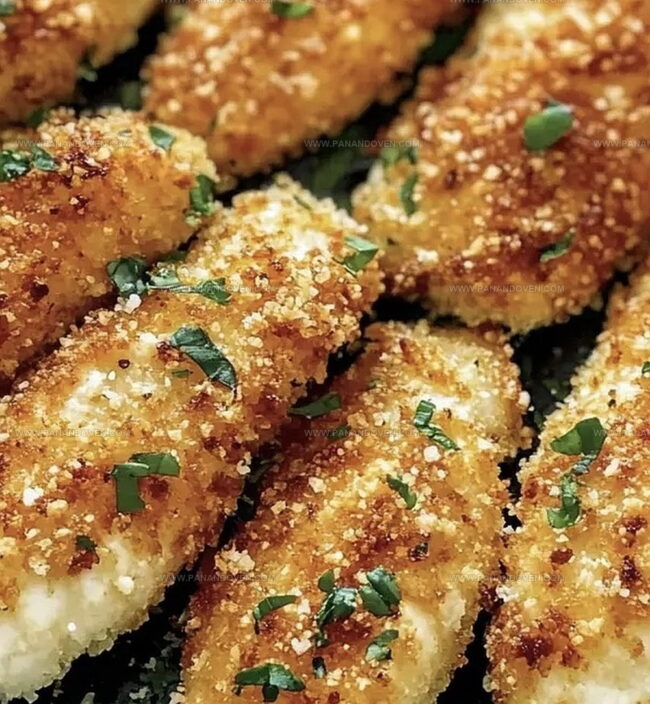
Crispy Parmesan Air Fryer Chicken Tenders Recipe That Wows
Tender chicken strips coated in a crispy parmesan air fryer chicken tenders recipe never tasted so good.
These golden-brown delights promise a mouthwatering crunch that’ll make dinner exciting.
Each bite delivers a perfect blend of seasoned breading and juicy meat.
The air fryer works magic, creating a delectable exterior without excess oil.
parmesan cheese adds a rich, nutty flavor that elevates these tenders from ordinary to extraordinary.
You’ll love how quickly this meal comes together with minimal cleanup.
Prepare to savor every crispy, cheesy morsel that’s sure to become a weeknight favorite.
Parmesan Air Fryer Chicken Tenders With Crunch
The Chicken Tender Ingredient Shortlist
Protein:Dry Coating Ingredients:Wet Coating Ingredients:Must-Have Tools For Air Fried Perfection
Air Fryer Chicken Tender How-To Guide
Step 1: Prepare Seasoned Coating
Mix flour with salt and pepper in one bowl.
Whisk olive oil with minced garlic in another bowl.
In the third bowl, combine:Step 2: Dredge Chicken Pieces
Pat chicken tenders dry with paper towels.
Dip each tender first into flour mixture, shaking off excess.
Next, roll in garlic oil, ensuring complete coverage.
Finally, press into breadcrumb mixture, coating thoroughly.
Step 3: Preheat Air Fryer
Set air fryer to 400 degrees Fahrenheit.
Allow machine to warm up for 2-3 minutes before adding chicken.
Step 4: Arrange Chicken
Place chicken tenders in air fryer basket, ensuring pieces do not touch.
Create a single layer for maximum crispiness.
Step 5: Cook Chicken
Cook chicken for 9 minutes.
Carefully flip tenders using tongs.
Continue cooking for additional 8-9 minutes until golden brown and internal temperature reaches 165 degrees Fahrenheit.
Step 6: Rest and Serve
Remove chicken from air fryer.
Let rest for 3-4 minutes to retain moisture.
Serve immediately with preferred dipping sauce like ranch or marinara.
Crisp and Golden Chicken Tender Secrets
Twists For Your Next Chicken Tender Batch
Serve Chicken Tenders With Dipping Flair
Storing Chicken Tenders For Anytime Snacking
FAQs
Yes, you can substitute regular breadcrumbs, but Panko will give you a crispier texture. The larger, flakier Panko crumbs create a lighter, crunchier coating.
Use a meat thermometer to check that the internal temperature reaches 165F. This ensures the chicken is safe to eat and prevents undercooking or overcooking.
No, the recipe contains flour and Panko breadcrumbs, which have gluten. To make it gluten-free, use gluten-free flour and gluten-free breadcrumbs as substitutes.
Print
Crispy Parmesan Air Fryer Chicken Tenders Recipe
- Total Time: 35 minutes
- Yield: 4 1x
Description
Crispy parmesan air fryer chicken tenders deliver golden, crunchy perfection with minimal effort. Seasoned breading and quick cooking ensure restaurant-quality results that will satisfy your craving for a quick, delicious meal.
Ingredients
Protein:
- 1.25 pounds (20 ounces) boneless, skinless chicken tenders
Coating Ingredients:
- 1/2 cup white flour
- 1 cup Panko breadcrumbs
- 2/3 cup freshly grated Parmesan cheese
Seasoning Ingredients:
- 1/2 teaspoon salt
- 1/4 teaspoon pepper
- 3 teaspoons minced garlic
- 1 teaspoon dried basil
- 1/4 teaspoon paprika
- 6 tablespoons olive oil or melted butter
Instructions
- Meticulously trim any visible fat from chicken tenders, creating uniform pieces for consistent cooking.
- Establish three distinct seasoning stations: first, combine flour with salt and pepper; second, whisk olive oil with minced garlic; third, blend Panko breadcrumbs with Parmesan cheese, dried basil, and paprika.
- Dredge each tender systematically through flour mixture, ensuring complete coverage, then dip into garlic-infused oil, allowing excess to drip off.
- Roll thoroughly in Panko-Parmesan blend, pressing gently to create a crisp, adherent coating that will transform into a golden crust.
- Carefully arrange breaded tenders in air fryer basket, maintaining space between pieces to promote optimal air circulation and crispiness.
- Program air fryer to 400°F, cooking for 9 minutes, then flip tenders to ensure even browning and continued crispification.
- Continue cooking for additional 8-9 minutes, monitoring internal temperature until chicken reaches safe 165°F, guaranteeing both safety and succulent texture.
- Allow tenders to rest briefly after cooking, which helps retain moisture and sets the crispy exterior.
Notes
- Ensure even coating by using one hand for dry ingredients and another for wet to prevent clumping and messy fingers.
- Pat chicken tenders dry before coating to help breading stick better and achieve maximum crispiness.
- Spray or lightly brush chicken with olive oil before air frying to enhance golden-brown color and extra crunch.
- For gluten-free version, swap white flour with almond flour or gluten-free breadcrumbs and use certified gluten-free Parmesan.
- Prep Time: 15 minutes
- Cook Time: 20 minutes
- Category: Dinner, Snacks, Appetizer
- Method: Air Frying
- Cuisine: American
Nutrition
- Serving Size: 4
- Calories: 450
- Sugar: 1 g
- Sodium: 350 mg
- Fat: 27 g
- Saturated Fat: 6 g
- Unsaturated Fat: 21 g
- Trans Fat: 0 g
- Carbohydrates: 29 g
- Fiber: 1 g
- Protein: 30 g
- Cholesterol: 90 mg
Marcus Reed
Founder & Food Content Creator
Expertise
Single-recipe development, Seasonal and local ingredient utilization, Food photography and styling, Culinary writing and content creation
Education
Culinary Arts Certificate, Blue Ridge Community and Technical College, WV
Focus: Fundamentals of culinary techniques, emphasizing hands-on experience in small-scale kitchen settings.
Marcus’s story begins in Asheville, where good food and family kitchens shaped his earliest memories. After hands-on culinary training and a lot of trial (and a little error), he realized that real cooking isn’t about perfection, it’s about connection.
At Pan and Oven, Marcus crafts recipes that are easy to follow, packed with flavor, and built for real kitchens.