Silky Smooth Creamy Caramel Candy Recipe for Sweet Smiles
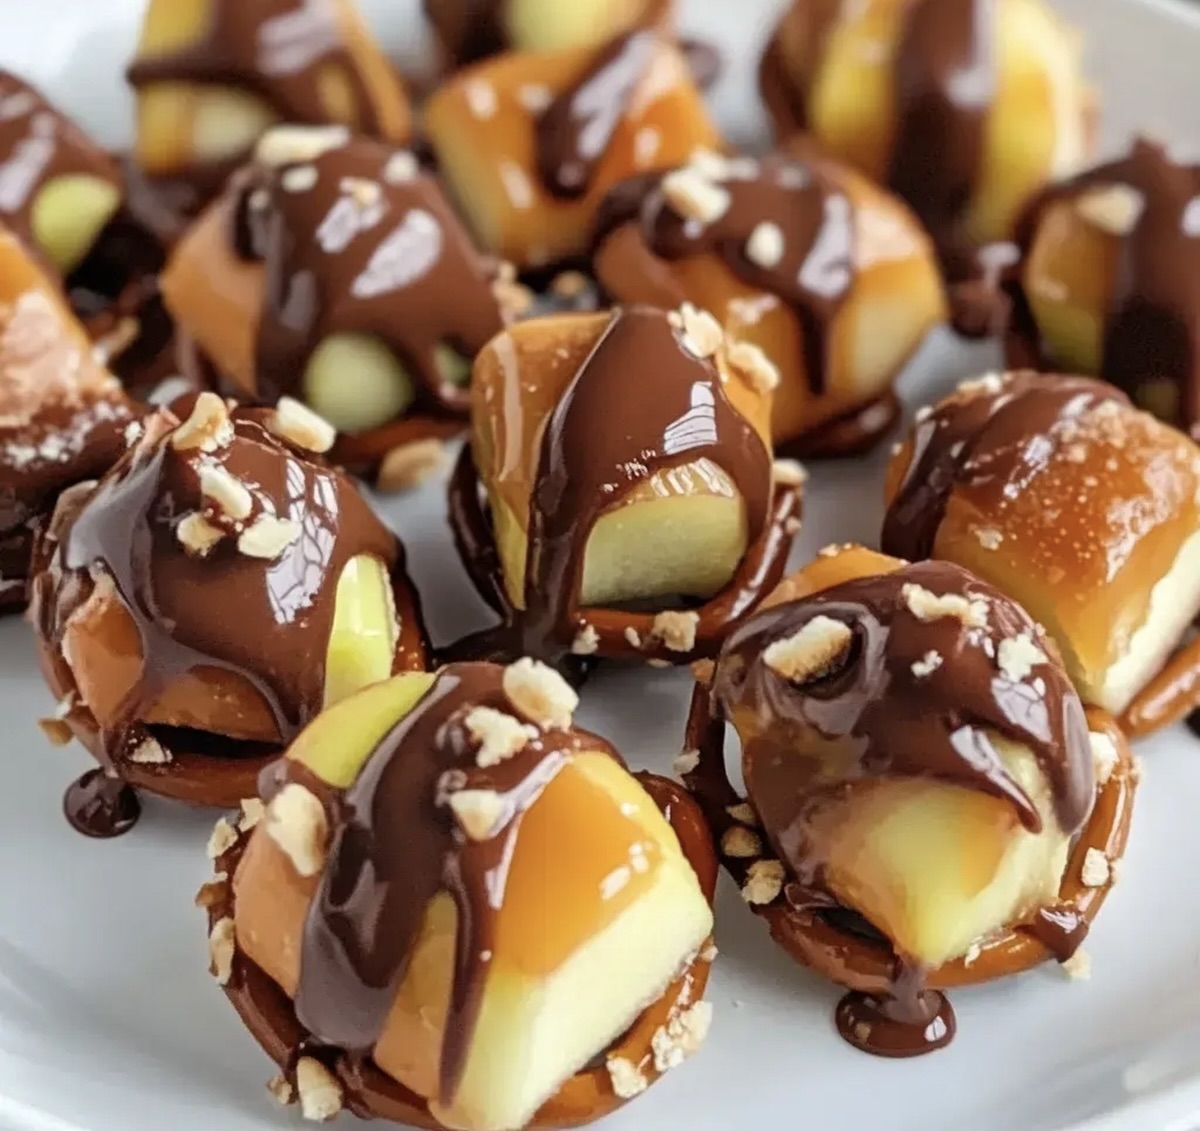
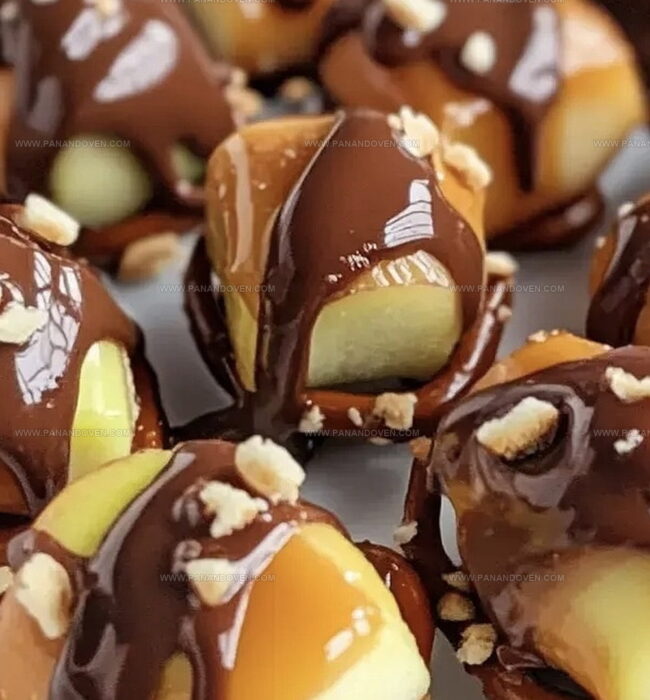
Sweet and silky caramel candy dances with rich, decadent flavors that melt effortlessly on your tongue.
Every bite of this creamy caramel candy recipe promises pure indulgence and nostalgia.
Professional and home bakers alike adore this classic treat for its simplicity and irresistible charm.
Small batches of golden, glossy caramel come together with just a few basic ingredients.
The process requires patience and gentle attention to create smooth, buttery perfection.
Gentle stirring and precise temperature control transform ordinary sugar into an extraordinary confection.
You’ll be amazed at how such simple ingredients can create such a luxurious sweet treat that everyone will love.
Caramel Candy: What Sets It Apart
Creamy Caramel Candy Ingredient List
Equipment for Caramel Candy Making
Steps to Craft Creamy Caramel Candy
Step 1: Prepare The Baking Vessel
Line a baking dish with parchment paper or grease it thoroughly to prevent sticking.
This ensures easy removal of your delectable caramel treats later.
Step 2: Create A Cooling Station
Get a small glass and fill it with ice water.
This will be your secret weapon for testing the caramel’s perfect consistency during cooking.
Step 3: Build The Caramel Base
In a spacious pot over medium-high heat, combine:Stir the ingredients until they merge into a bubbling mixture, creating the foundation of your sweet adventure.
Step 4: Introduce The Cream
Pour cream into the boiling mixture in a gentle, steady stream.
Keep stirring continuously to ensure smooth incorporation and prevent any burning.
Step 5: Melt In The Butter
Add cubed salted butter to the pot.
Stir until completely melted and integrated.
Continue boiling and stirring for 15-20 minutes, watching the mixture transform.
Step 6: Check Caramel Perfection
Test the caramel’s readiness by dropping a small amount into the ice water.
Roll it between your fingers – it should form a soft ball that holds its shape but remains pliable.
Step 7: Enhance With Vanilla
Remove the pot from heat and quickly stir in vanilla extract.
This adds a luxurious depth of flavor to your caramels.
Step 8: Pour And Settle
Transfer the molten caramel into your prepared dish.
Allow it to cool completely at room temperature, ideally overnight, until it sets perfectly.
Step 9: Shape Your Treats
Once set, slice the caramel into bite-sized pieces using a greased knife.
Wrap each piece in wax paper to prevent sticking and maintain freshness.
Step 10: Store And Enjoy
Keep your homemade caramel candies in an airtight container at room temperature.
They’ll stay deliciously soft for 2-3 weeks – if they last that long!
Caramel Candy Making Tips
Caramel Candy Flavors & Additions
Serving Caramel Candy for Treats
Storing Creamy Caramel Candy Right
FAQs
You can use granulated white sugar or light brown sugar, but traditional white sugar gives the best consistent results and color.
Use a heavy-bottomed pot, stir continuously, and monitor the temperature closely with a candy thermometer to ensure even heating and prevent scorching.
Use a knife coated with cooking spray or butter, or cut the caramel when it’s slightly firm but not completely hard, which helps create clean, smooth edges.
Salt enhances the deep caramel flavor, balances the sweetness, and brings out more complex taste notes in the candy, creating a more sophisticated and rich experience.
Print
Creamy Caramel Candy Recipe
- Total Time: 35 minutes
- Yield: 20 1x
Description
Heavenly Caramel Candy blends rich cream and golden sugar into a silky sweet treat. Confectioners’ careful techniques yield smooth, indulgent bites you’ll savor with pure delight.
Ingredients
Main Ingredients:
- 2 cups granulated sugar
- 1 pint (473 ml) cream
- 2 cups light Karo syrup
- 1/2 cup (113 grams) salted butter, cubed
Flavoring Ingredients:
- 1 teaspoon vanilla extract
- Fine table salt
Additional Ingredients:
- Warm whipping cream
Instructions
- Prepare a baking dish by lining it with parchment paper or generously greasing the surface to prevent sticking during the caramel-making process.
- Create an iced water bath in a small glass, which will be used to test the caramel’s consistency during cooking.
- In a large pot over medium-high heat, combine granulated sugar, light Karo syrup, and a pinch of salt. Stir continuously until the mixture dissolves and begins to bubble vigorously.
- Slowly stream the cream into the bubbling sugar mixture, maintaining a constant stir to ensure even heating and prevent scorching.
- Incorporate cubed salted butter, stirring until completely melted and integrated. Continue boiling for 15-20 minutes, monitoring the temperature carefully between 240°F and 245°F.
- Validate the caramel’s readiness by dropping a small amount into the iced water. When rolled, it should form a soft, malleable ball that holds its shape.
- Remove the pot from heat and swiftly blend in vanilla extract, ensuring a smooth and even distribution throughout the caramel.
- Quickly transfer the molten caramel into the prepared dish, allowing it to cool and set at room temperature, ideally overnight.
- Once fully solidified, slice the caramel into desired shapes using a well-greased or plastic knife to prevent sticking.
- Individually wrap each piece in wax paper and store in an airtight container at room temperature, where they will remain soft for 2-3 weeks.
Notes
- Use room temperature ingredients to ensure smooth caramel texture and even cooking.
- Test caramel readiness precisely by using a candy thermometer for consistent results every time.
- Prevent sugar crystallization by avoiding stirring once the mixture starts boiling and maintaining steady heat.
- Consider adding sea salt flakes on top for a gourmet flavor twist that enhances the caramel’s richness.
- Prep Time: 15 minutes
- Cook Time: 20 minutes
- Category: Desserts, Snacks
- Method: Boiling
- Cuisine: American
Nutrition
- Serving Size: 20
- Calories: 170
- Sugar: 22 g
- Sodium: 50 mg
- Fat: 6 g
- Saturated Fat: 4 g
- Unsaturated Fat: 2 g
- Trans Fat: 0 g
- Carbohydrates: 27 g
- Fiber: 0 g
- Protein: 1 g
- Cholesterol: 15 mg
Marcus Reed
Founder & Food Content Creator
Expertise
Single-recipe development, Seasonal and local ingredient utilization, Food photography and styling, Culinary writing and content creation
Education
Culinary Arts Certificate, Blue Ridge Community and Technical College, WV
Focus: Fundamentals of culinary techniques, emphasizing hands-on experience in small-scale kitchen settings.
Marcus’s story begins in Asheville, where good food and family kitchens shaped his earliest memories. After hands-on culinary training and a lot of trial (and a little error), he realized that real cooking isn’t about perfection, it’s about connection.
At Pan and Oven, Marcus crafts recipes that are easy to follow, packed with flavor, and built for real kitchens.