Cozy Cracker Barrel Fried Apples Recipe Just Like Home
Warm, cinnamon-kissed Cracker Barrel fried apples dance with golden sweetness on your plate, promising comfort in every bite.
Southern kitchens know the magic of this simple dessert that turns ordinary fruit into something extraordinary.
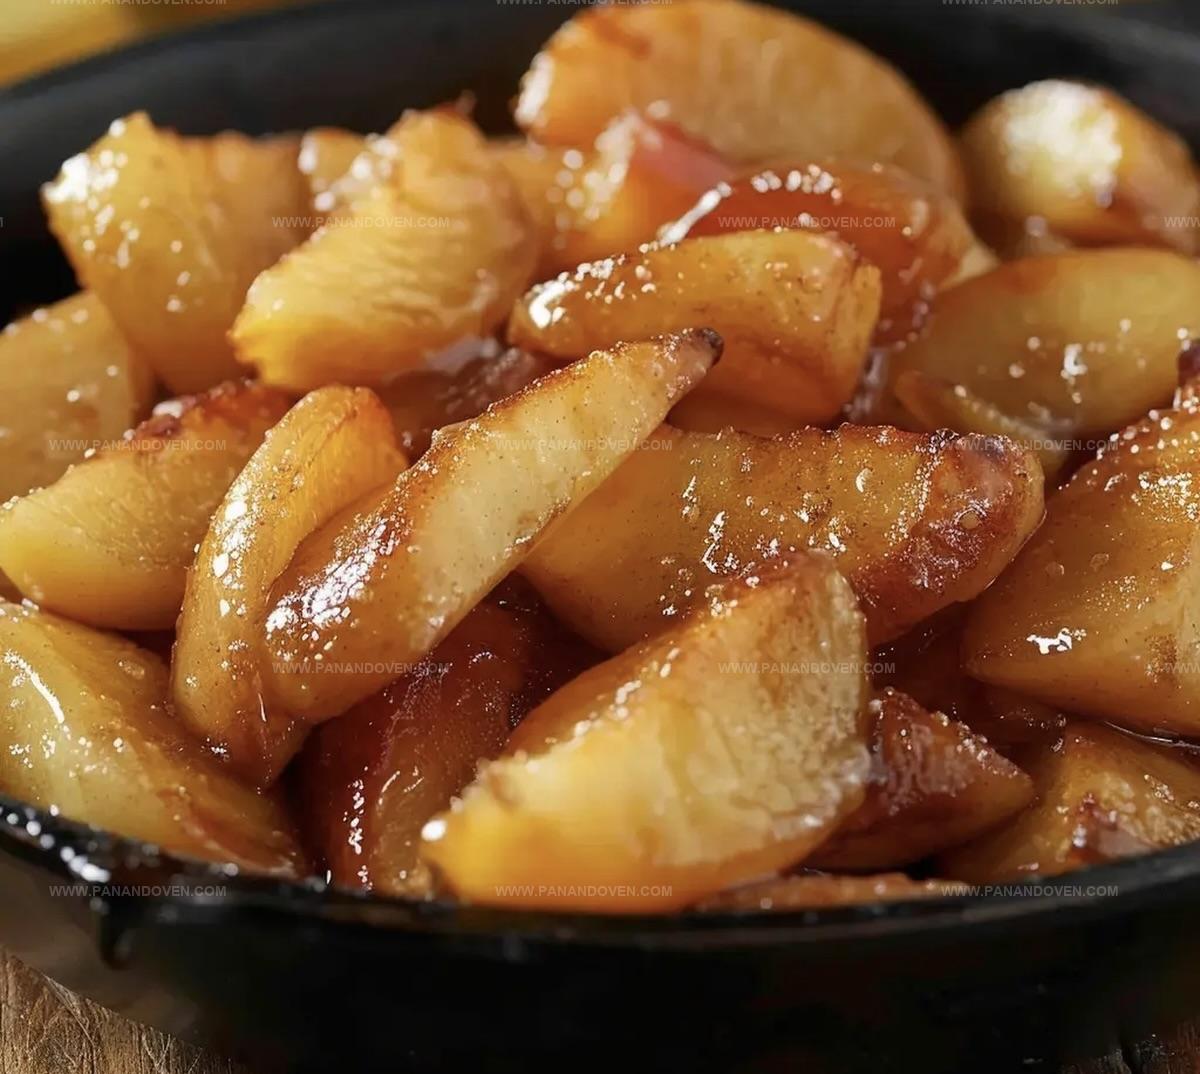
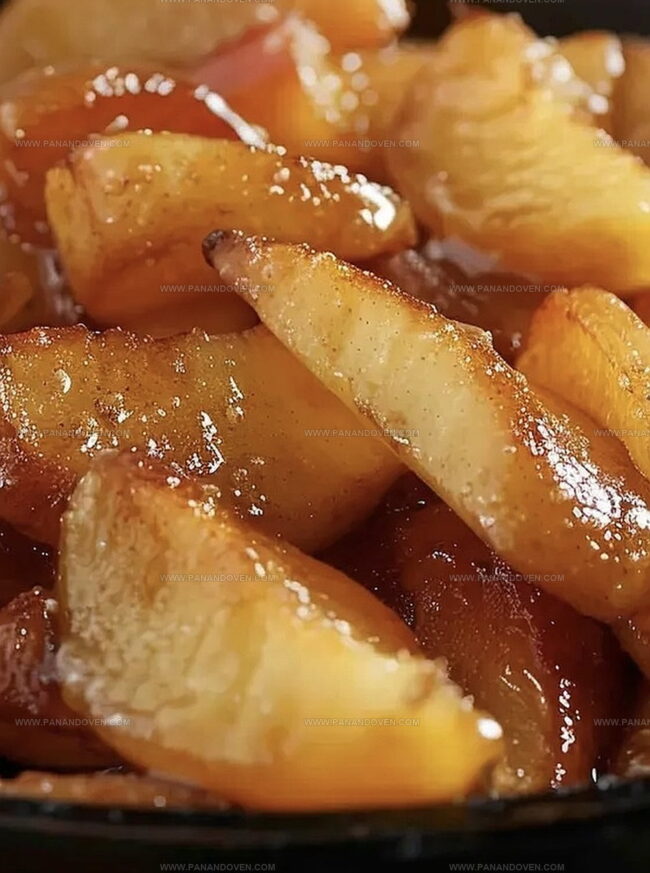
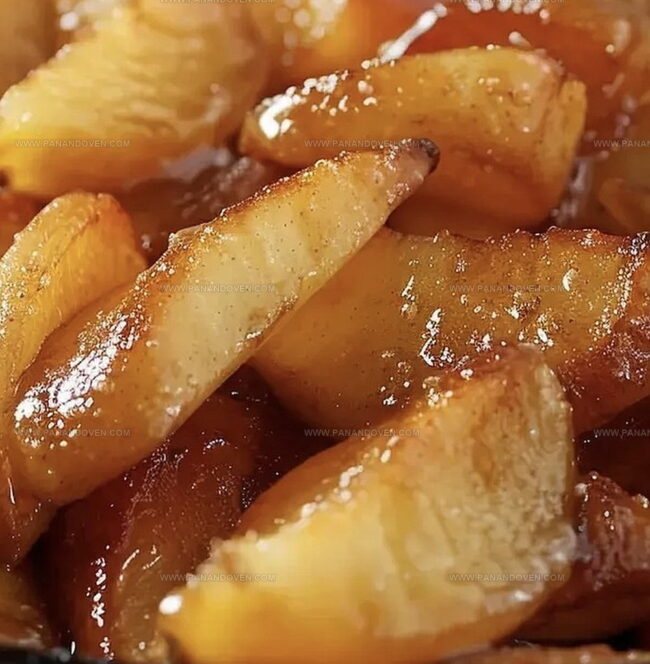
Tender apple slices caramelize beautifully, releasing their natural sugars and creating a rich, indulgent treat.
Soft and glistening, these apples carry memories of grandma’s cooking and lazy weekend mornings.
Each forkful brings a perfect balance of spice and sweetness that feels like a warm embrace.
Fresh apples transform into a delectable side dish that pairs wonderfully with breakfast or serves as a delightful dessert.
You’ll want to make this recipe again and again, sharing its homestyle charm with everyone at the table.
Old-Fashioned Fried Apples That Steal the Show
Apple Slices & Sweet Spices For Cozy Nights
Fresh Produce:Fats and Sweeteners:Spices and Seasonings:The Best Skillet For Fried Apple Magic
Sautéing Apples With Down-Home Style
Step 1: Prepare Apple Slices
Wash and dry your apples thoroughly.
Using a sharp knife, carefully peel the skin from each apple.
Remove the core and slice the apples into uniform wedges about half an inch thick.
Drizzle fresh lemon juice over the apple slices and gently toss to prevent discoloration.
Step 2: Create Buttery Base
Place a cast-iron skillet on the stovetop over medium heat.
Add butter and allow it to melt completely, watching for a gentle bubbling that signals it’s ready for the next stage.
Step 3: Season And Sauté Apples
Carefully transfer apple slices into the heated skillet.
Sprinkle the apples with:Gently stir to ensure even coating of the seasonings.
Step 4: Slow Cook To Caramelize
Cover the skillet with a lid and reduce heat to medium-low.
Let the apples cook slowly, stirring occasionally to prevent sticking.
Continue cooking until the apples become tender and develop a rich, golden-brown caramelized exterior.
Step 5: Final Touch And Serving
Remove the skillet from heat once the apples reach a soft, glistening consistency.
Transfer to a serving dish and enjoy immediately while warm.
These apples make a delightful side dish or sweet dessert companion.
Fried Apple Wisdom: Tips for Tender Slices
Apple Upgrades: Unique Ways to Enjoy
Serving Warm Fried Apples With Style
Storing Skillet Apples For Sweet Moments
FAQs
Granny Smith or Honeycrisp apples are ideal because they hold their shape well and provide a nice balance of tartness and sweetness during cooking.
Yes, you can use any heavy-bottomed skillet or sauté pan. The key is to have even heat distribution for caramelizing the apples.
The apples are done when they’re tender but not mushy, with a golden-brown caramelized exterior and a soft, sweet interior. They should be easily pierced with a fork but still hold their shape.
Print
Cracker Barrel Fried Apples Recipe
- Total Time: 25 minutes
- Yield: 8 1x
Description
Cracker Barrel fried apples shine as a classic Southern dessert with buttery cinnamon-spiced goodness. Home cooks can quickly recreate this comforting side dish that brings warmth and nostalgia to any meal you’ll savor.
Ingredients
Main Ingredients:
- 5–6 tart apples, peeled, cored, and cut into 1/2-inch wedges (about 2 pounds / 907 grams)
Sweeteners and Spices:
- 1/4 cup packed brown sugar
- 1 teaspoon ground cinnamon
- Pinch of salt
Cooking Ingredients:
- 4 tablespoons (1/2 stick / 57 grams) butter
- Juice of 1 lemon (or 2 tablespoons bottled lemon juice)
Instructions
- Carefully slice peeled and cored apples into uniform half-inch wedges, then drizzle fresh lemon juice over them to prevent discoloration.
- Heat a cast-iron skillet on medium temperature, gently melting butter until it transforms into a frothy, golden liquid.
- Distribute apple wedges evenly across the heated skillet, generously sprinkling brown sugar, ground cinnamon, and a delicate pinch of salt over the fruit.
- Cover the skillet and allow the apples to simmer for approximately 15 minutes, periodically stirring to ensure even caramelization and prevent sticking.
- When apples reach a tender consistency with rich, golden-brown edges, remove from heat and transfer to a serving dish, allowing the natural sugars to create a glistening sauce.
Notes
- Choose firm, tart apples like Granny Smith or Honeycrisp for the best texture and balanced sweetness when cooking.
- Slice apples uniformly to ensure even cooking and consistent caramelization throughout the dish.
- Adjust cooking time slightly depending on apple ripeness and desired softness, checking tenderness with a fork every few minutes.
- Transform this recipe into a healthier version by replacing butter with coconut oil or using a sugar substitute like stevia for a diabetic-friendly option.
- Prep Time: 10 minutes
- Cook Time: 15 minutes
- Category: Desserts, Snacks
- Method: Sautéing
- Cuisine: American
Nutrition
- Serving Size: 8
- Calories: 120
- Sugar: 12 g
- Sodium: 1 mg
- Fat: 7 g
- Saturated Fat: 4 g
- Unsaturated Fat: 3 g
- Trans Fat: 0 g
- Carbohydrates: 16 g
- Fiber: 2 g
- Protein: 0 g
- Cholesterol: 15 mg
Marcus Reed
Founder & Food Content Creator
Expertise
Single-recipe development, Seasonal and local ingredient utilization, Food photography and styling, Culinary writing and content creation
Education
Culinary Arts Certificate, Blue Ridge Community and Technical College, WV
Focus: Fundamentals of culinary techniques, emphasizing hands-on experience in small-scale kitchen settings.
Marcus’s story begins in Asheville, where good food and family kitchens shaped his earliest memories. After hands-on culinary training and a lot of trial (and a little error), he realized that real cooking isn’t about perfection, it’s about connection.
At Pan and Oven, Marcus crafts recipes that are easy to follow, packed with flavor, and built for real kitchens.