Homemade Little Debbie Valentine’s Day Cakes Recipe: Sweet Magic
Celebrate love with a sweet twist on a classic snack cake that brings nostalgia right to your kitchen.
These homemade copycat Little Debbie Valentine’s Day cakes capture the essence of childhood treats with a romantic flair.
Soft, tender cake layers embrace a creamy filling that melts in your mouth.
Red and pink frosting adds a festive touch that makes these treats perfect for any Valentine’s celebration.
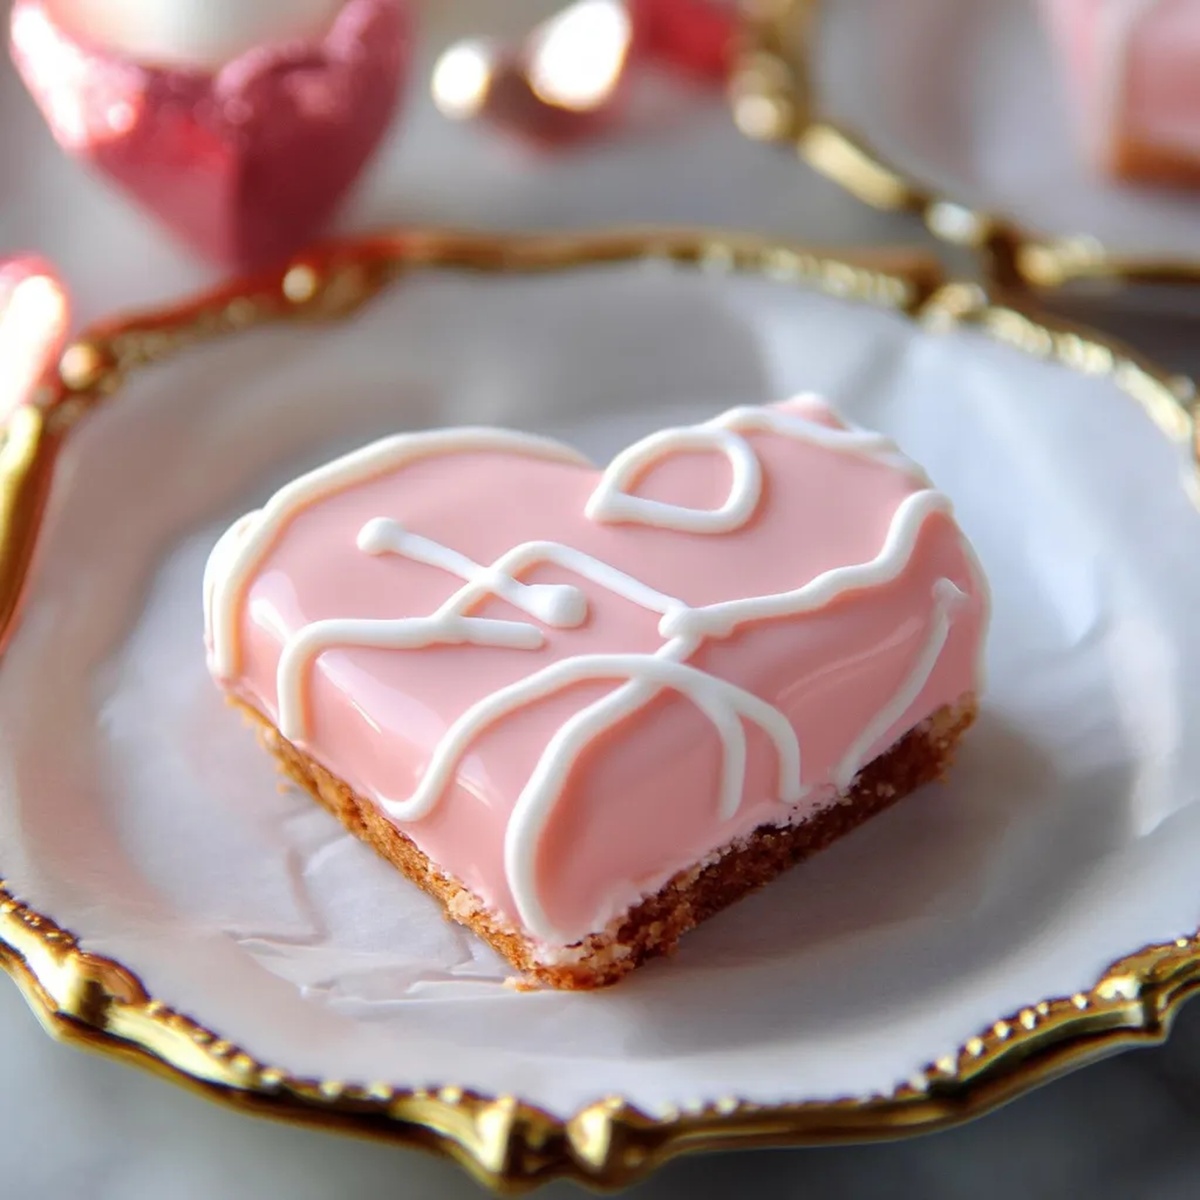
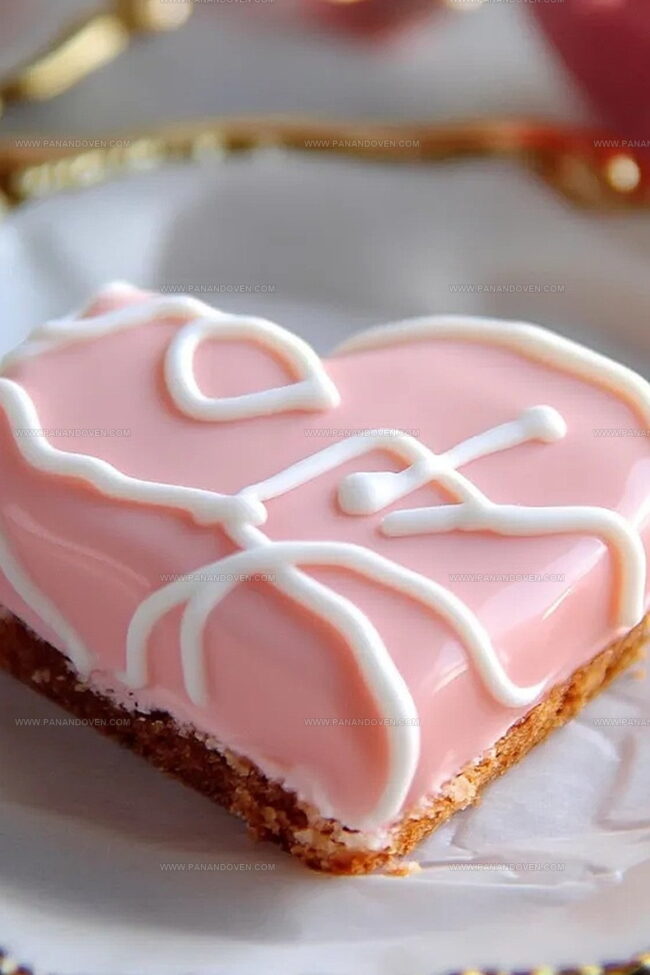
The delicate heart-shaped design transforms a simple dessert into a charming homemade delight.
Each bite promises a moment of pure joy and sweet memories.
You’ll fall in love with this simple yet irresistible recipe that rivals the store-bought version.
Little Debbie Valentine’s Cakes Copycat Standouts
Copycat Little Debbie Valentine’s Cakes Ingredient List
Cake Base:Wet Ingredients:Filling and Coating:Decoration:Kitchen Tools for Valentine’s Cake Success
Baking Valentine’s Cakes That Impress
Step 1: Prepare Baking Space
Warm up your oven to a cozy 350F.
Lovingly coat a half sheet pan with grease, then line it with parchment paper.
Give the parchment another gentle grease to ensure nothing sticks.
Step 2: Create Dry Mix
Grab a bowl and whisk flour, baking powder, and salt together until they’re perfectly blended and smooth.
Step 3: Whip Up Cake Batter
Cream butter and sugar until they transform into a fluffy cloud-like mixture.
Gently introduce eggs one by one, followed by a splash of vanilla.
Slowly alternate between adding dry ingredients and buttermilk, mixing until everything comes together beautifully.
Step 4: Bake With Love
Spread the batter evenly across the pan, creating a smooth canvas.
Slide into the oven and bake until edges turn a delicate golden brown, about 15-20 minutes.
Let the cake cool for 10 minutes, then chill for an additional 20 minutes to set.
Step 5: Create Dreamy Filling
Blend butter and marshmallow fluff until they become silky smooth.
Fold in confectioner’s sugar and vanilla, mixing until the filling becomes irresistibly creamy.
Step 6: Shape and Assemble
Use a heart-shaped cookie cutter to create romantic cake pieces.
Pipe the luscious filling onto half of the hearts, then crown with the remaining heart-shaped cake pieces.
Pop them in the freezer for a solid hour to firm up.
Step 7: Chocolate Coating Magic
Melt candy melts with a touch of coconut oil.
Carefully dip the frozen cake hearts, creating a smooth, glossy exterior.
Let them set in the refrigerator for 15 minutes.
Step 8: Final Romantic Touches
Pipe delicate white chocolate swirls across the top of each cake.
Chill once more to set the decorative details, creating a picture-perfect Valentine’s treat.
Tricks for Copycat Little Debbie Cakes
Changing Up Copycat Little Debbie Cakes
How to Serve Little Debbie Valentine’s Cake at Home
Little Debbie Valentine’s Cake Storage Suggestions
FAQs
Yes, you can adjust the recipe, but you’ll need to modify baking time and potentially ingredient quantities. A 9×13 inch pan works well, but watch the cake’s thickness and baking duration carefully.
Create a simple substitute by adding 1 tablespoon of white vinegar or lemon juice to 1 cup of regular milk. Let it sit for 5 minutes before using, which will give you the same tangy flavor and texture.
Make sure your cakes are completely frozen before dipping. Add a small amount of coconut oil to the candy melts to create a smoother, more flexible coating that’s less likely to crack when cooling.
Print
Copycat Little Debbie Valentine’s Day Cakes Recipe
- Total Time: 50 minutes
- Yield: 12 1x
Description
Red velvet Little Debbie Valentine’s Day Cakes deliver nostalgic sweetness with homemade charm. Crimson layers sandwiched with cream cheese frosting celebrate love through delightful bite-sized treats you’ll savor.
Ingredients
Main Ingredients:
- 1 1/4 cups (296 ml) all-purpose flour
- 1 cup (200 g) sugar
- 2 eggs, room temperature
- 1/2 cup (113 g) unsalted butter, room temperature
- 1/2 cup (120 ml) buttermilk, room temperature
Leavening and Seasoning:
- 1 teaspoon baking powder
- 1/4 teaspoon salt
- 2 1/2 teaspoons vanilla extract
Filling and Coating Ingredients:
- 1 cup (227 g) unsalted butter, room temperature
- 1 cup marshmallow fluff
- 3 cups (360 g) confectioner’s sugar
- 2 teaspoons vanilla extract
- 2 1/2 cups light pink candy melts
- 3 tablespoons coconut oil
- 2 tablespoons white chocolate, melted
Instructions
- Preheat the oven to 350°F. Thoroughly grease a half sheet pan, line with parchment paper, and grease the parchment to ensure easy cake removal.
- In a medium bowl, combine flour, baking powder, and salt, whisking until uniformly mixed and free of lumps.
- Using an electric mixer, cream butter and sugar until light and airy. Incorporate eggs individually, mixing thoroughly after each addition. Blend in vanilla extract.
- Gradually alternate adding dry ingredient mixture and buttermilk to the butter mixture, mixing until a smooth, consistent batter forms.
- Spread batter evenly across prepared pan, ensuring uniform thickness. Bake for 15-20 minutes until edges turn golden and a toothpick inserted comes out clean.
- Allow cake to cool in pan for 10 minutes, then transfer to refrigerator for 20 minutes to firm up.
- Prepare filling by whipping butter and marshmallow fluff until completely smooth. Fold in confectioner’s sugar and vanilla, mixing until creamy.
- Once chilled, cut cake into heart shapes using a 4-inch cutter. Pipe filling onto half the hearts, then top with remaining heart cutouts.
- Freeze assembled cakes for 1 hour to stabilize structure.
- Melt candy melts with coconut oil until completely smooth. Carefully dip frozen cakes to create an even coating.
- Place coated cakes in refrigerator for 15 minutes to set chocolate shell.
- Pipe delicate white chocolate swirls on top of cakes for decoration. Chill briefly to finalize setting.
Notes
- Chill Thoroughly: Refrigerating the cake before cutting ensures cleaner, more precise heart shapes without crumbling.
- Soft Butter Matters: Use room temperature butter for smoother, fluffier batter that incorporates ingredients more evenly.
- Customize Flavors: Swap vanilla extract with almond or strawberry extract for a personalized Valentine’s twist.
- Dietary Adaptations: Replace wheat flour with gluten-free blend and use dairy-free butter alternatives for allergy-friendly version.
- Prep Time: 30 minutes
- Cook Time: 20 minutes
- Category: Desserts, Snacks
- Method: Baking
- Cuisine: American
Nutrition
- Serving Size: 12
- Calories: 370
- Sugar: 34 g
- Sodium: 150 mg
- Fat: 22 g
- Saturated Fat: 13 g
- Unsaturated Fat: 8 g
- Trans Fat: 0 g
- Carbohydrates: 42 g
- Fiber: 0 g
- Protein: 3 g
- Cholesterol: 60 mg
Clara Thompson
Recipe Developer & Food Educator
Expertise
Plant-based and vegetarian recipe development, Nutritional analysis and meal planning, Culinary education and workshop facilitation, Content writing with a focus on healthy living
Education
Diploma in Culinary Arts, Mt. San Jacinto College, CA
Focus: Comprehensive culinary training with an emphasis on sustainable cooking practices.
Certificate in Nutrition and Healthy Living, Cornell University (Online Program)
Focus: Understanding the principles of nutrition to create balanced and health-conscious recipes.
Clara lives where fresh ideas and fresh ingredients meet. She pairs her culinary know-how with her passion for healthy, planet-friendly cooking.
For Clara, good food should taste great, nourish your body, and feel easy to make. Her recipes highlight whole foods, colorful produce, and a deep respect for seasonal eating.