Christmas Magic: Peanut Butter Balls, Peppermint Bark & Candy Recipe
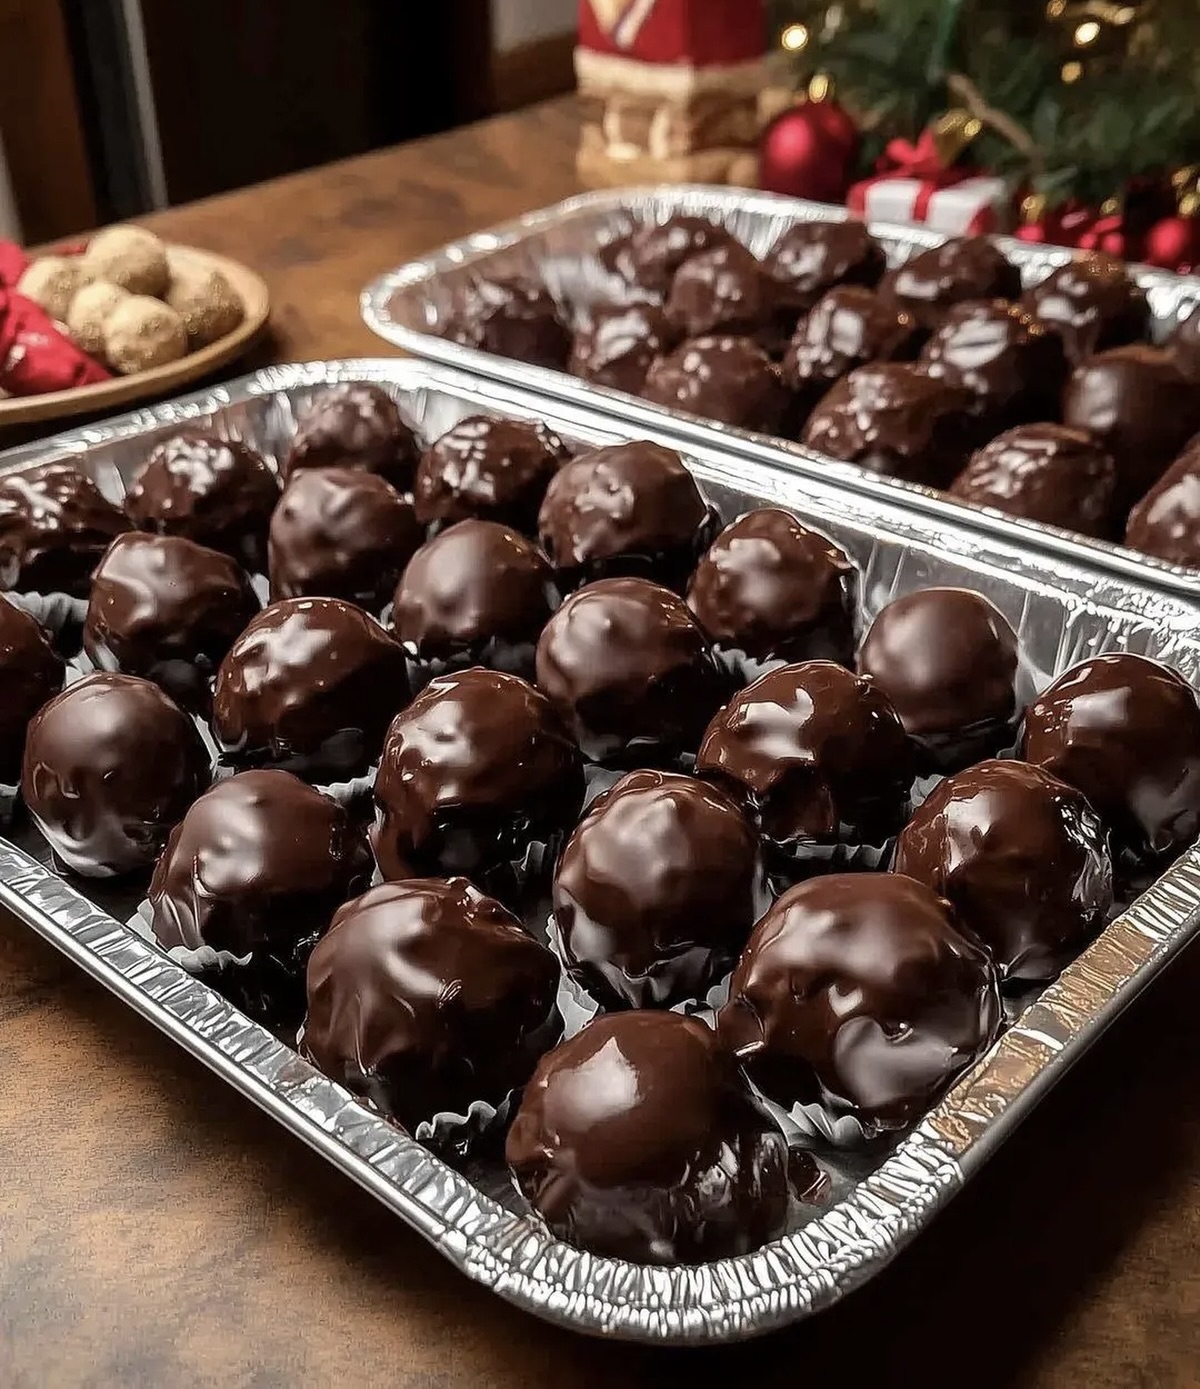
Sweet treats and holiday magic come together in these delectable Christmas peanut butter balls that sparkle with festive cheer.
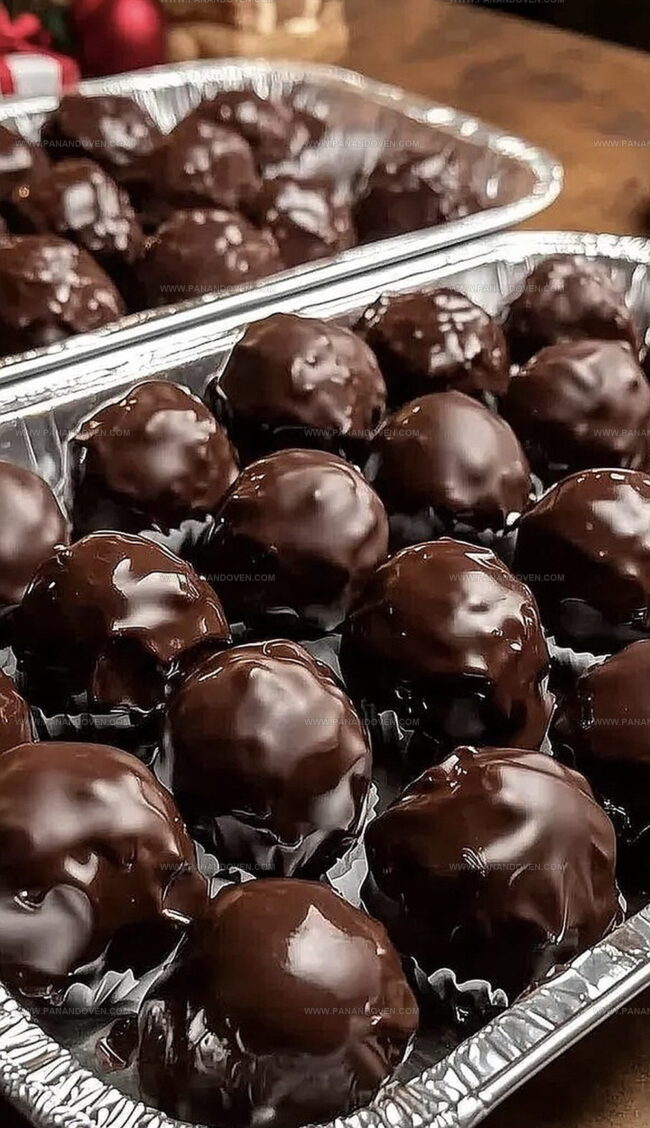
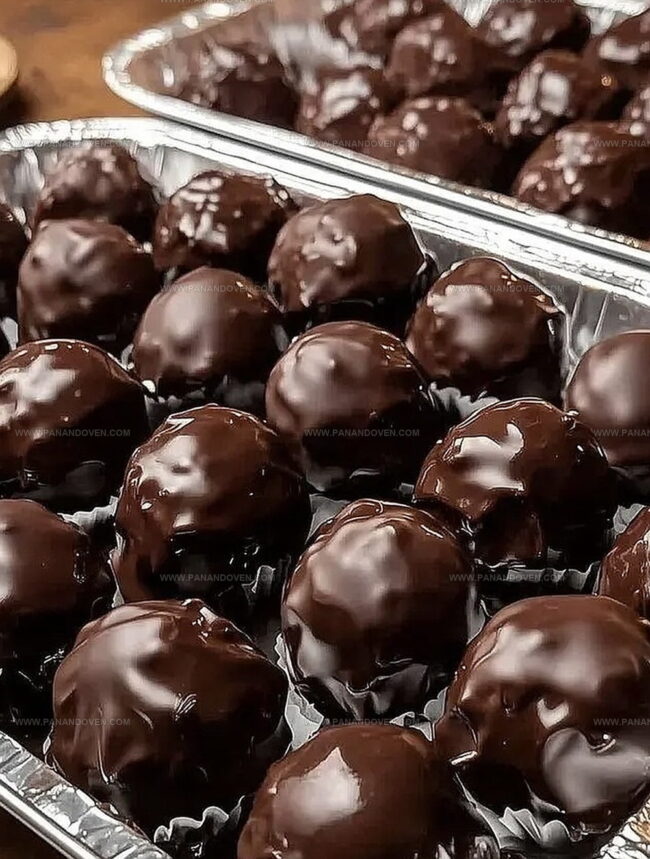
Creamy, rich, and utterly irresistible, these bite-sized delights promise to steal the spotlight at any gathering.
Each morsel bursts with classic peanut butter flavor and a smooth chocolate coating.
The recipe combines simple ingredients that blend effortlessly into pure indulgence.
You’ll fall in love with how quickly these candies come together in your kitchen.
These mouthwatering morsels offer a perfect balance of sweetness and nostalgia.
Prepare to delight everyone with these crowd-pleasing holiday confections that turn ordinary moments into memorable celebrations.
Why Christmas Peanut Butter Balls Peppermint Bark and Butterfinger Bars Are Always a Hit
What Goes Into These Holiday Candy Classics
Base Ingredients:Chocolate and Coating Ingredients:Flavor and Decoration Ingredients:Additional Ingredients:Tools for Easy Candy Making This Christmas
Stepwise Guide to Christmas Candy Creations
Step 1: Whip Up The Creamy Base
Grab your mixing bowl and combine softened butter, smooth peanut butter, and a splash of vanilla extract.
Stir everything together until the mixture becomes silky and well-blended.
Step 2: Create Sweet Soft Dough
Gradually fold in powdered sugar, stirring continuously.
Keep mixing until the texture transforms into a soft, pliable dough that holds its shape perfectly.
Step 3: Shape Delightful Spheres
Roll the mixture into small, uniform balls using your palms.
Place each ball gently on a parchment-lined baking sheet.
Pop the tray into the freezer for about half an hour to firm them up.
Step 4: Chocolate Dip Magic
Melt your favorite chocolate in a double boiler or microwave.
Carefully dunk each chilled peanut butter ball, ensuring complete chocolate coverage.
Let excess chocolate drip off before placing back on the parchment paper.
Peppermint Bark
Step 1: Create Chocolate Foundation
Melt chocolate chips until smooth and glossy.
Spread evenly across a parchment-lined baking sheet.
Allow the layer to cool and set completely.
Step 2: Add White Chocolate Layer
Gently melt white chocolate chips and stir in peppermint extract for that festive flavor.
Pour over the dark chocolate base, creating a beautiful two-tone effect.
Step 3: Sprinkle Festive Crunch
Crush peppermint candies into small pieces.
Generously scatter the crushed candy over the white chocolate layer.
Let the bark harden completely before breaking into irregular pieces.
Butterfinger Candy Bars
Step 1: Transform Candy Corn
Microwave candy corn in short intervals, stirring between each, until completely melted and smooth.
Step 2: Blend Creamy Mixture
Stir in peanut butter, mixing thoroughly until the combination becomes thick and consistent.
Step 3: Prepare Candy Slab
Spread the mixture onto a parchment-lined surface.
Allow it to set completely before cutting into desired bar shapes.
Step 4: Chocolate Coating Finale
Melt chocolate for the final coating.
Dip each candy piece, ensuring full coverage.
Place on parchment paper to set and harden.
Candy Maker Tips for Perfect Texture and Taste
Ways to Mix Up Your Holiday Candy Batches
Festive Ideas for Presenting Christmas Candies
How to Keep Holiday Candy Fresh and Delicious
FAQs
Yes, you can use milk, dark, or white chocolate based on your preference. Just ensure it melts smoothly and coats the candies evenly.
When stored in an airtight container in the refrigerator, these candies can last up to 2 weeks. Keep them cool to maintain their texture and flavor.
Basic kitchen tools like a microwave, baking sheet, parchment paper, and mixing bowls are all you need. A double boiler can help melt chocolate more evenly, but it’s not mandatory.
Print
Christmas Peanut Butter Balls, Peppermint Bark, and Butterfinger Candy Bars Recipe
- Total Time: 30 minutes
- Yield: 24 1x
Description
Festive holiday candies like Christmas peanut butter balls delight sweet tooths with classic American confections. Creamy chocolate, crunchy peanuts, and peppermint notes combine for irresistible seasonal treats you’ll crave all winter long.
Ingredients
Main Ingredients:
- 2 cups peanut butter
- 2 cups peanut butter
- 3 cups candy corn
Sweeteners and Binding Agents:
- 2 cups powdered sugar
- 6 tablespoons butter
- 1 teaspoon vanilla
Chocolate and Flavoring:
- 1 bag dark or light chocolate chips
- 1 bag white chocolate chips
- Dipping chocolate of choice
- 1/2 teaspoon peppermint extract
- Crushed peppermint candy
Instructions
- Combine softened butter with vanilla and creamy peanut butter in a large mixing bowl, blending until uniform and smooth.
- Gradually incorporate powdered sugar, stirring continuously until the mixture reaches a consistent, moldable texture.
- Shape the mixture into compact, uniform spheres approximately one inch in diameter, positioning each carefully on a parchment-lined baking sheet.
- Refrigerate the peanut butter balls for 30 minutes to firm up their structure, ensuring easier chocolate coating.
- Melt selected chocolate using a double boiler or microwave, ensuring smooth consistency without burning.
- Delicately submerge each chilled peanut butter ball into melted chocolate, using a fork to ensure complete coverage and gentle removal.
- Place chocolate-coated balls back on parchment paper, allowing excess chocolate to drip off and surface to set at room temperature.
- For peppermint bark, melt dark chocolate chips carefully, spreading evenly across a lined baking sheet with smooth, consistent strokes.
- Allow dark chocolate layer to cool completely at room temperature or briefly in refrigerator until firm to touch.
- Gently melt white chocolate chips, stirring in peppermint extract for enhanced flavor profile.
- Pour white chocolate mixture over cooled dark chocolate layer, creating an even, seamless surface.
- Immediately sprinkle crushed peppermint candies across the top for decorative and textural contrast.
- Let peppermint bark harden completely, then break into irregular, rustic pieces.
- For Butterfinger candy, microwave candy corn in 30-second intervals, stirring between each to prevent scorching.
- Once candy corn reaches smooth liquid state, incorporate peanut butter, mixing until thick and cohesive.
- Spread the mixture onto parchment paper, creating an even layer approximately 1/4 inch thick.
- Allow mixture to set at room temperature until firm enough to cut into rectangular segments.
- Melt chocolate coating, then carefully dip each candy piece, ensuring complete coverage.
- Place dipped candies on clean parchment paper, allowing chocolate to set completely before serving.
Notes
- Chill peanut butter balls thoroughly before dipping to prevent mixture from falling apart during chocolate coating.
- Use high-quality chocolate for smoother, more professional-looking candy coating.
- For gluten-free version, ensure all chocolate and ingredients are certified gluten-free.
- Store homemade candies in airtight container in refrigerator to maintain texture and freshness.
- Prep Time: 30 minutes
- Cook Time: 0 minutes
- Category: Desserts, Snacks
- Method: Melting
- Cuisine: American
Nutrition
- Serving Size: 24
- Calories: 210
- Sugar: 23g
- Sodium: 50mg
- Fat: 12g
- Saturated Fat: 5g
- Unsaturated Fat: 7g
- Trans Fat: 0g
- Carbohydrates: 24g
- Fiber: 1g
- Protein: 3g
- Cholesterol: 10mg
Marcus Reed
Founder & Food Content Creator
Expertise
Single-recipe development, Seasonal and local ingredient utilization, Food photography and styling, Culinary writing and content creation
Education
Culinary Arts Certificate, Blue Ridge Community and Technical College, WV
Focus: Fundamentals of culinary techniques, emphasizing hands-on experience in small-scale kitchen settings.
Marcus’s story begins in Asheville, where good food and family kitchens shaped his earliest memories. After hands-on culinary training and a lot of trial (and a little error), he realized that real cooking isn’t about perfection, it’s about connection.
At Pan and Oven, Marcus crafts recipes that are easy to follow, packed with flavor, and built for real kitchens.