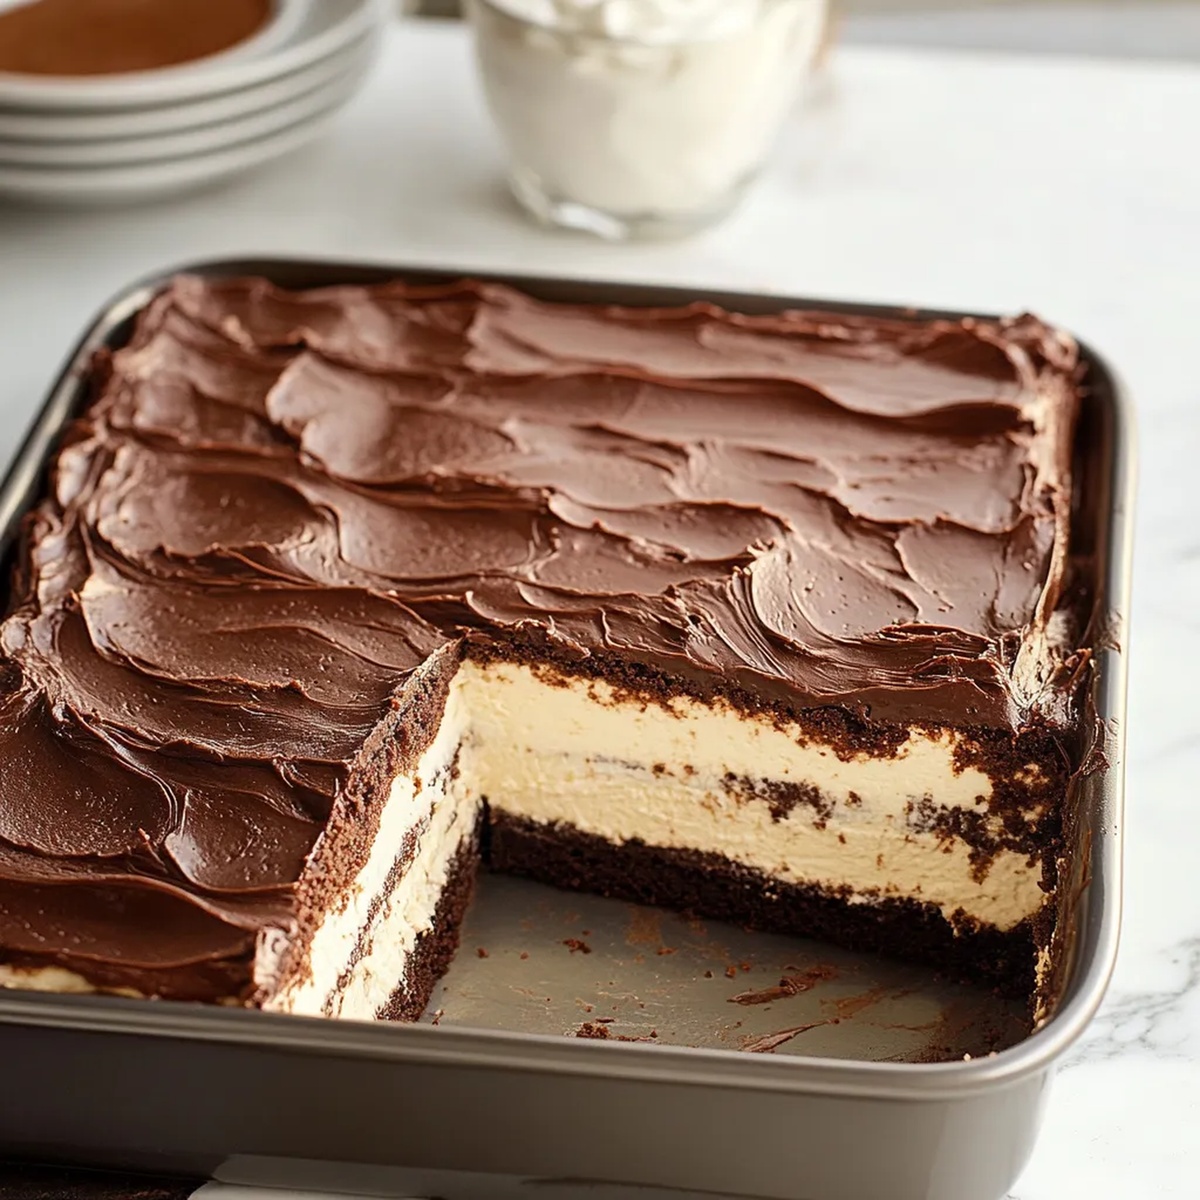
Whipped Chocolate Ricotta Cake Recipe: A Dreamy Dessert Delight
Rich, velvety chocolate ricotta cake brings unexpected magic to your dessert table.
Creamy ricotta creates a dreamy texture in this decadent chocolate delight.
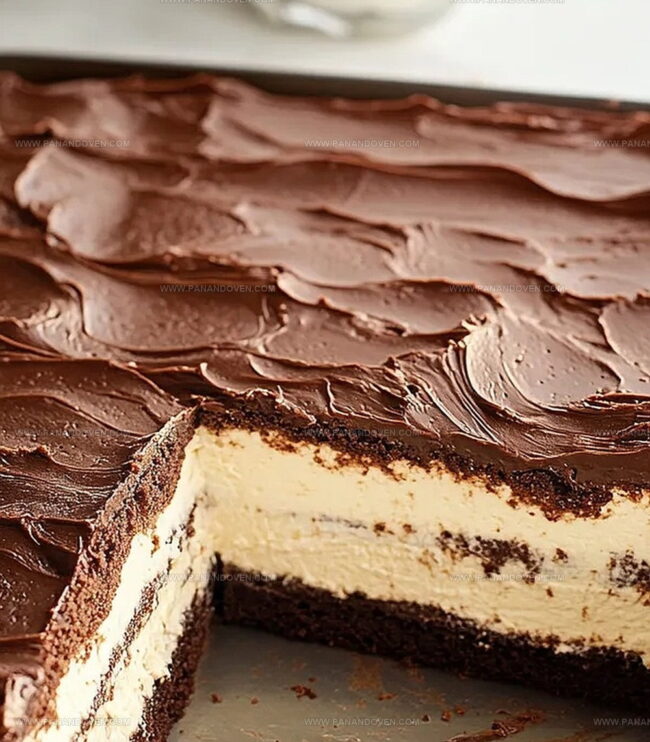
The cake promises a tender crumb that melts softly with each bite.
Professional bakers and home cooks adore this simple yet sophisticated treat.
Its Italian-inspired roots shine through with elegant simplicity.
Subtle ricotta notes complement deep chocolate flavors, creating a dessert that feels both comforting and luxurious.
You’ll fall in love with every single slice of this irresistible cake.
Why Chocolate Ricotta Cake Belongs on Your Table
Ingredients That Make Chocolate Ricotta Cake Irresistible
Cake Ingredients:Ricotta Layer Ingredients:Frosting Ingredients:Tools to Create the Perfect Chocolate Ricotta Cake
Easy Steps for Baking Chocolate Ricotta Cake
Step 1: Warm Up the Oven
Crank your oven to a toasty 350F.
Grab a 9×13 baking dish and give it a generous spritz of cooking spray so nothing sticks.
Set this ready pan to the side.
Step 2: Whip the Ricotta Mixture
In a spacious mixing bowl, toss together:Grab an electric mixer and beat until silky smooth.
Drop in eggs one by one, blending thoroughly after each addition.
Step 3: Create Chocolate Base
In another bowl, blend:Whisk until the batter looks completely smooth.
Pour this chocolatey goodness into your prepared pan.
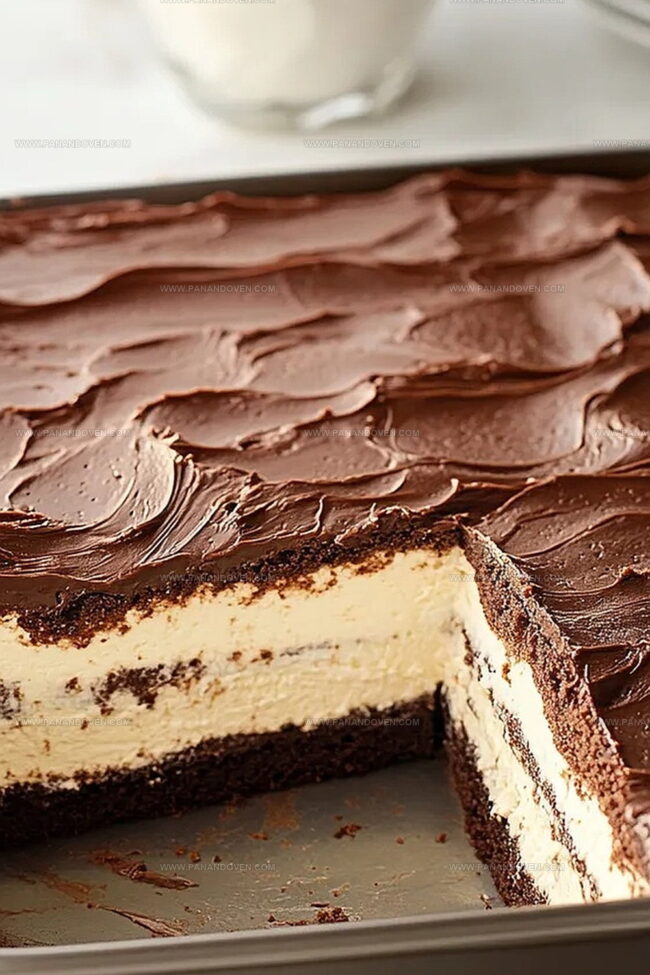
Step 4: Layer and Bake
Gently cascade the ricotta mixture over the chocolate base, spreading evenly.
Slide into the preheated oven and bake for 60-70 minutes.
The center might wiggle slightly when done – that’s totally fine!
Allow the cake to cool completely at room temperature.
Step 5: Craft Chocolate Pudding Frosting
In a clean bowl, combine:Whisk energetically until well blended.
Let sit for 2-3 minutes to thicken.
Fold in thawed whipped topping until perfectly combined.
Step 6: Chill and Serve
Once cooled, slather the chocolate pudding frosting across the top.
Cover with plastic wrap and refrigerate for 4 hours or overnight to let flavors mingle and cake set perfectly.
Helpful Advice for Rich Chocolate Ricotta Cake Results
Ways to Experiment with Chocolate Ricotta Cake Flavors
Serving Chocolate Ricotta Cake for Maximum Enjoyment
How to Store Chocolate Ricotta Cake the Right Way
FAQs
No, it’s super easy! This recipe uses convenient ingredients like cake mix and instant pudding, making it simple for bakers of all skill levels. You just need basic mixing skills and follow the step-by-step instructions.
Absolutely! You can substitute low-fat ricotta, skim milk, and reduced-fat whipped topping without significantly changing the cake’s texture or taste. The recipe is quite forgiving with ingredient swaps.
Any standard chocolate cake mix will work perfectly. Whether you choose devil’s food, milk chocolate, or dark chocolate mix, the recipe will turn out delicious. Just ensure it’s a standard box mix for consistent results.
Check for a set edge with a slightly jiggly center.
Print
Chocolate Ricotta Cake Recipe
- Total Time: 1 hour 30 minutes
- Yield: 12 1x
Description
Rich chocolate ricotta cake from Italy delights dessert enthusiasts with its creamy texture and deep cocoa flavor. Sophisticated ingredients and simple preparation make this classic treat perfect for home bakers seeking an authentic Mediterranean dessert experience.
Ingredients
Chocolate Layer:
- 1 box (15.25 ounces / 432 grams) chocolate or devil’s food cake mix
- 1/2 cup (120 milliliters) canola or vegetable oil
- 1 cup (240 milliliters) water
- 3 large eggs
Ricotta Layer:
- 2 containers (15-ounces / 425 grams each) ricotta cheese
- 1 cup (200 grams) granulated sugar
- 4 large eggs, room temperature
- 1 teaspoon (5 milliliters) vanilla extract
Frosting:
- 1 box (5-ounces / 142 grams) instant chocolate pudding
- 3 cups (720 milliliters) cold milk
- 1 container (8-ounces / 227 grams) whipped topping, thawed
Instructions
- Preheat oven to 350°F and generously spray a 9×13 inch baking dish with cooking spray to ensure smooth cake release.
- Create ricotta mixture by blending ricotta cheese, sugar, and vanilla using an electric mixer until silky smooth. Incorporate eggs individually, mixing thoroughly after each addition.
- Prepare chocolate cake base by whisking chocolate cake mix with oil, water, and eggs until achieving a uniform, lump-free batter.
- Gently distribute chocolate batter across the prepared baking dish, then delicately layer the ricotta mixture on top, ensuring even coverage.
- Bake for 60-70 minutes until cake appears set but maintains a slight center wobble. Allow cake to cool completely at room temperature.
- Craft chocolate pudding frosting by vigorously mixing instant pudding mix with cold milk. Allow mixture to thicken for 2-3 minutes.
- Fold whipped topping into pudding mixture until fully integrated and smooth.
- Spread pudding frosting evenly across cooled cake surface. Seal with plastic wrap and refrigerate for minimum 4 hours, preferably overnight, to enhance flavor melding and texture.
Notes
- Smooth Ricotta Mixing Ensure ricotta is at room temperature for a silkier, lump-free texture when beating with sugar and eggs.
- Cake Mix Flexibility Swap chocolate cake mix with gluten-free or low-sugar alternatives to accommodate dietary restrictions without compromising taste.
- Temperature Control Allow cake to cool gradually to prevent cracking and maintain a moist, tender crumb.
- Frosting Consistency Chill pudding mix and milk briefly before adding whipped topping for a firmer, more stable frosting that spreads easily.
- Prep Time: 20 minutes
- Cook Time: 1 hour 10 minutes
- Category: Desserts
- Method: Baking
- Cuisine: Italian
Nutrition
- Serving Size: 12
- Calories: 367
- Sugar: 23 g
- Sodium: 224 mg
- Fat: 17 g
- Saturated Fat: 5 g
- Unsaturated Fat: 12 g
- Trans Fat: 0 g
- Carbohydrates: 45 g
- Fiber: 1 g
- Protein: 7 g
- Cholesterol: 83 mg
Clara Thompson
Recipe Developer & Food Educator
Expertise
Plant-based and vegetarian recipe development, Nutritional analysis and meal planning, Culinary education and workshop facilitation, Content writing with a focus on healthy living
Education
Diploma in Culinary Arts, Mt. San Jacinto College, CA
Focus: Comprehensive culinary training with an emphasis on sustainable cooking practices.
Certificate in Nutrition and Healthy Living, Cornell University (Online Program)
Focus: Understanding the principles of nutrition to create balanced and health-conscious recipes.
Clara lives where fresh ideas and fresh ingredients meet. She pairs her culinary know-how with her passion for healthy, planet-friendly cooking.
For Clara, good food should taste great, nourish your body, and feel easy to make. Her recipes highlight whole foods, colorful produce, and a deep respect for seasonal eating.