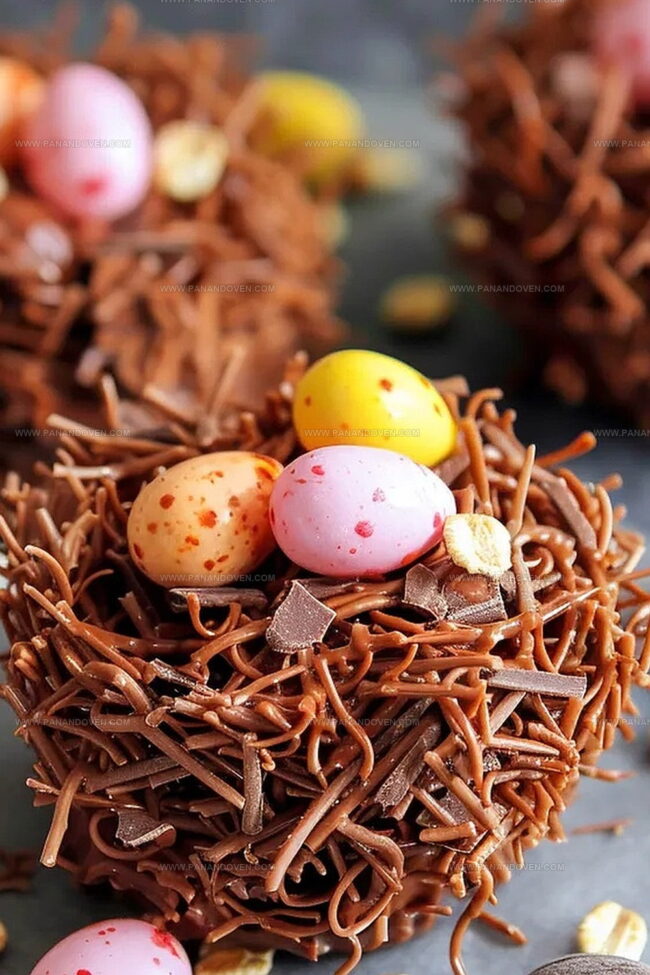
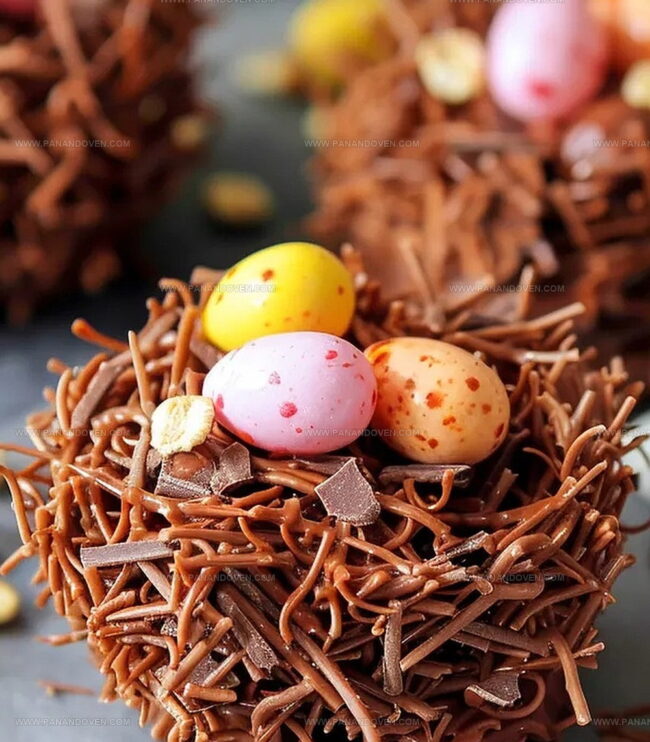
Adorable Chocolate Easter Nests Recipe: Sweet Spring Treats
These delightful chocolate Easter nests pop with childhood nostalgia and sweet memories.
Chocolatey clusters of crispy goodness invite playful indulgence at every bite.
Clusters of delicate chocolate-coated treats bring spring celebrations to life with minimal effort.
Each bite transports you back to cherished moments of Easter gatherings.
Kids and adults alike adore these simple yet irresistible confections.
The combination of smooth chocolate and crunchy textures creates a magical treat that disappears quickly from serving plates.
You’ll want to make extra batches to share with loved ones.
Chocolate Easter Nests: Sweet Standouts
Chocolate Easter Nests: Ingredient Rundown
Main Ingredients:Binding Ingredients:Decorative Ingredients:Chocolate Easter Nests: Baking Tools Guide
How to Craft Chocolate Easter Nests
Step 1: Crush Cereal
Break Shredded Wheat into small pieces inside a spacious mixing bowl.
Crumble the wheat with your hands or use a rolling pin to create uneven, nest-like fragments.
Step 2: Melt Chocolate Base
In a saucepan, warm butter and golden syrup over low heat.
Stir gently until butter completely dissolves.
Remove from heat and add chocolate pieces, stirring until smooth and glossy.
Step 3: Blend Chocolate and Cereal
Pour the melted chocolate mixture over the crushed Shredded Wheat.
Fold ingredients together using a spatula, ensuring every cereal piece gets coated with chocolate.
Step 4: Shape Chocolate Nests
Use a spoon or cookie scoop to create circular nest shapes on a parchment-lined baking tray.
Press centers slightly to form a small indentation mimicking a bird’s nest.
Step 5: Decorate and Chill
Place three small chocolate eggs or candy decorations in the center of each nest.
Transfer the tray to the refrigerator and let the nests set until firm and solid, typically 30-45 minutes.
Chocolate Easter Nests: Helpful Tricks
Mix-In Ideas for Chocolate Easter Nests
Chocolate Easter Nests for Festive Serving
Chocolate Easter Nests: Storage Methods
FAQs
Yes, cornflakes or rice krispies work great as alternatives to Shredded Wheat in this recipe.
No, any milk or dark chocolate will work well. Just chop it into small pieces so it melts evenly.
Mix the chocolate and cereal thoroughly, ensuring every piece is coated. Press the mixture firmly when forming nests to help them hold shape.
Absolutely! This is a fun, easy recipe kids can help with, especially when adding chocolate eggs on top. Adult supervision is recommended for the melting chocolate step.
Print
Chocolate Easter Nests Recipe
- Total Time: 10 minutes
- Yield: 12 1x
Description
Chocolate Easter nests blend British tradition with sweet nostalgia, offering a delightful treat for spring celebrations. Crispy chocolate clusters adorned with pastel eggs invite festive memories and bring joy to family gatherings.
Ingredients
Base Ingredients:
- 200 grams (7 ounces) milk chocolate, finely chopped
- 200 grams (7 ounces) dark chocolate, finely chopped
- 100 grams (3.5 ounces) unsalted butter
- 100 grams (3.5 ounces) golden syrup
- 6–8 full-size Shredded Wheat
Topping Ingredients:
- 100–200 grams (3.5–7 ounces) Easter chocolates
Instructions
- Carefully break Shredded Wheat into fine crumbles within a spacious mixing vessel.
- In a medium saucepan, gently warm butter and golden syrup over low heat, stirring periodically until butter completely dissolves.
- Remove saucepan from heat source and incorporate chopped chocolate, stirring smoothly until chocolate melts entirely and creates a glossy mixture.
- Pour warm chocolate blend over crushed wheat fragments, folding thoroughly to ensure every morsel becomes evenly coated.
- Using tablespoons or a designated scoop, shape chocolate-coated wheat into delicate nest-like formations on a parchment-lined baking tray.
- Gently nestle three decorative Easter chocolates atop each chocolate creation.
- Transfer tray to refrigerator and allow nests to solidify for approximately 20-30 minutes, or until chocolate becomes firm and structure holds its shape.
Notes
- Choose alternative cereals like cornflakes or rice krispies for different textures and crunch levels.
- Experiment with dark, milk, or white chocolate variations to customize flavor profiles.
- Use dairy-free chocolate and vegan butter alternatives to create plant-based friendly version.
- Add a sprinkle of sea salt over chocolate mixture to enhance overall sweetness and complexity of taste.
- Prep Time: 10 minutes
- Cook Time: 0 minutes
- Category: Snacks, Desserts
- Method: None
- Cuisine: British
Nutrition
- Serving Size: 12
- Calories: 300
- Sugar: 25g
- Sodium: 50mg
- Fat: 18g
- Saturated Fat: 10g
- Unsaturated Fat: 8g
- Trans Fat: 0g
- Carbohydrates: 35g
- Fiber: 2g
- Protein: 3g
- Cholesterol: 15mg


Clara Thompson
Recipe Developer & Food Educator
Expertise
Plant-based and vegetarian recipe development, Nutritional analysis and meal planning, Culinary education and workshop facilitation, Content writing with a focus on healthy living
Education
Diploma in Culinary Arts, Mt. San Jacinto College, CA
Focus: Comprehensive culinary training with an emphasis on sustainable cooking practices.
Certificate in Nutrition and Healthy Living, Cornell University (Online Program)
Focus: Understanding the principles of nutrition to create balanced and health-conscious recipes.
Clara lives where fresh ideas and fresh ingredients meet. She pairs her culinary know-how with her passion for healthy, planet-friendly cooking.
For Clara, good food should taste great, nourish your body, and feel easy to make. Her recipes highlight whole foods, colorful produce, and a deep respect for seasonal eating.