The Best Chocolate Dirt Pie Cups Recipe You’ll Ever Scoop Up
Decadent layers of chocolate and crunch create a dessert that will make mouths water.
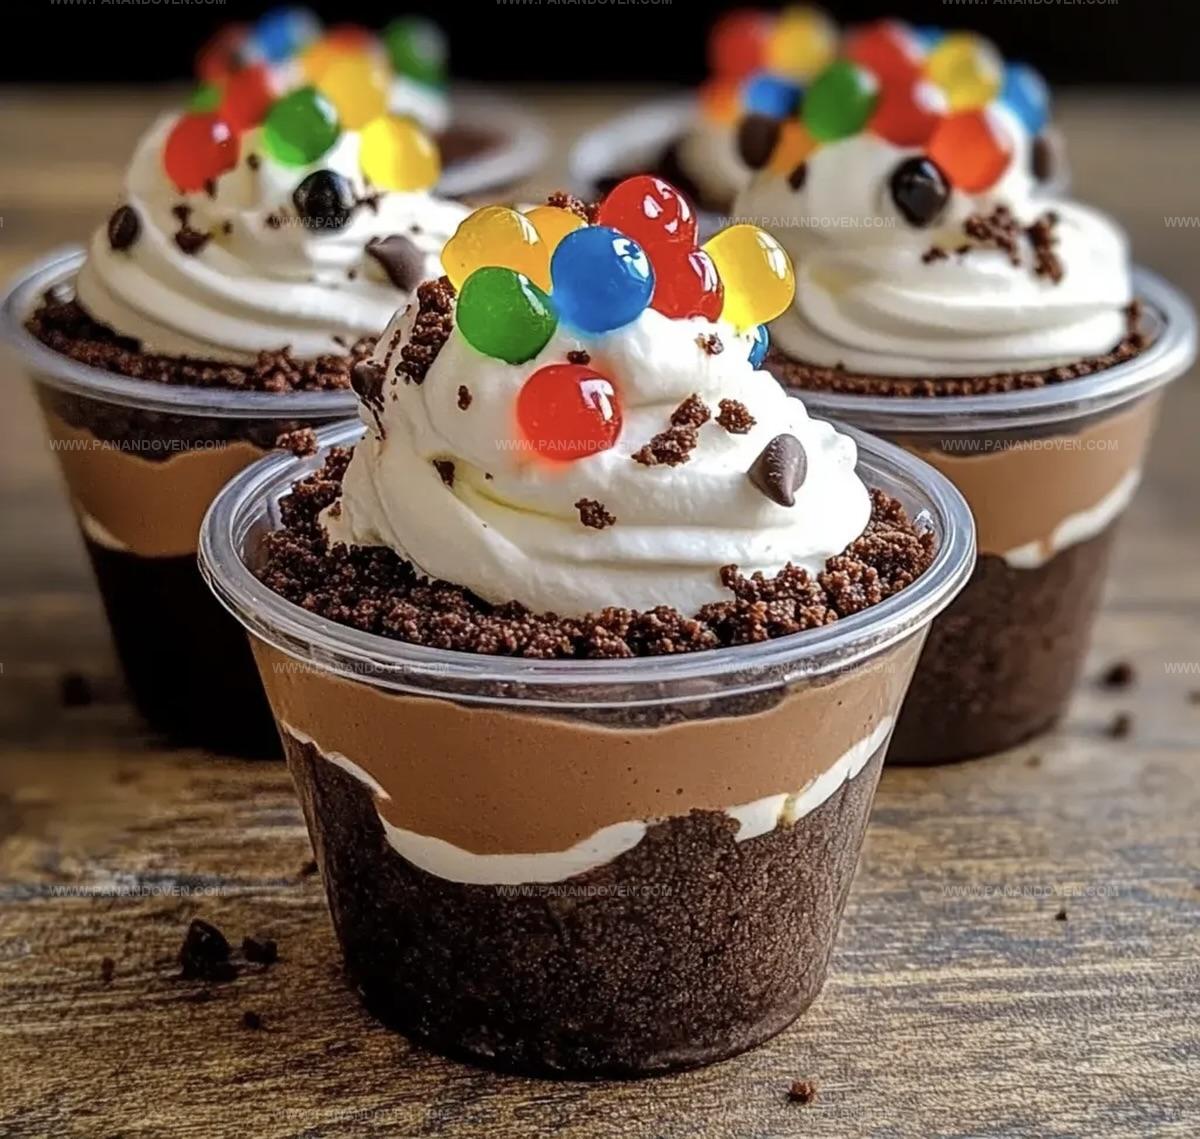
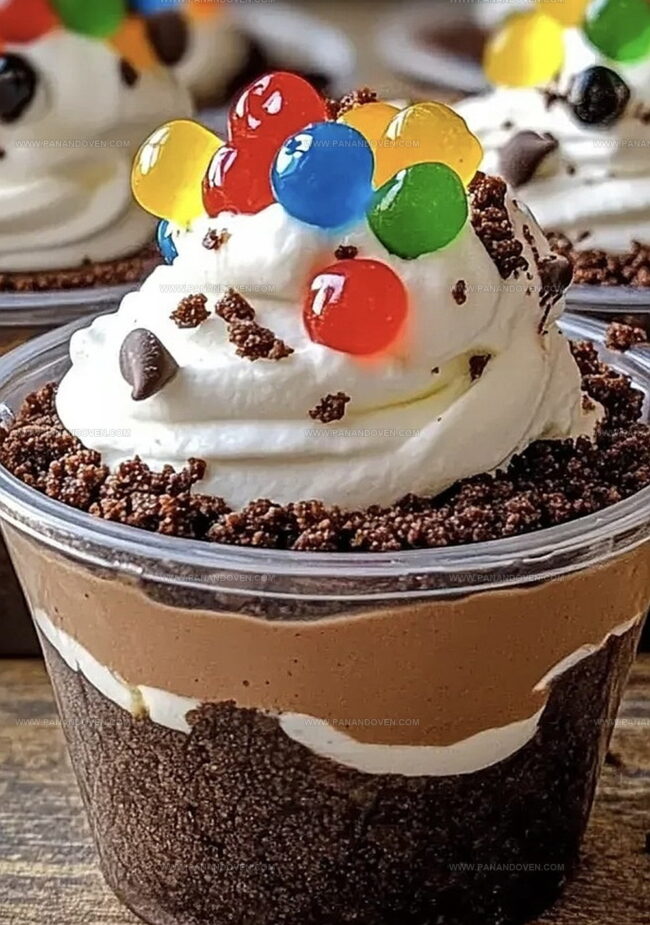
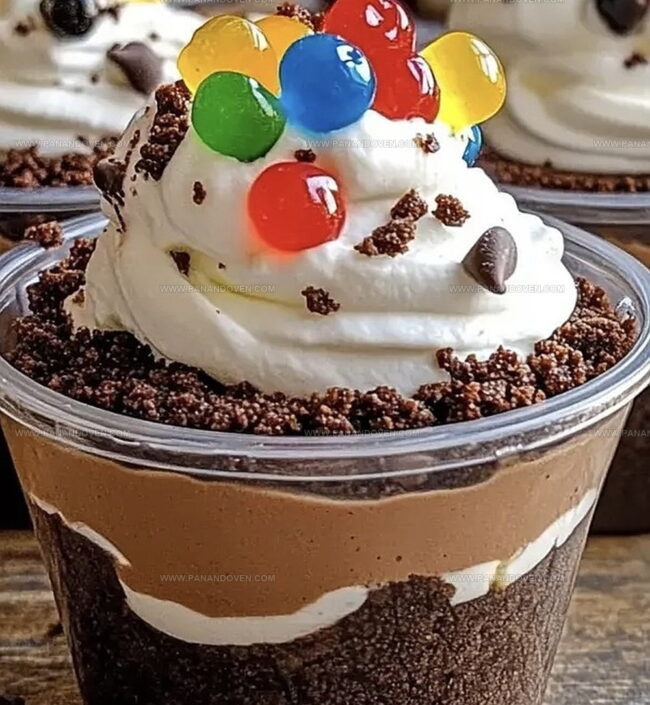
These chocolate dirt pie cups blend rich, creamy textures with playful nostalgia.
chocolate lovers delight in the simple yet indulgent combination of smooth pudding and crumbly cookie base.
Each spoonful offers a delightful mix of sweet chocolate and crunchy “dirt” topping.
The dessert brings childhood memories flooding back with its whimsical presentation.
Kids and adults alike will fall in love with these irresistible treats.
Prepare to dive into a dessert that promises pure chocolate bliss.
Chocolate Dirt Pie Cups: Fun for All Ages
Dirt Pie Cup Ingredient Highlights
Base Layer:Cream Mixture:Topping and Decoration:Essential Tools for Chocolate Dirt Pie Cups
Steps to Make Chocolate Dirt Pie Cups
Step 1: Crush Cookie Base
Grab your favorite chocolate sandwich cookies and crush them into fine crumbs.
Melt butter and mix thoroughly with the cookie crumbs until the mixture looks like rich, dark soil that would make any garden proud.
Step 2: Pack The Foundation
Press the chocolatey crumb mixture firmly into the bottom of clear serving glasses or mason jars.
Make sure to create an even, compact layer that resembles a smooth ground surface.
Step 3: Whip Creamy Clouds
In a large mixing bowl, beat cream cheese until it becomes ultra-smooth.
Gradually add powdered sugar, continuing to mix until the texture becomes light and fluffy like fresh fallen snow.
Step 4: Create Dreamy Cream
Grab heavy cream and whip it into stiff, beautiful peaks.
Gently fold this cloud-like cream into the cream cheese mixture, creating a silky, decadent filling that will make taste buds dance.
Step 5: Build Creamy Layer
Carefully spoon the cream cheese mixture over the cookie base, creating a thick, luxurious layer that looks like a soft earth blanket.
Step 6: Pour Chocolate Magic
Spread a generous layer of rich chocolate pudding over the cream cheese, making it look like a deep, delicious mud layer.
Step 7: Add Playful Decorations
Sprinkle gummy worms across the top, letting some peek out like they’re crawling through delicious dirt.
Add a dollop of whipped cream for extra indulgence.
Step 8: Chill And Delight
Tuck your dirt pie cups into the refrigerator for at least one hour.
This allows all the flavors to mingle and the texture to set perfectly.
Serve cold and watch everyone’s eyes light up with excitement.
Dirt Pie Cup Tips for Best Texture
Dirt Pie Cup Variations
Fun Ways to Serve Dirt Pie Cups
Storing Dirt Pie Cups for Freshness
FAQs
Gummy worms create a playful, “dirt-like” appearance, mimicking worms crawling through dirt, which adds a fun and whimsical touch to the dessert.
Yes, you can prepare these dirt pie cups up to 2 days in advance and keep them refrigerated, making them perfect for party planning or early preparation.
No special equipment is required – just a mixing bowl, whisk, and serving cups are needed to create these delightful chocolate dirt pie cups.
Absolutely! Kids love the playful design with gummy worms and the rich chocolate flavors, making it a fun and delicious treat for children and adults alike.
Print
Chocolate Dirt Pie Cups Recipe
- Total Time: 20 minutes
- Yield: 8 1x
Description
Rich chocolate dirt pie cups showcase layers of creamy pudding, crushed cookies, and chocolate ganache. Dessert enthusiasts will adore these playful, nostalgic treats that blend textures and chocolate flavors for a delightful culinary experience.
Ingredients
Crust Ingredients:
- 1 cup (240 ml) chocolate cookie crumbs
- 1/2 cup (113 g) unsalted butter, melted
Filling Ingredients:
- 1 package (8 oz / 226 g) cream cheese, softened
- 1 cup (120 g) powdered sugar
- 1 cup (240 ml) heavy cream
- 1 teaspoon (5 ml) vanilla extract
- 1 cup (240 ml) chocolate pudding
Garnish Ingredients:
- 1/2 cup (75 g) gummy worms
- Whipped cream
Instructions
- Pulverize chocolate cookies into fine crumbs, then thoroughly blend with melted butter until the mixture resembles coarse, dark terrain.
- Press the chocolatey crumb mixture firmly into the bottom of individual serving cups, creating a compact foundational layer.
- Using an electric mixer, whip cream cheese with powdered sugar until achieving a velvety, uniform consistency with no lumps.
- Separately whisk heavy cream until it forms sturdy, defined peaks that hold their shape when the whisk is lifted.
- Gently incorporate the whipped cream into the cream cheese mixture, folding delicately to maintain maximum airiness.
- Carefully spread the light, airy cream cheese mixture over the chocolate cookie base in each serving cup.
- Pour rich chocolate pudding evenly across the cream cheese layer, ensuring complete and smooth coverage.
- Artfully arrange gummy worms across the surface, allowing them to peek through like playful creatures in chocolate soil.
- Top with a delicate swirl of additional whipped cream for extra indulgence.
- Chill in the refrigerator for 60-90 minutes at 40°F until the dessert sets and flavors harmonize completely.
Notes
- Choose gluten-free cookies to transform this dessert into a celiac-friendly treat that everyone can enjoy.
- Use low-fat cream cheese and sugar-free pudding for a lighter version without compromising the rich chocolate flavor.
- Crush cookies more finely for a smoother base that holds together better and provides a more uniform texture.
- For added depth, consider toasting cookie crumbs briefly before mixing with butter to enhance the nutty undertones of the chocolate base.
- Prep Time: 20 minutes
- Cook Time: 0 minutes
- Category: Desserts, Snacks
- Method: None
- Cuisine: American
Nutrition
- Serving Size: 8
- Calories: 400
- Sugar: 25 g
- Sodium: 150 mg
- Fat: 28 g
- Saturated Fat: 17 g
- Unsaturated Fat: 9 g
- Trans Fat: 0 g
- Carbohydrates: 35 g
- Fiber: 1 g
- Protein: 4 g
- Cholesterol: 60 mg
Marcus Reed
Founder & Food Content Creator
Expertise
Single-recipe development, Seasonal and local ingredient utilization, Food photography and styling, Culinary writing and content creation
Education
Culinary Arts Certificate, Blue Ridge Community and Technical College, WV
Focus: Fundamentals of culinary techniques, emphasizing hands-on experience in small-scale kitchen settings.
Marcus’s story begins in Asheville, where good food and family kitchens shaped his earliest memories. After hands-on culinary training and a lot of trial (and a little error), he realized that real cooking isn’t about perfection, it’s about connection.
At Pan and Oven, Marcus crafts recipes that are easy to follow, packed with flavor, and built for real kitchens.