The Best Chocolate Covered Easter Oreos Recipe for Sweet Holiday Fun
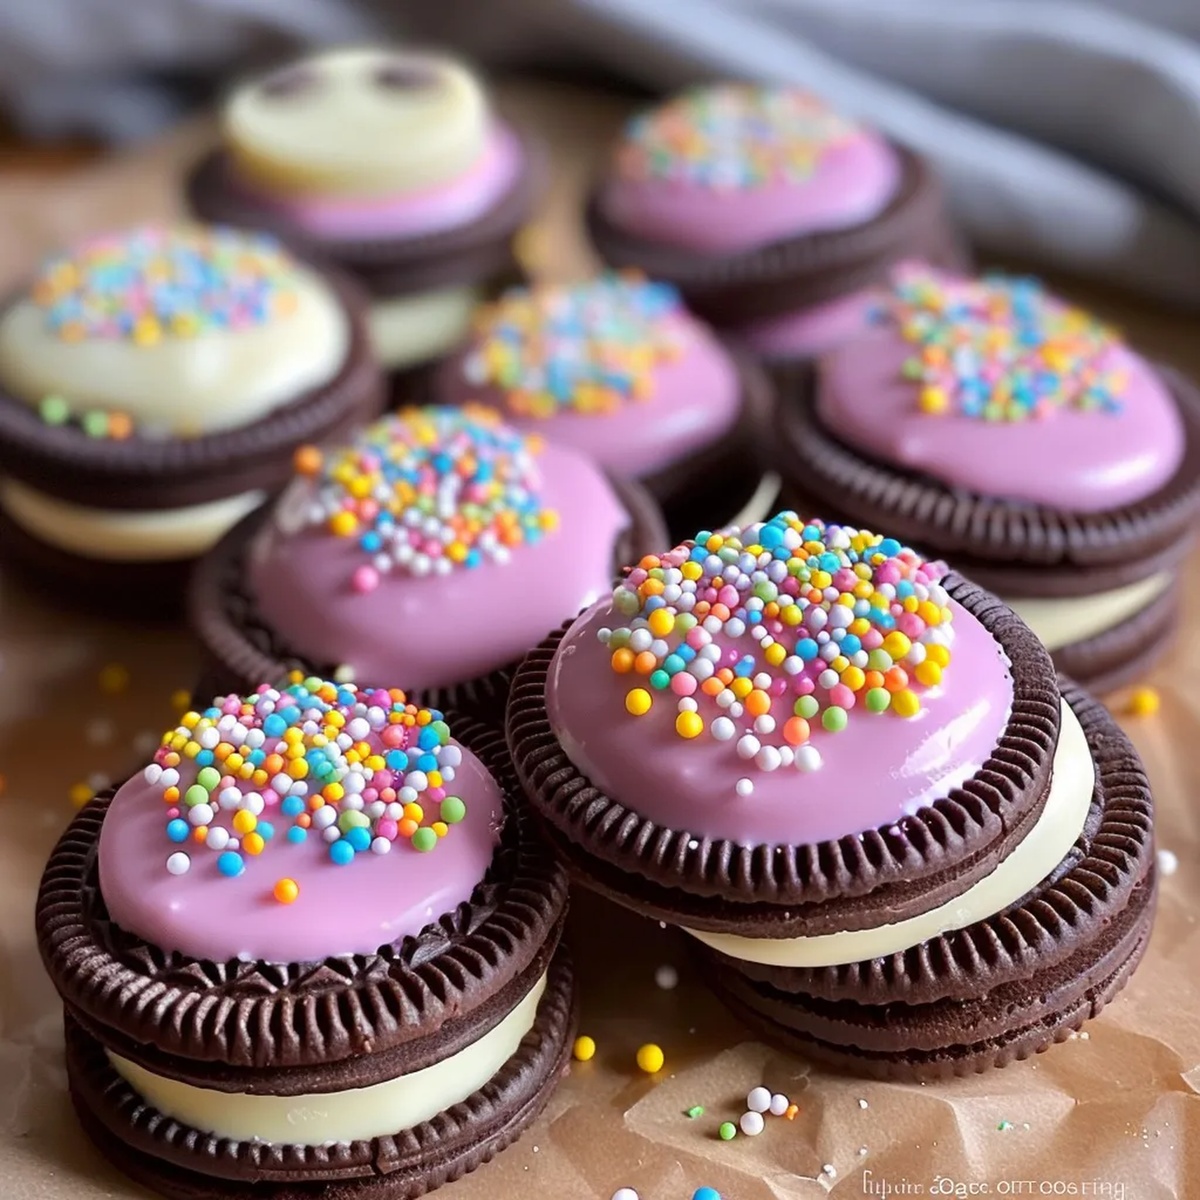
Celebrate the sweet spirit of spring with these delightful chocolate covered Easter Oreos that bring a festive twist to a classic treat.
Easter brings out the playful side of desserts, and these Oreos are no exception.
Rich, creamy chocolate enrobes each crisp oreo cookie, creating a decadent bite-sized indulgence.
Colorful sprinkles add a whimsical touch that makes these treats perfect for holiday gatherings.
Children and adults alike will fall in love with the simple yet elegant chocolate coating.
Each oreo becomes a miniature work of art, dressed up in smooth chocolate and cheerful decorations.
You’ll want to make a batch of these irresistible cookies that capture the joy of Easter in every delicious bite.
Why Chocolate Covered Easter Oreos Are Festive Favorites
Ingredients for Decorating Chocolate Covered Easter Oreos
Main Ingredients:Decorative Ingredients:Binding and Consistency Ingredients:Tools for Making Chocolate Covered Easter Oreos
How to Dip and Decorate Easter Oreos with Chocolate
Step 1: Melt Chocolate Smoothly
Grab separate microwave-safe bowls for white and milk/dark chocolate.
Microwave chocolates in 30-second bursts, stirring between each interval.
Add a touch of coconut oil to help create a silky, glossy texture that coats perfectly.
Step 2: Dip Oreo Cookies
Select a fork or specialized dipping tool.
Submerge each Oreo cookie fully into melted chocolate, ensuring complete and even coverage.
Gently tap the utensil to remove excess chocolate, allowing smooth drips.
Transfer carefully onto a parchment-lined baking sheet.
Step 3: Create Festive Decorations
Sprinkle delicate pastel-colored sugar decorations over wet chocolate surfaces.
Drizzle contrasting colored candy melts in zigzag patterns for a playful Easter-inspired design.
Work quickly before chocolate begins setting.
Step 4: Allow Chocolate to Set
Let decorated Oreos rest at room temperature or accelerate hardening by placing in refrigerator for approximately 15 minutes.
Chocolate should feel firm and glossy when completely set.
Step 5: Serve and Store
Present immediately for a sweet treat or store in sealed container.
Chocolate-covered Oreos remain fresh for up to one week when kept in cool, dry environment.
Top Tips for Gorgeous Chocolate Covered Easter Oreos
Creative Ways to Vary Your Easter Oreo Treats
Fun Ways to Serve Chocolate Covered Easter Oreos
Keeping Chocolate Covered Easter Oreos Fresh and Tasty
FAQs
White and milk/dark chocolate are ideal. Use high-quality chocolate chips or melting wafers for smooth, even coating. Always melt slowly to prevent burning.
A fork or chocolate dipping tool helps coat cookies evenly. Parchment paper prevents sticking and makes cleanup easier. Use a wire rack or baking sheet for setting chocolate.
Yes, you can prepare these Oreos 2-3 days before serving. Store in a cool, dry place in an airtight container. Avoid direct sunlight or warm temperatures that might cause chocolate to melt.
Print
Chocolate Covered Easter Oreos Recipe
- Total Time: 35 minutes
- Yield: 12 1x
Description
Homemade chocolate covered Easter oreos deliver festive cookie magic for holiday celebrations. Sweet chocolate shells embrace classic oreo cookies with pastel sprinkle decorations you’ll enjoy creating.
Ingredients
Base Ingredients:
- 1 pack Oreo cookies (regular or golden)
- 12 ounces (340 grams) white chocolate or candy melts
- 12 ounces (340 grams) milk or dark chocolate
- 1 tablespoon coconut oil (optional, for smoother melting)
Decorations:
- Pastel sprinkles
- Easter-themed decorations
- Colored candy melts (optional for drizzling)
Instructions
- Prepare a clean, parchment-lined baking sheet to ensure easy chocolate removal and smooth coating process.
- Utilize microwave-safe bowls to melt white and milk/dark chocolate separately, heating in 30-second increments while stirring between intervals to prevent burning.
- Add a small amount of coconut oil to each chocolate variety to achieve a silky, glossy consistency that will enhance coating coverage.
- Select a fork or specialized dipping tool to fully submerge each Oreo cookie into the melted chocolate, ensuring complete and even coverage.
- Gently tap the dipping utensil against the bowl’s edge to remove excess chocolate, allowing a clean and smooth chocolate layer.
- Carefully transfer the chocolate-coated Oreos onto the prepared parchment-lined baking sheet, maintaining sufficient spacing between each cookie.
- While chocolate remains wet, quickly sprinkle pastel-colored decorative elements across the surface to create a festive Easter-themed design.
- Optional: Drizzle contrasting colored candy melts in artistic patterns to enhance visual appeal and create additional texture.
- Allow cookies to set at room temperature for approximately 15-20 minutes or accelerate the hardening process by placing them in the refrigerator.
- Store completed chocolate-covered Oreos in an airtight container, maintaining freshness for up to one week at room temperature or in the refrigerator.
Notes
- Customize chocolate consistency by adding a small amount of coconut oil, which helps create a smoother, shinier coating that’s easier to work with and provides a glossy finish.
- Select high-quality chocolate with at least 60% cocoa content for richer flavor and better melting properties, ensuring a more professional-looking treat.
- Prevent chocolate cracking by maintaining a consistent room temperature during dipping and cooling, which helps create a smooth, even chocolate shell.
- Experiment with different chocolate varieties like white, milk, or dark to suit various taste preferences or create a more colorful Easter dessert platter.
- Prep Time: 15 minutes
- Cook Time: 20 minutes
- Category: Snacks, Desserts
- Method: Melting
- Cuisine: American
Nutrition
- Serving Size: 12
- Calories: 150
- Sugar: 15 g
- Sodium: 80 mg
- Fat: 7 g
- Saturated Fat: 4 g
- Unsaturated Fat: 2 g
- Trans Fat: 0 g
- Carbohydrates: 20 g
- Fiber: 1 g
- Protein: 1 g
- Cholesterol: 5 mg


Clara Thompson
Recipe Developer & Food Educator
Expertise
Plant-based and vegetarian recipe development, Nutritional analysis and meal planning, Culinary education and workshop facilitation, Content writing with a focus on healthy living
Education
Diploma in Culinary Arts, Mt. San Jacinto College, CA
Focus: Comprehensive culinary training with an emphasis on sustainable cooking practices.
Certificate in Nutrition and Healthy Living, Cornell University (Online Program)
Focus: Understanding the principles of nutrition to create balanced and health-conscious recipes.
Clara lives where fresh ideas and fresh ingredients meet. She pairs her culinary know-how with her passion for healthy, planet-friendly cooking.
For Clara, good food should taste great, nourish your body, and feel easy to make. Her recipes highlight whole foods, colorful produce, and a deep respect for seasonal eating.