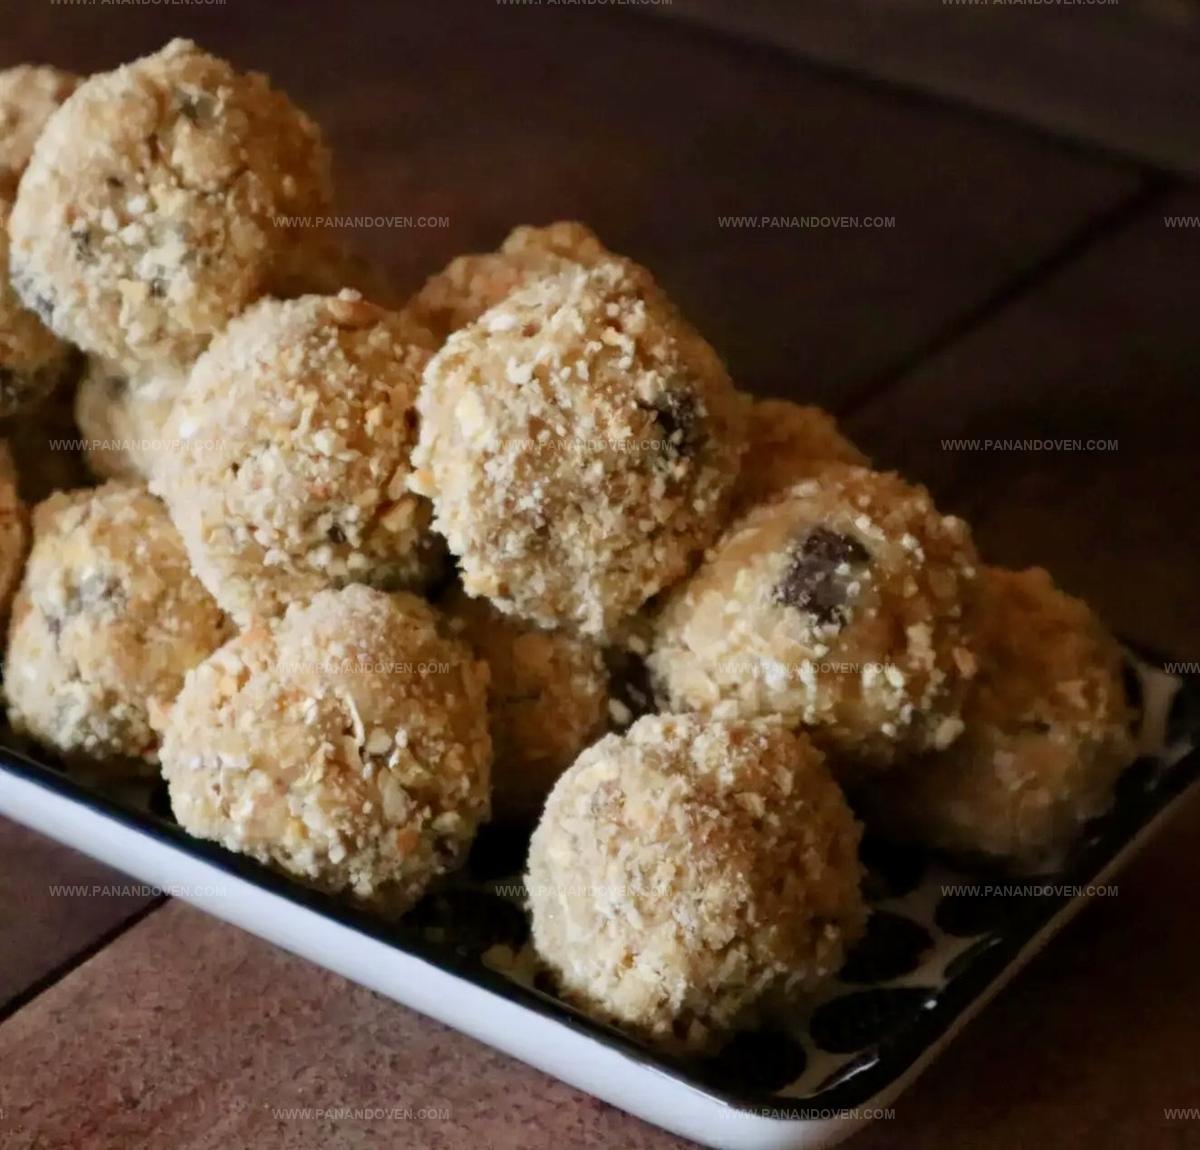
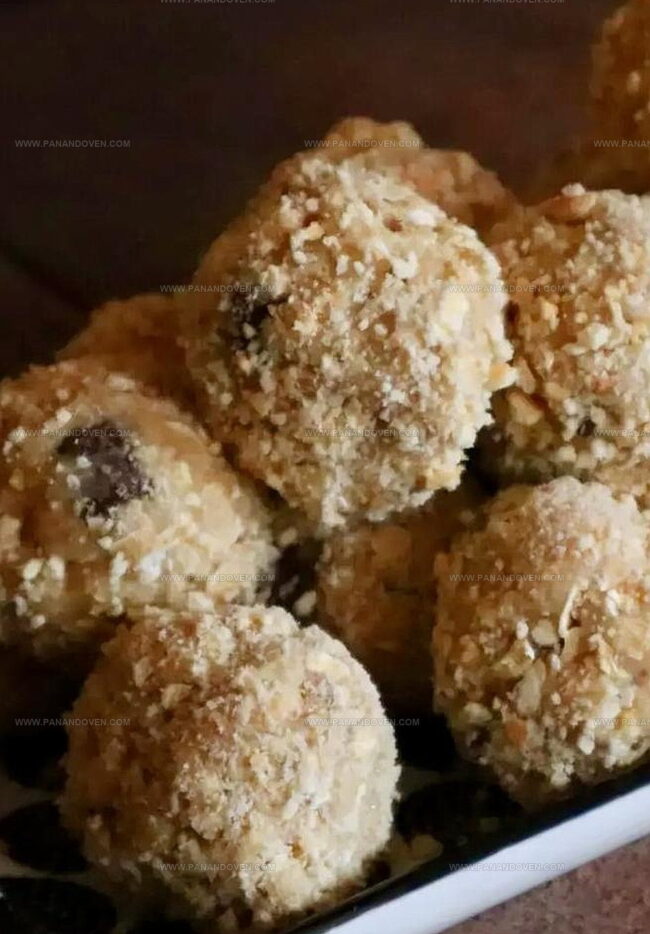
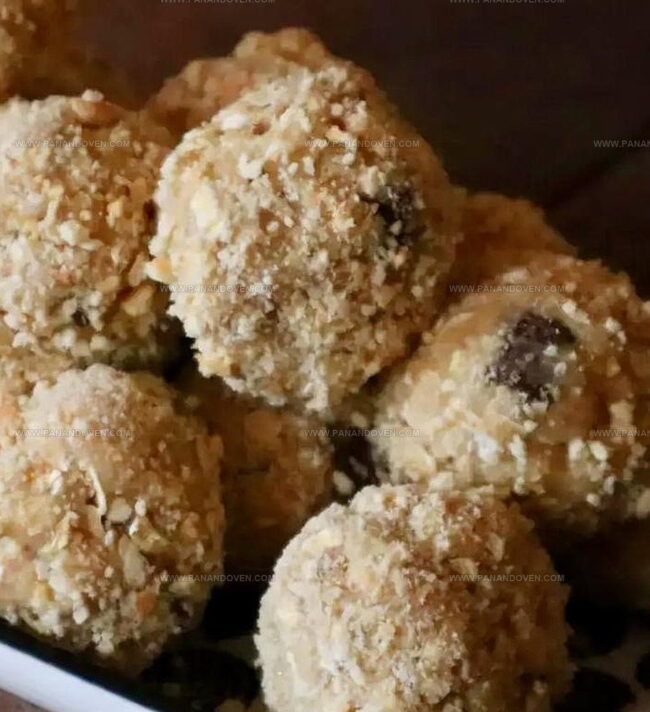
Irresistibly Sweet Chocolate Coconut Treats Recipe For Snackers
Sweet cravings meet their match with these irresistible chocolate coconut treats that blend rich cocoa and tropical flavors into one delectable bite.
The combination creates a mouthwatering dessert that melts perfectly on your tongue.
Crisp coconut flakes dance alongside smooth chocolate, creating a texture that’s both crunchy and decadent.
Each morsel promises a delightful escape from ordinary snacks.
These treats come together quickly with minimal ingredients and zero fuss.
chocolate lovers and coconut enthusiasts will adore this simple yet elegant dessert that transforms ordinary moments into something extraordinary.
Prepare to indulge in a confection that satisfies every sweet tooth.
Easy No-Bake Chocolate Coconut Treats What You’ll Love About Them
Gather These Ingredients for Chocolate Coconut Treats
Wet Ingredients:Dry Ingredients:Coating:Tools and Utensils for Effortless No-Bake Treats
Steps to Make No-Bake Chocolate Coconut Bites
Step 1: Melt and Blend Wet Components
In a spacious mixing bowl, gently warm butter until completely liquefied.
Pour in sweetened condensed milk and vanilla extract.
Whisk these ingredients until they create a smooth, creamy mixture that looks perfectly blended.
Step 2: Incorporate Dry Ingredients
Gather these ingredients:Sprinkle each ingredient into the wet mixture.
Use a sturdy spatula to fold and mix everything thoroughly.
Ensure all dry components are evenly distributed throughout the creamy base.
Step 3: Chill and Solidify
Transfer the mixture to the refrigerator.
Allow it to rest and firm up for approximately one hour.
For a quicker option, place the bowl in the freezer for 15-20 minutes until the mixture becomes slightly stiff and manageable.
Step 4: Create Delightful Treats
Use clean hands to roll small portions of the chilled mixture into compact balls.
Each ball should be roughly the size of a walnut.
Optional: Roll the balls in additional graham cracker crumbs for a delightful extra crunch.
Step 5: Final Cooling and Storage
Arrange the rolled treats on a plate or baking sheet.
Return them to the refrigerator for another 30-60 minutes to completely set.
Once firm, transfer to an airtight container.
These delectable treats will remain fresh in the refrigerator for up to one week.
Top Tips for Easy Chocolate Coconut Treats
Switch It Up: Chocolate Coconut Treat Ideas
Serving Suggestions for Chocolate Coconut Treats
Chocolate Coconut Treat Storage and Freshness
FAQs
Yes, you can. Just add a bit more sweetened condensed milk or honey to compensate for the lack of sweetness.
Place parchment paper between layers in your storage container to keep the treats from clumping.
No, they aren’t gluten-free because graham crackers contain wheat. You’ll need to use gluten-free graham cracker alternatives to make them gluten-free.
Absolutely! Kids can help mix ingredients and roll the balls, making it a fun family cooking activity. Just supervise them during the mixing and rolling process.
Print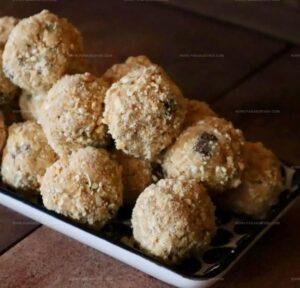
Chocolate Coconut Treats Recipe
- Total Time: 20 minutes
- Yield: 12 1x
Description
Homemade chocolate coconut treats blend rich cocoa with creamy coconut for an irresistible dessert. Tropical flavors and simple ingredients create a delightful snack you’ll crave again and again.
Ingredients
Base Ingredients:
- 1 1/2 cups (255 grams / 9 ounces) chocolate chips
- 1 can (300 milliliters / 10 fluid ounces) sweetened condensed milk
- 1 1/2 cups (120 grams / 4.2 ounces) dried coconut
- 1 1/2 cups (180 grams / 6.3 ounces) graham cracker crumbs
Wet Ingredients:
- 1/4 cup (57 grams / 2 ounces) melted butter
- 1 teaspoon (5 milliliters / 0.17 fluid ounces) vanilla extract
Coating:
- 1/2 cup (60 grams / 2.1 ounces) additional graham cracker crumbs (for rolling)
Instructions
- Gently melt butter in a spacious mixing vessel, then incorporate sweetened condensed milk and vanilla extract, stirring until smooth and fully integrated.
- Gradually fold graham cracker crumbs and shredded coconut into the liquid mixture, ensuring even distribution of dry ingredients.
- Sprinkle chocolate chips throughout the blend, gently folding to create a consistent texture without breaking the chips.
- Transfer the mixture to the refrigerator and allow it to firm up for 45-60 minutes, which will make shaping easier and enhance flavor melding.
- Using clean hands, carefully form compact spheres approximately the size of a small walnut, applying gentle pressure to maintain structural integrity.
- Roll each formed ball in additional graham cracker crumbs, creating a delicate exterior coating that adds subtle crunch and visual appeal.
- Place coated treats on a parchment-lined tray and return to the refrigerator for 30-45 minutes to fully set and develop a firm consistency.
- Store the completed treats in an airtight container within the refrigerator, where they will maintain optimal texture and freshness for up to one week.
Notes
- Customize the sweetness by adjusting the amount of sweetened condensed milk or using alternative sweeteners like honey or maple syrup.
- For a gluten-free version, swap graham cracker crumbs with gluten-free cookie crumbs or ground nuts like almonds.
- Enhance flavor by toasting coconut before mixing for a deeper, nuttier taste that adds complexity to the treats.
- Create variety by experimenting with different mix-ins like chopped nuts, dried fruit, or different types of chocolate chips.
- Prep Time: 20 minutes
- Cook Time: 0 minutes
- Category: Snacks, Desserts
- Method: None
- Cuisine: American
Nutrition
- Serving Size: 12
- Calories: 247
- Sugar: 18g
- Sodium: 70mg
- Fat: 12g
- Saturated Fat: 7g
- Unsaturated Fat: 4g
- Trans Fat: 0g
- Carbohydrates: 34g
- Fiber: 2g
- Protein: 3g
- Cholesterol: 20mg
Marcus Reed
Founder & Food Content Creator
Expertise
Single-recipe development, Seasonal and local ingredient utilization, Food photography and styling, Culinary writing and content creation
Education
Culinary Arts Certificate, Blue Ridge Community and Technical College, WV
Focus: Fundamentals of culinary techniques, emphasizing hands-on experience in small-scale kitchen settings.
Marcus’s story begins in Asheville, where good food and family kitchens shaped his earliest memories. After hands-on culinary training and a lot of trial (and a little error), he realized that real cooking isn’t about perfection, it’s about connection.
At Pan and Oven, Marcus crafts recipes that are easy to follow, packed with flavor, and built for real kitchens.