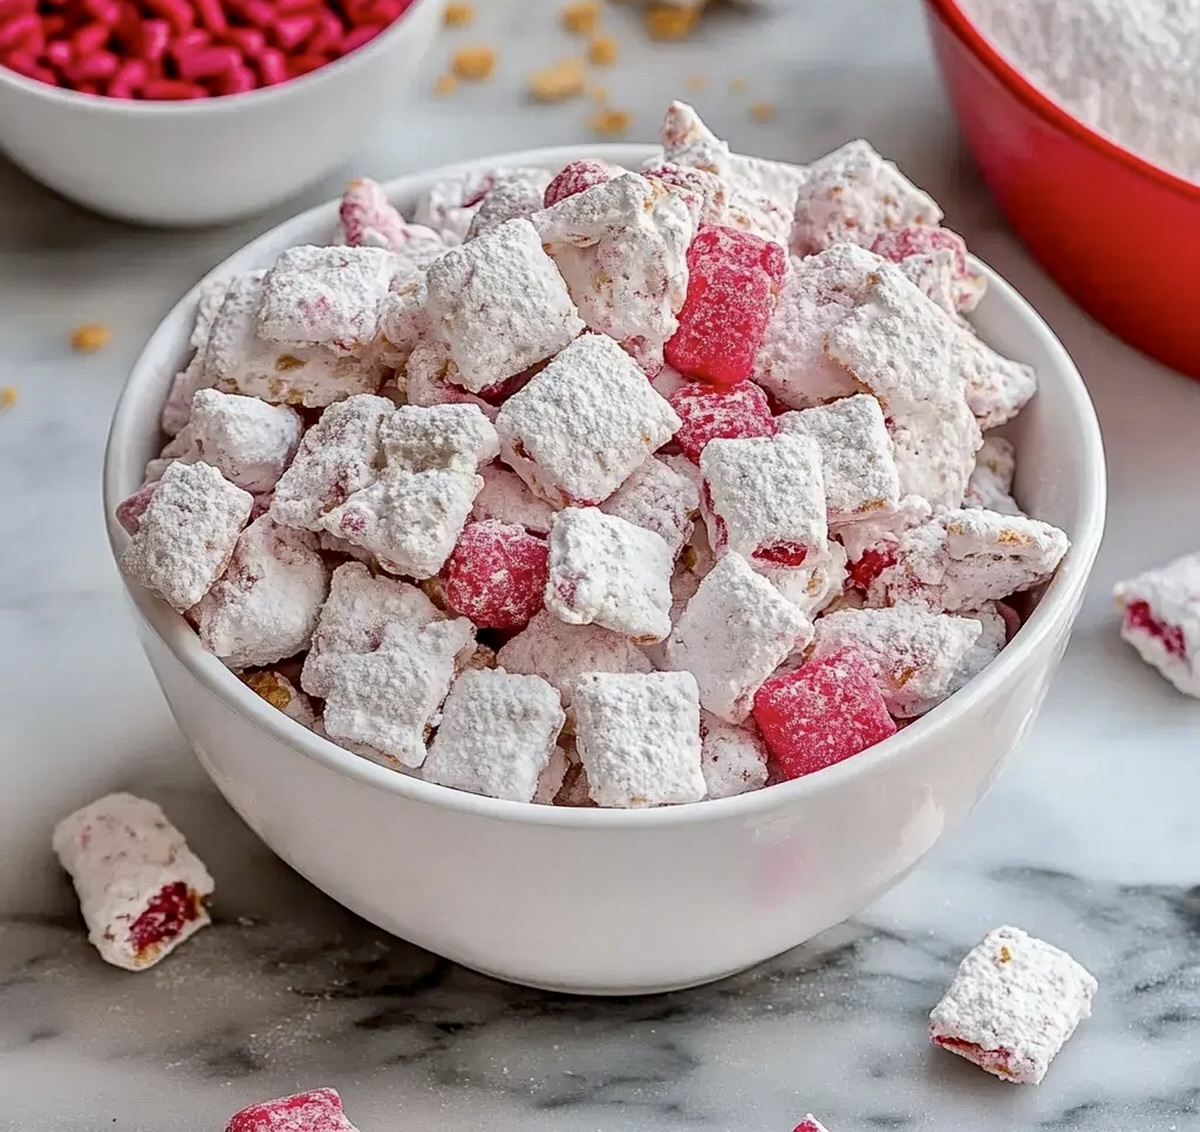
Irresistible Cherry Cheesecake Puppy Chow Recipe for Sweet Snackers
Snacking just got a delightful makeover with this cherry cheesecake puppy chow that delivers a sweet twist on the classic treat.
Bursting with creamy cheesecake flavor, the recipe combines crunchy cereal with tangy cherry goodness.
Powdered sugar coats each bite, creating an irresistible texture that melts in your mouth.
The blend of cream cheese and cherry brings a dessert-inspired excitement to this beloved snack mix.
Small batches disappear quickly, making it perfect for parties or midnight cravings.
Each handful promises a nostalgic yet gourmet experience that transforms ordinary snacking into something extraordinary.
Prepare to fall in love with this addictive treat that will have everyone asking for the recipe.
Cherry Cheesecake Puppy Chow Is Snack Time Gold
Ingredient Rundown for Cheesecake Puppy Chow
Base Ingredients:Coating Ingredients:Decorative Ingredients:Essential Snack Mix Tools
Easy Steps for Cherry Cheesecake Puppy Chow
Step 1: Prepare Baking Surface
Line a spacious baking sheet with aluminum foil to create a smooth landing spot for your delightful treats.
Step 2: Create Flavor Powder
Grab a large resealable plastic bag and toss in:Step 3: Ready the Crunchy Base
Pour crisp corn cereal into a generously sized mixing bowl.
Step 4: Melt Sweet Coating
Unwrap white chocolate bark and place in microwave-safe container.
Heat for 60 seconds, stir gently, then heat another 60 seconds until completely smooth and glossy.
Step 5: Transform Cereal
Drizzle melted white chocolate over cereal pieces.
Use a spatula to gently fold and coat every single morsel until they’re completely dressed in chocolatey goodness.
Step 6: Add Flavor Dust
Transfer chocolate-covered cereal into the prepared flavor bag.
Seal tightly and shake vigorously until each piece is completely coated with the cherry cheesecake powder.
Step 7: Cool and Store
Spread the coated cereal pieces across the foil-lined baking sheet.
Allow to rest and set at room temperature.
Once dry, transfer to an airtight container.
These sweet bites will stay fresh for up to two weeks.
Tips for the Best Puppy Chow Crunch
Flavor Twists for Snack Mix Fans
How to Serve Puppy Chow at Gatherings
Storage Pointers for Snack Mixes
FAQs
The pudding mix and gelatin provide the distinct cherry cheesecake taste, while the vanilla bark adds a creamy sweetness that mimics a classic cheesecake flavor profile.
Absolutely! Kids can help measure ingredients, mix the coating, and shake the bag to coat the cereal, making it a fun and easy kitchen activity that doesn’t require complicated cooking skills.
Yes, sprinkles are completely optional. The recipe will taste the same and still have a delightful cherry cheesecake flavor even if you skip the sprinkles.
Print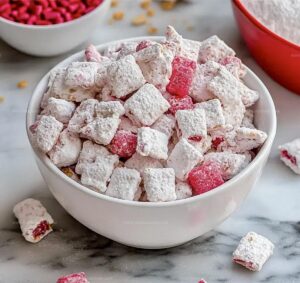
Cherry Cheesecake Puppy Chow Recipe
- Total Time: 12 minutes
- Yield: 12 1x
Description
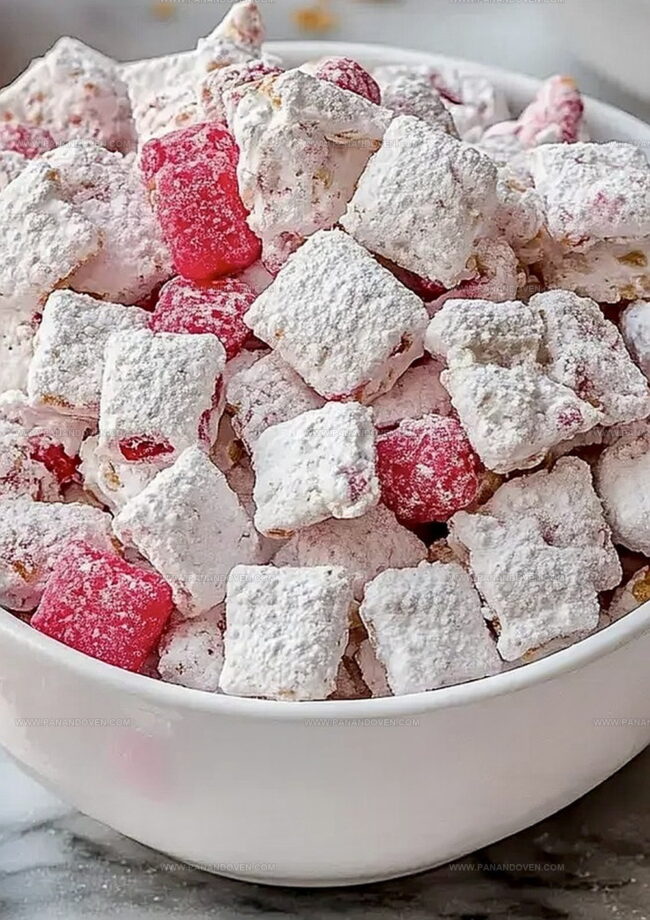
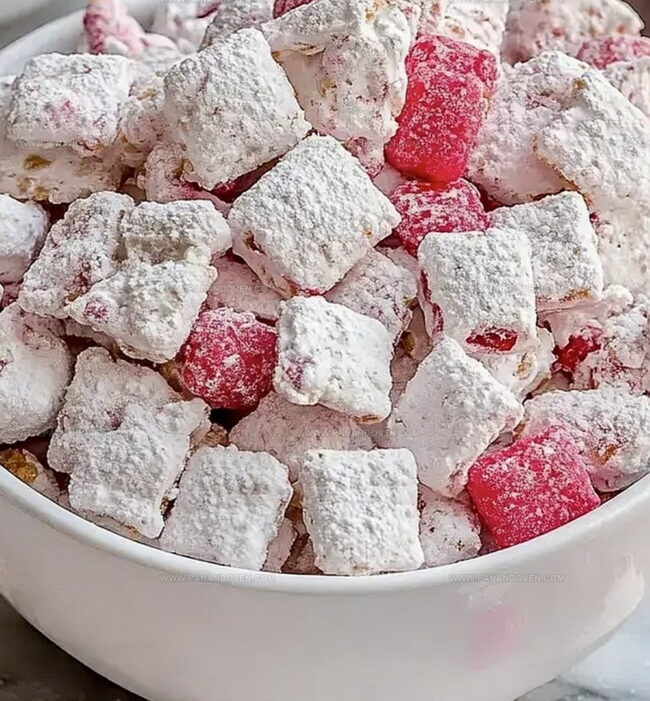
Sweet cherry cheesecake puppy chow combines classic dessert flavors in a crunchy snack mix. Crisp cereal coated with cream cheese and cherry glaze creates an irresistible treat for casual gatherings and quick indulgences.
Ingredients
Base Ingredients:
- 8 cups rice square cereal (Chex)
- 1 pound (16 ounces / 453 grams) vanilla bark
Coating Mixture:
- 3.4 ounces (96 grams) cheesecake pudding mix
- 3 ounces (85 grams) cherry gelatin mix
- 1 cup plus 3 tablespoons (255 grams) powdered sugar
Decorations:
- Red and pink sprinkles
Instructions
- Cover a large baking sheet with aluminum foil to create a clean workspace for cooling and setting the puppy chow.
- Combine instant vanilla pudding mix, cherry gelatin powder, powdered sugar, and colorful sprinkles inside a spacious zip-top plastic bag, creating a vibrant coating mixture.
- Pour crisp cereal into a generously sized mixing bowl, preparing it for chocolate enrobing.
- Unwrap vanilla bark and microwave in its original container for approximately 1 minute, stir thoroughly, then continue heating for an additional minute until completely smooth and liquefied.
- Drizzle melted chocolate over cereal, gently folding and stirring to ensure each piece receives a thorough, even chocolate coverage.
- Transfer chocolate-glazed cereal into the prepared zip-top bag containing the powdered sugar mixture, then vigorously shake to coat every morsel with the sweet, fruity mixture.
- Carefully spread the coated cereal across the foil-lined baking sheet, allowing it to set and dry at room temperature for about 15-20 minutes, then transfer to an airtight container for storage up to 2 weeks.
Notes
- Customize Sweetness Adjust powdered sugar quantity to control overall sweetness level, making it more or less sugary based on personal preference.
- Ensure Even Coating Gently toss cereal while coating with chocolate to guarantee each piece gets fully covered, preventing clumping or dry spots.
- Control Texture Add extra sprinkles or crushed graham crackers for additional crunch and flavor complexity.
- Storage Hack Keep in airtight container at room temperature, separating layers with parchment paper to maintain crisp texture and prevent sticking.
- Prep Time: 10 minutes
- Cook Time: 2 minutes
- Category: Desserts, Snacks
- Method: Mixing
- Cuisine: American
Nutrition
- Serving Size: 12
- Calories: 160
- Sugar: 14 g
- Sodium: 50 mg
- Fat: 6 g
- Saturated Fat: 3 g
- Unsaturated Fat: 2 g
- Trans Fat: 0 g
- Carbohydrates: 24 g
- Fiber: 0 g
- Protein: 1 g
- Cholesterol: 0 mg
Marcus Reed
Founder & Food Content Creator
Expertise
Single-recipe development, Seasonal and local ingredient utilization, Food photography and styling, Culinary writing and content creation
Education
Culinary Arts Certificate, Blue Ridge Community and Technical College, WV
Focus: Fundamentals of culinary techniques, emphasizing hands-on experience in small-scale kitchen settings.
Marcus’s story begins in Asheville, where good food and family kitchens shaped his earliest memories. After hands-on culinary training and a lot of trial (and a little error), he realized that real cooking isn’t about perfection, it’s about connection.
At Pan and Oven, Marcus crafts recipes that are easy to follow, packed with flavor, and built for real kitchens.