Cherry Cheesecake Egg Rolls Recipe: A Sweet Twist on Tradition
Crispy and decadent, these cherry cheesecake egg rolls blend sweet indulgence with a delightful twist on classic desserts.
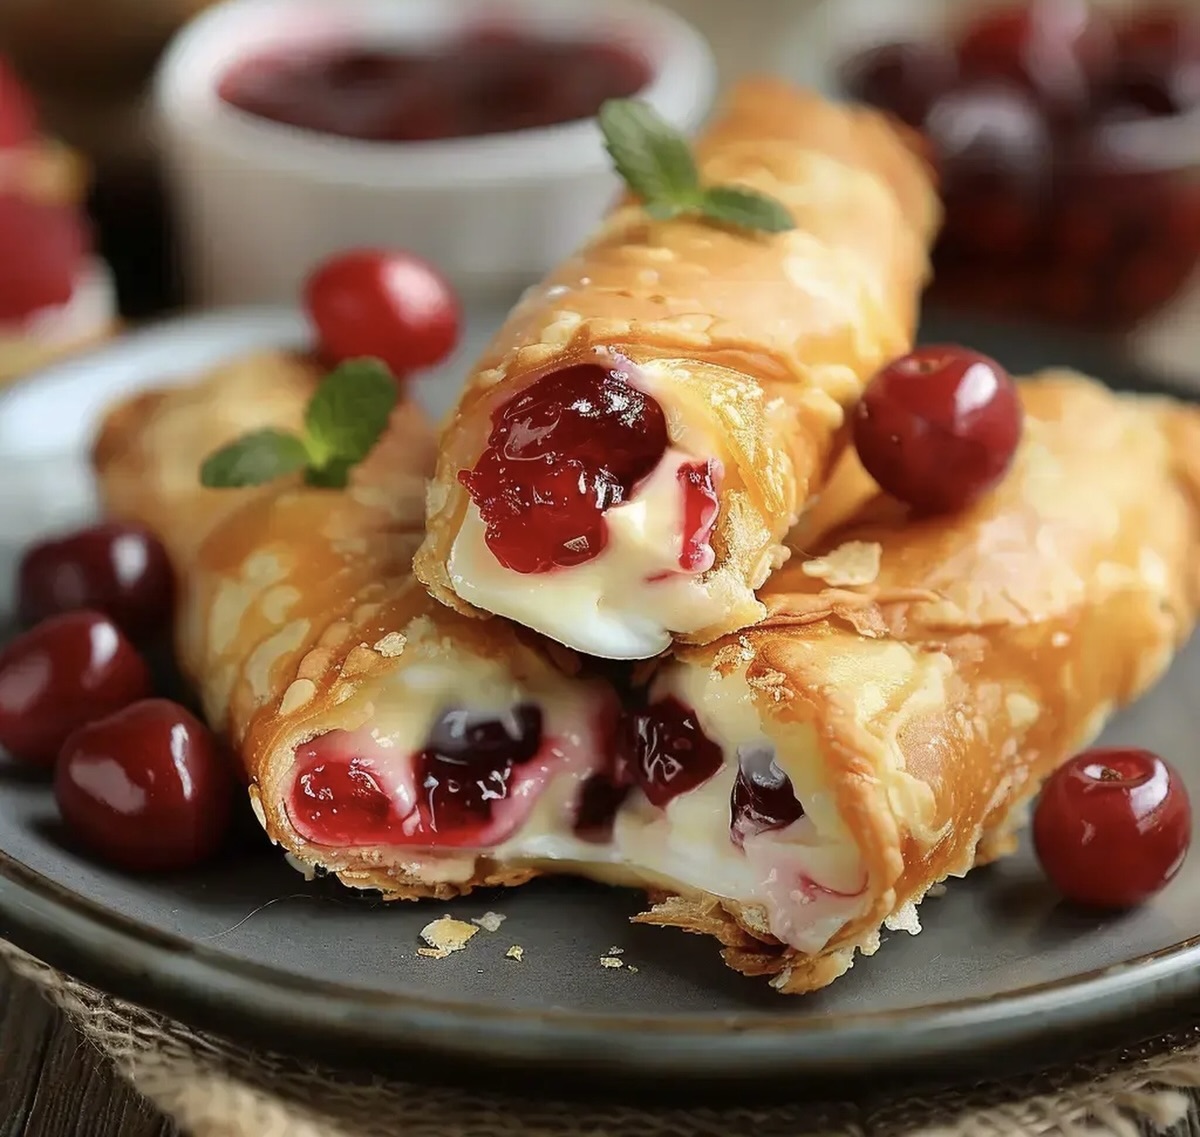
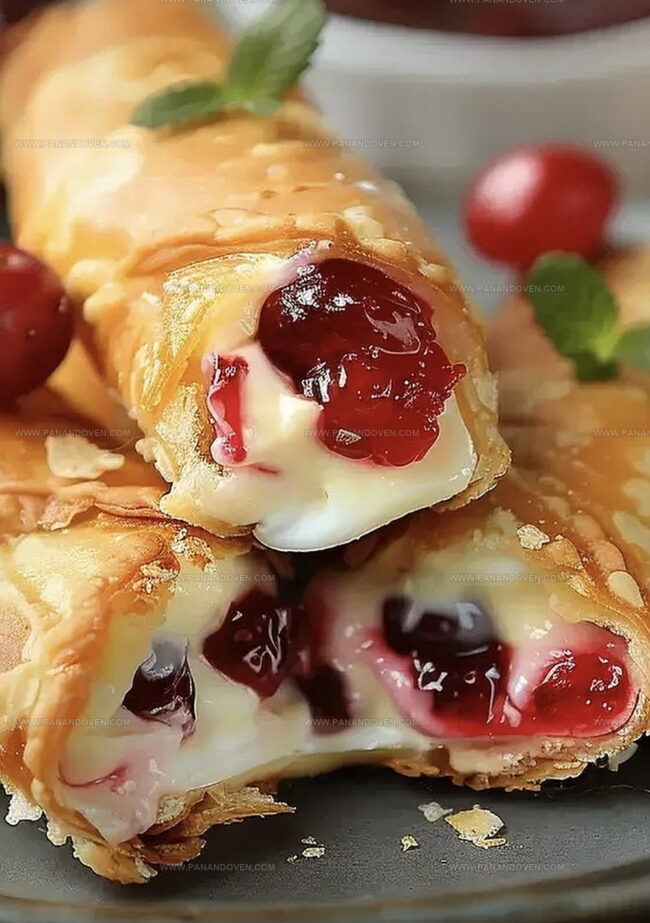
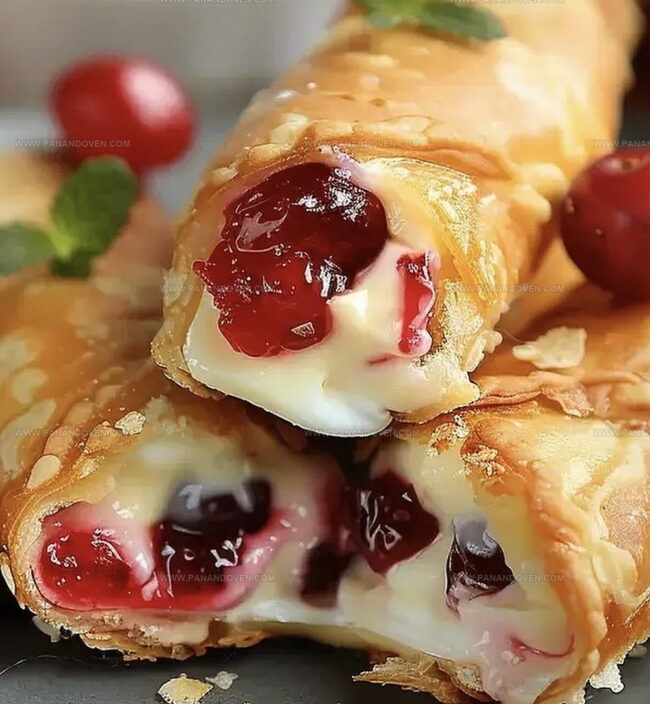
Creamy cheesecake filling nestled with vibrant cherry goodness creates an irresistible treat that surprises and delights.
Golden-brown wrappers crackle with each bite, promising a perfect balance of textures.
The combination of smooth cream cheese and tangy cherries dances across your palate with unexpected harmony.
Simple ingredients transform into an elegant dessert that looks far more complicated than it truly is.
Every roll promises a burst of flavor that will impress guests and satisfy your sweet tooth.
Prepare to elevate your dessert game with this crowd-pleasing recipe that turns ordinary ingredients into an extraordinary experience.
Cherry Cheesecake Egg Rolls: The Dessert You Need
Must-Have Ingredients For Cherry Cheesecake Rolls
Core Ingredients:Wrapper and Frying Ingredients:Finishing Ingredients:Tools For Perfect Dessert Egg Rolls
Wrapping Up Cherry Cheesecake Egg Rolls, Step-By-Step
Step 1: Whip Creamy Filling
Combine softened cream cheese, sugar, lemon zest, and vanilla in a medium mixing bowl.
Beat the ingredients using a handheld mixer on medium-high speed until the mixture becomes completely smooth and free of cream cheese lumps.
Step 2: Prepare Filling Bag
Transfer the cheesecake mixture into a decorators bag or a quart-size ziplock bag.
If using a ziplock bag, carefully snip off one corner to create a piping opening.
Step 3: Heat Cooking Oil
Pour vegetable oil into a deep 10-inch skillet.
Heat the oil over medium-high heat until it reaches 330F-340F using a candy or deep fryer thermometer.
Begin preparing egg roll assembly while the oil heats.
Step 4: Position Wrapper
Place an egg roll wrapper on a clean surface, positioning it like a diamond with one point facing towards you.
Step 5: Pipe Cheesecake Mixture
Squeeze the cheesecake filling in a precise line across the wrapper.
Position the filling about 3 inches from the bottom point and 1 inch from the side edge.
Step 6: Add Cherry Topping
Carefully arrange 6-8 cherries along the top edge of the cheesecake filling.
Step 7: Seal Wrapper Edges
Use your finger or a pastry brush to lightly moisten the edges of the egg roll wrapper with water.
Step 8: Fold And Secure
Fold the bottom point of the diamond over the filling and cherries.
Bring the two side points inward, covering the filling.
Roll the egg roll tightly, ensuring the top point creates a secure seal.
Step 9: Fry And Finish
Carefully lower 2-3 egg rolls into the hot oil at a time.
Fry for 1½-2 minutes per side until they turn golden brown.
Remove and drain on a paper towel-lined plate.
Dust generously with powdered sugar.
Serve immediately while warm and crispy.
Top Tips For Crispy, Sweet Cheesecake Rolls
Fun Twists On Cherry Cheesecake Egg Rolls
Plating Cherry Cheesecake Egg Rolls For Dessert
How To Store Egg Rolls For Later Treats
FAQs
The filling requires softened cream cheese, sugar, lemon zest, and vanilla extract. Mix these ingredients using a handheld mixer until smooth and free of cream cheese lumps.
Use a candy or deep fryer thermometer to check that the oil is between 330F-340F. This temperature ensures the egg rolls will cook evenly and become golden brown without burning.
Dampen the edges of the wrapper with your finger or a pastry brush. When folding, make sure to cover the filling completely and seal the top diamond point securely to prevent the filling from leaking during frying.
Print
Cherry Cheesecake Egg Rolls Recipe
- Total Time: 20 minutes
- Yield: 8 1x
Description
Crispy Cherry Cheesecake Egg Rolls blend classic American dessert with Asian-inspired technique, creating a delightful fusion pastry. Sweet cream cheese and tart cherries nestle inside golden-brown wrappers, promising an irresistible treat you’ll crave again and again.
Ingredients
Main Ingredients:
- 8 egg roll wrappers
- 21 ounce can of cherry pie filling
- 6 ounces cream cheese, softened
Sweeteners and Flavoring:
- 4 tablespoons granulated sugar
- 1–2 tablespoons powdered sugar for dusting the cooked egg rolls, optional
- 1 teaspoon fresh lemon zest
- 0.75 teaspoon pure vanilla extract
Cooking Components:
- 3 cups vegetable oil for frying the egg rolls
Instructions
- In a medium mixing bowl, blend cream cheese, sugar, lemon zest, and vanilla using a handheld mixer until perfectly smooth and lump-free, approximately 1-2 minutes.
- Transfer the creamy mixture into a decorator’s bag or ziplock bag with a trimmed corner for easy filling.
- Pour vegetable oil into a deep 10-inch skillet, heating to 330-340°F using a candy thermometer while preparing the egg roll assembly station.
- Position an egg roll wrapper diagonally, with the point facing towards you, creating a diamond shape on the work surface.
- Carefully pipe the cheesecake mixture in a precise line, positioning it about 3 inches from the bottom point and 1 inch from the side edge.
- Arrange 6-8 cherries along the top edge of the prepared filling.
- Moisten the wrapper edges using fingertips or a pastry brush to ensure proper sealing.
- Fold the bottom point over the filling, then fold side points inward, rolling tightly to create a secure egg roll shape. Repeat for remaining wrappers.
- Carefully lower egg rolls into hot oil, cooking in small batches of 2-3 for 1.5-2 minutes per side until achieving a golden-brown exterior.
- Remove fried egg rolls onto a paper towel-lined plate to drain excess oil, then generously dust with powdered sugar.
- Serve immediately while warm and crispy for optimal flavor and texture.
Notes
- Choose fresh, high-quality cream cheese for a smooth, luxurious filling that blends seamlessly without lumps.
- Ensure egg roll wrappers are at room temperature to prevent cracking and improve sealing during rolling.
- Use a candy thermometer to maintain precise oil temperature, preventing soggy or burnt egg rolls.
- Drain excess oil on paper towels to keep the exterior crispy and reduce greasiness.
- Swap regular cream cheese for low-fat or dairy-free alternatives to accommodate different dietary needs.
- Replace cherries with other fruits like strawberries or blueberries for flavor variety.
- Create a gluten-free version by using gluten-free egg roll wrappers and checking ingredient labels carefully.
- Prep Time: 10 minutes
- Cook Time: 10 minutes
- Category: Desserts, Snacks
- Method: Frying
- Cuisine: American
Nutrition
- Serving Size: 8
- Calories: 320
- Sugar: 10g
- Sodium: 180mg
- Fat: 18g
- Saturated Fat: 8g
- Unsaturated Fat: 0g
- Trans Fat: 0g
- Carbohydrates: 34g
- Fiber: 1g
- Protein: 3g
- Cholesterol: 30mg
Marcus Reed
Founder & Food Content Creator
Expertise
Single-recipe development, Seasonal and local ingredient utilization, Food photography and styling, Culinary writing and content creation
Education
Culinary Arts Certificate, Blue Ridge Community and Technical College, WV
Focus: Fundamentals of culinary techniques, emphasizing hands-on experience in small-scale kitchen settings.
Marcus’s story begins in Asheville, where good food and family kitchens shaped his earliest memories. After hands-on culinary training and a lot of trial (and a little error), he realized that real cooking isn’t about perfection, it’s about connection.
At Pan and Oven, Marcus crafts recipes that are easy to follow, packed with flavor, and built for real kitchens.