The Coziest Cheese-Stuffed Pretzels Recipe for Snack Lovers
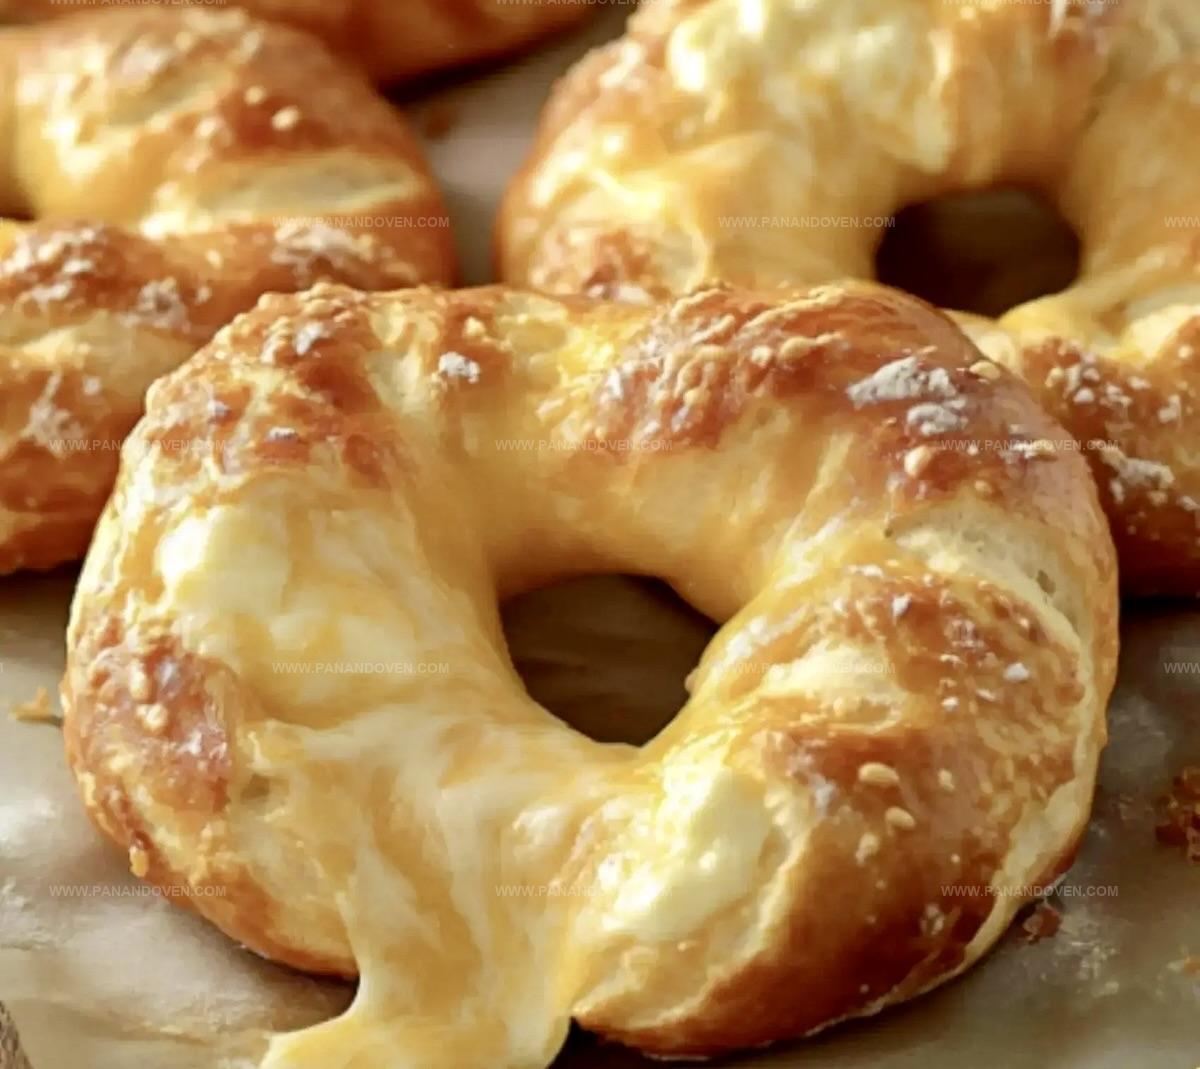
Soft, golden pretzels with gooey cheese-stuffed interiors promise a delightful snack that melts hearts and satisfies cravings.
Warm, twisted dough embraces pockets of rich, creamy cheese in this irresistible treat.
The perfect blend of bakery-style comfort and homemade goodness awaits you.
Each bite delivers a burst of cheesy flavor that dances across your palate.
Classic pretzel techniques meet indulgent cheese in this crowd-pleasing recipe.
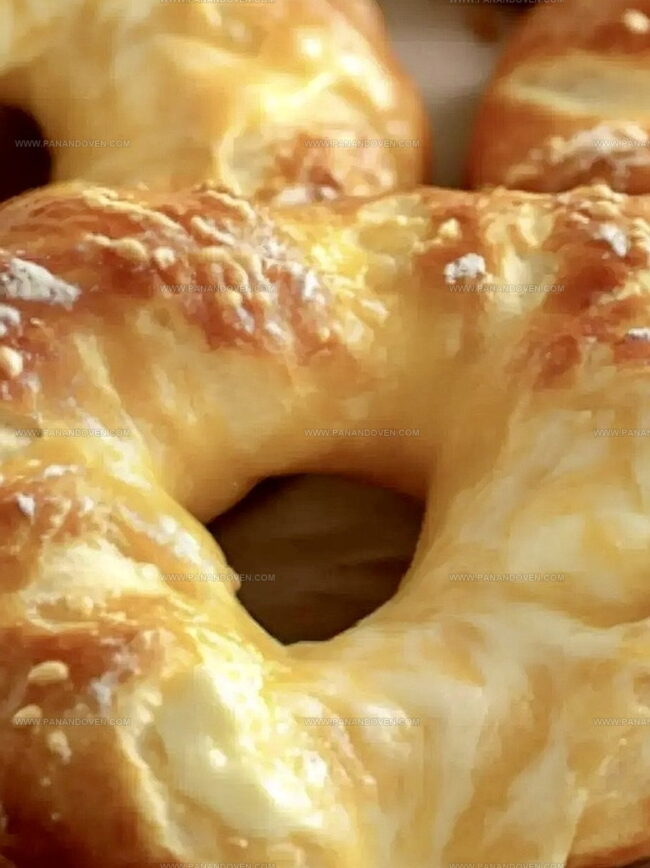
Crispy exterior, molten cheese center – these pretzels elevate your snacking game to new heights.
Prepare to wow everyone with this mouthwatering culinary creation that turns an ordinary moment into something spectacular.
Why Cheese-Stuffed Pretzels Always Steal the Show
What Goes Inside Cheese-Stuffed Pretzels

Pretzel Tools and Must-Haves for Cheesy Success
How to Twist and Bake Cheese-Stuffed Pretzels

Step 1: Activate Yeast
In a cozy bowl, sprinkle yeast into warm water.
Let the mixture hang out until it becomes frothy and bubbly, which takes about 5 minutes.
The yeast will start to wake up and get super excited to help your dough rise.
Step 2: Create Dough Base
Grab a spacious mixing bowl and combine flour and salt.
Pour in the yeasty liquid and stir until everything comes together into a shaggy dough.
Don’t worry about perfection – messy is good at this stage!
Step 3: Knead and Develop Texture
Transfer the dough to a floured surface.
Start pushing, folding, and rolling the dough.
Knead with your hands for around 5 minutes until the texture becomes smooth and springy.
This is where the magic happens!
Step 4: Let Dough Rise
Nestle the dough into an oiled bowl, cover with a damp towel, and find a warm spot in your kitchen.
Allow the dough to expand and rise for about an hour.
It’ll double in size and become wonderfully puffy.
Step 5: Prepare Cheese Filling
Ingredients for filling:Mix the cheeses together, creating a deliciously melty combination that will ooze inside your pretzels.
Step 6: Shape Pretzel Pockets
Divide the dough into 8 equal portions.
Roll each piece into a rope, then flatten slightly.
Place a generous spoonful of cheese mixture in the center.
Carefully pinch and seal the dough around the cheese, forming a secure pocket.
Step 7: Boil and Prep
Bring water and baking soda to a rolling boil in a large pot.
Gently lower each pretzel into the water for about 30 seconds.
This quick bath gives pretzels their signature chewy exterior.
Step 8: Add Final Touches
Brush each pretzel with beaten egg and sprinkle with coarse salt.
These steps will create a gorgeous golden-brown finish with a delightful crunch.
Step 9: Bake to Perfection
Slide the pretzels into a preheated oven.
Bake until they turn a beautiful golden brown and the cheese starts to melt and bubble, which takes about 12-15 minutes.
Secrets for Extra Gooey Cheese Pretzel Bites
Cheesy Pretzel Combos You’ll Want to Try Next

Perfect Times to Serve Cheese-Stuffed Pretzels
Keeping Cheese Pretzels Tasty After Baking

FAQs

Dissolving sugar and yeast in warm water activates the yeast, helping it bloom and create a better rise for your pretzel dough. This process ensures your pretzels will be soft and fluffy.
Yes, you can experiment with various cheeses like pepper jack, gouda, or parmesan. Just make sure to use a cheese that melts well and complements the pretzel’s flavor.
Boiling pretzels in baking soda water gives them their classic dark, chewy exterior and distinctive pretzel flavor. Skipping this step will result in a less authentic texture and taste.
Print
Cheese-Stuffed Pretzels Recipe
- Total Time: 1 hour 25 minutes
- Yield: 12 1x
Description
Gooey cheese-stuffed pretzels offer a delightful twist on classic German street fare. Golden brown exteriors hide melted cheese centers that make snack time irresistible. Hungry people will crave these comforting treats.
Ingredients
Main Ingredients:
- 4 cups all-purpose flour
- 1 cup shredded cheddar cheese
- 1/2 cup shredded mozzarella cheese
- 1 large egg
- 1 1/2 cups warm water (110°F/45°C)
Liquid and Leavening Ingredients:
- 2 tablespoons granulated sugar
- 2 1/4 teaspoons active dry yeast (1 packet)
- 1 teaspoon salt
Bath and Topping Ingredients:
- 10 cups water
- 2/3 cup baking soda
- 1/4 cup baking soda
- Coarse salt (for sprinkling)
Instructions
- Activate the yeast by dissolving sugar in warm water (110F/45C), then sprinkle yeast on top and let it rest for 5 minutes until foamy.
- Combine flour and salt in a large mixing bowl, then pour in the activated yeast mixture and stir until a cohesive dough forms.
- Transfer the dough to a floured surface and knead thoroughly for 5 minutes, developing a smooth and elastic texture.
- Place the dough in a lightly oiled bowl, cover with a damp cloth, and allow it to rise in a warm environment for approximately 1 hour or until it doubles in volume.
- Heat the oven to 425F (220C) and prepare a baking sheet with parchment paper.
- Create the cheese filling by blending shredded cheddar and mozzarella cheeses in a small bowl.
- Divide the risen dough into 8 equal portions, rolling each into a rope. Flatten slightly, add a tablespoon of cheese filling in the center, then carefully seal the dough around the cheese and shape into a traditional pretzel form.
- Prepare a boiling solution of water and baking soda. Submerge each pretzel in the boiling liquid for 30 seconds, then remove with a slotted spoon and transfer to the prepared baking sheet.
- Enhance the pretzels by brushing with beaten egg and generously sprinkling coarse salt across the surface.
- Bake in the preheated oven for 12-15 minutes, achieving a golden-brown color and ensuring the cheese is completely melted.
Notes
- Master the yeast activation by ensuring water temperature is precisely between 110-115°F to guarantee perfect rising and avoid killing the yeast.
- Seal cheese inside pretzels completely to prevent leakage during boiling and baking, creating a clean, professional-looking final product.
- Experiment with alternative cheese blends like sharp provolone, smoked gouda, or pepper jack for unique flavor profiles that elevate the classic recipe.
- Consider gluten-free adaptation by substituting all-purpose flour with a high-quality gluten-free blend and adding xanthan gum for improved texture and elasticity.
- Prep Time: 1 hour 10 minutes
- Cook Time: 15 minutes
- Category: Snacks, Appetizer
- Method: Baking
- Cuisine: American
Nutrition
- Serving Size: 12
- Calories: 250
- Sugar: 2 g
- Sodium: 800 mg
- Fat: 6 g
- Saturated Fat: 3 g
- Unsaturated Fat: 2 g
- Trans Fat: 0 g
- Carbohydrates: 41 g
- Fiber: 1 g
- Protein: 9 g
- Cholesterol: 30 mg
Marcus Reed
Founder & Food Content Creator
Expertise
Single-recipe development, Seasonal and local ingredient utilization, Food photography and styling, Culinary writing and content creation
Education
Culinary Arts Certificate, Blue Ridge Community and Technical College, WV
Focus: Fundamentals of culinary techniques, emphasizing hands-on experience in small-scale kitchen settings.
Marcus’s story begins in Asheville, where good food and family kitchens shaped his earliest memories. After hands-on culinary training and a lot of trial (and a little error), he realized that real cooking isn’t about perfection, it’s about connection.
At Pan and Oven, Marcus crafts recipes that are easy to follow, packed with flavor, and built for real kitchens.