Dreamy Cheesecake-Stuffed Cake Pops Recipe for Sweet Treats
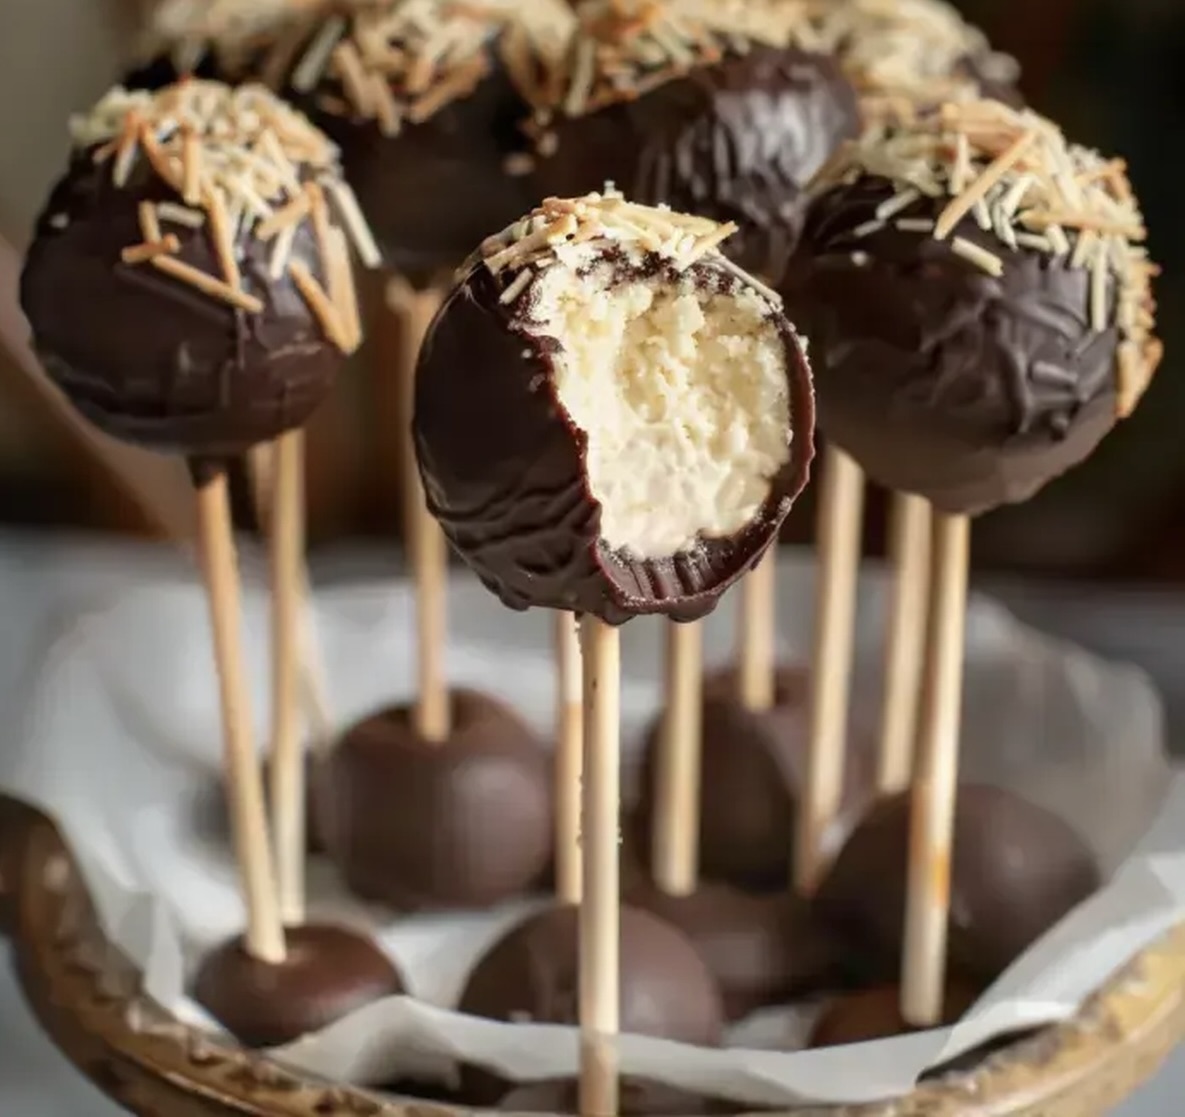
Decadent chocolate cake meets creamy cheesecake in these irresistible cheesecake-stuffed cake pops that promise to steal the show at any gathering.
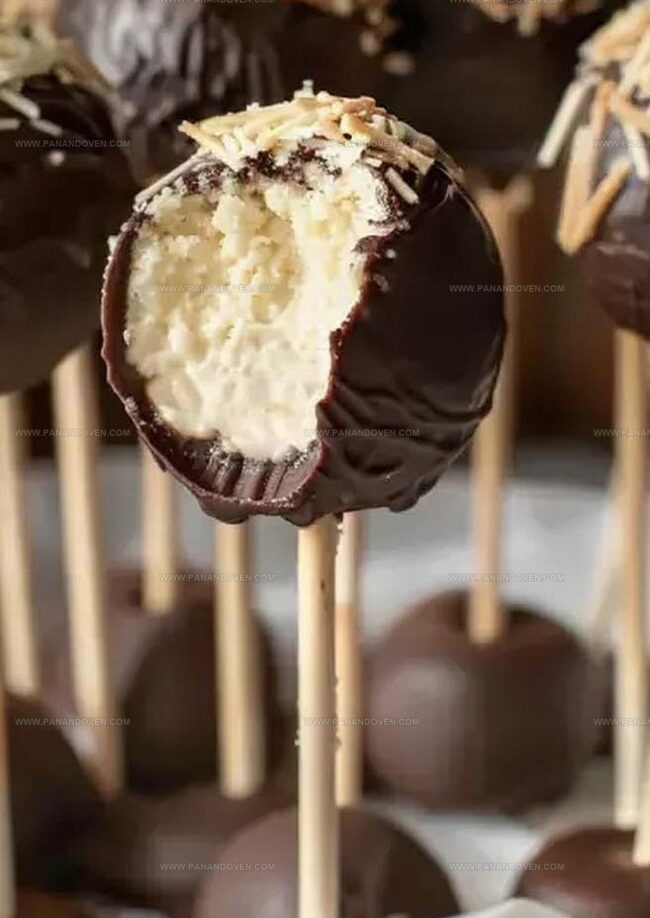
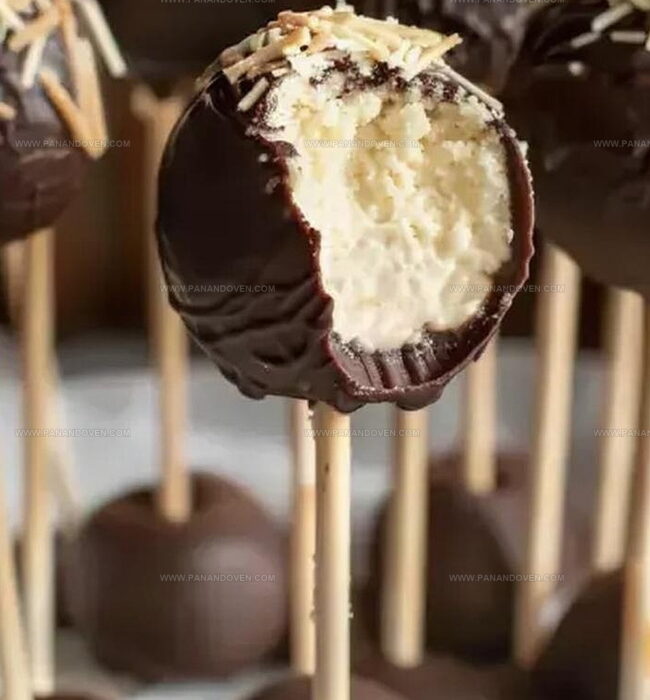
These bite-sized delights combine rich chocolate layers with smooth, tangy cheesecake centers for an unexpected flavor explosion.
Each pop delivers a perfect balance of textures and tastes that dance across your palate.
The recipe transforms simple ingredients into elegant, portable desserts that look as stunning as they taste.
Compact and easy to serve, these cake pops eliminate the need for plates and utensils at parties.
Guests will be impressed by the professional-looking treats that actually come together with surprising simplicity.
You’ll love how these miniature desserts create instant excitement and conversation at any celebration.
Cheesecake-Stuffed Cake Pops: Treats On A Stick
Ingredients To Create Cheesecake-Stuffed Cake Pops
Cake Base:Cheesecake Filling:Coating and Decoration:Cake Pop Tools For Sweet Perfection
Rolling Out Cheesecake Cake Pops, One Bite At A Time
Step 1: Whip Up Cheesecake Filling
Grab a medium bowl and combine these ingredients:Beat everything until silky smooth.
Pop the mixture into the refrigerator for about 30 minutes to firm up nicely.
Step 2: Craft Cake Balls
Bake the cake following package instructions and let it cool completely.
Crumble the cake into a large bowl.
Blend in frosting until the mixture becomes a perfect moldable texture.
Roll the mixture into small round balls, roughly 1 inch wide.
Carefully insert a lollipop stick into each ball.
Chill in the refrigerator for one hour to set.
Step 3: Create Cheesecake Surprises
Take a chilled cake ball and gently create a small center pocket.
Carefully spoon a dollop of cheesecake mixture into the pocket.
Smoothly seal the cake mixture around the filling.
Roll between your palms to reshape and ensure a perfect spherical form.
Step 4: Dunk In Chocolate
Melt chocolate using a microwave-safe bowl or double boiler until completely smooth.
Dip each cake pop into the melted chocolate, ensuring full coverage.
Tap gently to remove excess chocolate.
Stand each pop upright in a foam block or special cake pop stand.
Sprinkle decorative toppings before the chocolate sets.
Step 5: Chill And Enjoy
Wait until the chocolate coating hardens completely.
Store these delightful treats in an airtight container in the refrigerator until you’re ready to serve and impress your guests.
Secrets To Smooth, Sweet Cake Pop Success
Cake Pop Flavor Spins For Creative Cooks
How To Serve Up Cheesecake Cake Pops At Any Party
Storage Tricks For Cheesecake Pops That Last
FAQs
Chill the cake balls thoroughly before stuffing and seal the cheesecake center completely by smoothing the cake mixture around it. Roll the stuffed cake ball gently between your hands to ensure a tight seal.
Melt the chocolate completely until smooth, and use a deep bowl for easy dipping. Tap the cake pop gently on the side of the bowl to remove excess chocolate and create an even, clean coating.
Yes, you can prepare the cake pops up to 2-3 days in advance. Keep them stored in an airtight container in the refrigerator. The cheesecake center and chocolate coating help maintain their freshness.
Print
Cheesecake-Stuffed Cake Pops Recipe
- Total Time: 2 hours
- Yield: 24 1x
Description
Delightful cheesecake-stuffed cake pops combine classic dessert flavors in a playful handheld treat. Creamy cheesecake centers nestled within sweet cake balls offer you a perfect bite-sized indulgence for parties or personal snacking.
Ingredients
Cake Base:
- 1 box cake mix (any flavor)
- Ingredients required for cake mix (usually 2-3 eggs, 1/3 cup vegetable oil, 1 cup water)
Cheesecake Filling:
- 8 ounces (226 grams) cream cheese, softened
- 1/2 cup (60 grams) powdered sugar
- 1/4 cup (60 milliliters) sour cream
- 1 teaspoon vanilla extract
Coating and Decorations:
- 1 cup (175 grams) chocolate chips or melting chocolate
- 1 cup (240 grams) frosting (store-bought or homemade)
- Lollipop sticks
- Sprinkles, crushed nuts, or other toppings (optional)
Instructions
- Craft a velvety cheesecake filling by whisking cream cheese, powdered sugar, sour cream, and vanilla extract until luxuriously smooth. Refrigerate the mixture for 30 minutes to achieve a firm consistency.
- Prepare the cake base by baking according to package directions and allowing complete cooling. Transform the cake into fine crumbs, then incorporate frosting until the mixture becomes cohesive and moldable. Gently form compact spheres approximately one inch in diameter.
- Insert lollipop sticks into each cake sphere and chill for one hour to stabilize the structure. Once cooled, delicately create a central cavity in each sphere.
- Carefully nestle a precise dollop of chilled cheesecake mixture into the created cavity. Tenderly encase the filling by smoothing cake mixture around it, then roll between palms to restore spherical shape.
- Melt chocolate using microwave or double boiler until achieving a glossy, uniform texture. Immerse each cake pop completely, allowing excess chocolate to drip away. Position pops vertically in foam or specialized stand.
- Embellish with decorative sprinkles or preferred toppings before chocolate solidifies. Permit chocolate coating to set entirely at room temperature or expedite process through refrigeration.
- Store completed cake pops in sealed container within refrigerator, maintaining optimal freshness until serving moment arrives.
Notes
- Chill the cheesecake mixture thoroughly to ensure a smooth, firm texture that won’t leak during coating.
- Create uniform cake balls by using a small cookie scoop for consistent sizing and easier handling.
- When dipping, use a deep, narrow container to make chocolate coating more efficient and less messy.
- Keep cake pops at room temperature for 15 minutes before serving to soften the chocolate slightly and enhance flavor.
- Prep Time: 1 hour 30 minutes
- Cook Time: 30 minutes
- Category: Desserts, Snacks
- Method: Baking
- Cuisine: American
Nutrition
- Serving Size: 24
- Calories: 210
- Sugar: 14 g
- Sodium: 150 mg
- Fat: 10 g
- Saturated Fat: 5 g
- Unsaturated Fat: 4 g
- Trans Fat: 0 g
- Carbohydrates: 30 g
- Fiber: 1 g
- Protein: 3 g
- Cholesterol: 25 mg
Marcus Reed
Founder & Food Content Creator
Expertise
Single-recipe development, Seasonal and local ingredient utilization, Food photography and styling, Culinary writing and content creation
Education
Culinary Arts Certificate, Blue Ridge Community and Technical College, WV
Focus: Fundamentals of culinary techniques, emphasizing hands-on experience in small-scale kitchen settings.
Marcus’s story begins in Asheville, where good food and family kitchens shaped his earliest memories. After hands-on culinary training and a lot of trial (and a little error), he realized that real cooking isn’t about perfection, it’s about connection.
At Pan and Oven, Marcus crafts recipes that are easy to follow, packed with flavor, and built for real kitchens.