The Sweet Twist: Cheesecake Deviled Strawberries Recipe
Sweet summer strawberries hide a decadent cheesecake deviled strawberries secret that will make your dessert table pop.
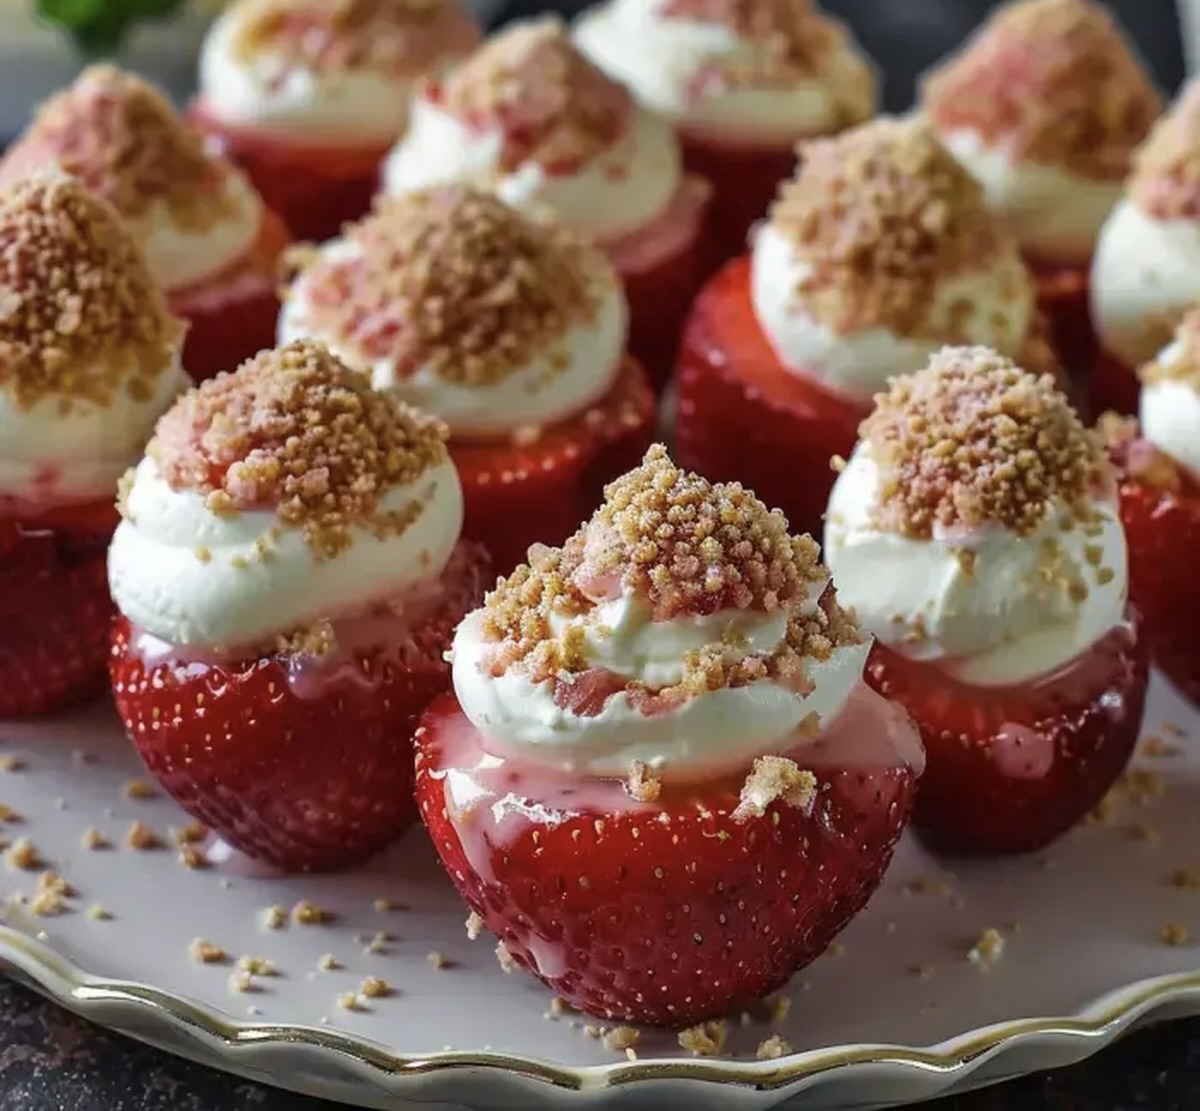
These bite-sized treats combine the classic tang of fresh strawberries with a creamy, rich filling.
Elegant yet surprisingly simple, this dessert transforms ordinary fruit into an extraordinary experience.
Each strawberry becomes a delightful canvas for smooth, luscious cheesecake cream.
The contrast between the bright, juicy berry and the velvety filling creates a perfect balance of flavors and textures.
Guests will be impressed by these stunning little morsels that look complex but come together with minimal effort.
Prepare to delight your taste buds with this irresistible dessert that promises to be the star of any gathering.
Cheesecake Deviled Strawberries: A Sweet Surprise
Sweet Ingredients For Strawberry Cheesecake Magic
Main Ingredient:Filling Ingredients:Topping Ingredients:Fun Tools For Cheesecake Stuffed Strawberries
Making Cheesecake Strawberries Step-By-Step

Step 1: Clean and Hollow Strawberries
Grab your fresh strawberries and give them a thorough rinse under cool water.
Gently pat them dry with a clean kitchen towel.
Take a sharp paring knife and carefully remove the green stems.
Create a small cavity in the center of each strawberry, making sure not to pierce through the bottom.
The goal is to create a perfect little vessel for the creamy filling.
Step 2: Whip Up Creamy Cheesecake Filling
In a mixing bowl, grab your softened cream cheese and beat it until silky smooth.
Gradually add powdered sugar and vanilla extract, continuing to whip until the mixture becomes light and fluffy.
The filling should have a luxurious, velvety texture that promises pure indulgence.
Step 3: Stuff Strawberries with Cheesecake Goodness
Transfer your luscious cheesecake filling into a piping bag or use a small spoon to carefully fill each strawberry hollow.
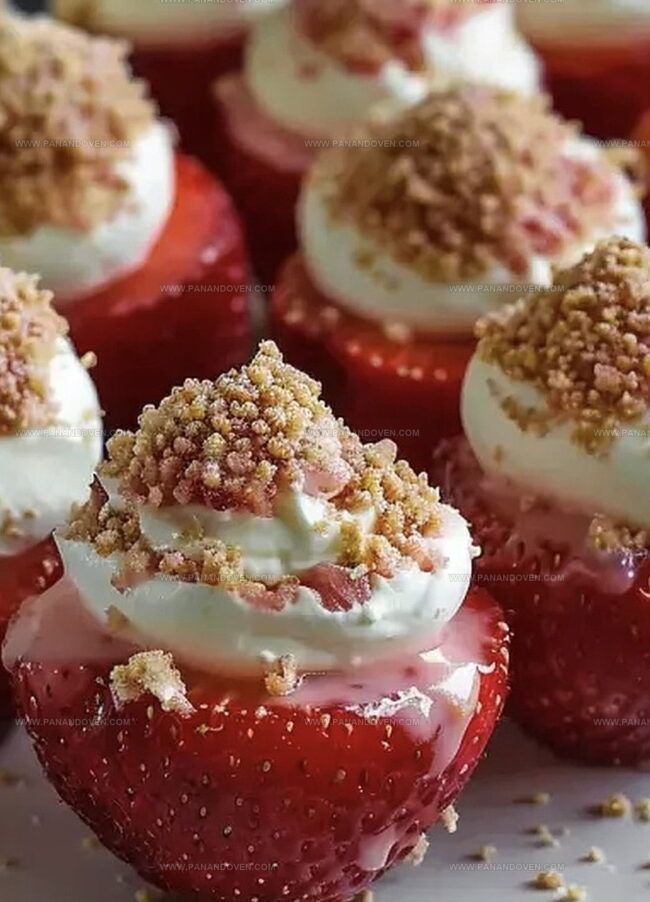
Don’t be shy – let the filling generously peek over the top, creating an enticing and decadent look that’ll make mouths water.
Step 4: Add Crunchy Graham Cracker Topping
Sprinkle graham cracker crumbs over the filled strawberries.
These crumbs will provide a delightful crunch and bring that classic cheesecake flavor to life, transforming your strawberries into a truly irresistible treat.
Step 5: Get Creative with Toppings
Take your strawberries to the next level with some fun extras.
Consider:These optional toppings will elevate your dessert from delicious to absolutely spectacular.
Step 6: Chill and Serve
Place your completed strawberries on a serving platter and pop them in the refrigerator for at least 30 minutes.
This cooling time allows the filling to set and lets the flavors mingle and intensify.
When ready, serve these divine treats and watch as everyone’s eyes light up with excitement!
Tips For Silky-Smooth Cheesecake Fillings
New Twists On Deviled Strawberry Delights
Ways To Plate And Serve Cheesecake Strawberries
Storing Cheesecake Strawberries The Tasty Way
FAQs
No, they’re surprisingly simple. With basic ingredients and just a few steps, anyone can create these delightful treats quickly.
Not really. You’ll just need a mixing bowl, piping bag or spoon, and a knife for hulling strawberries. Most home kitchens already have these tools.
Absolutely! You can prepare them 1-2 days in advance. Just keep them refrigerated in an airtight container until you’re ready to serve.
Let it sit at room temperature for about 30 minutes before mixing. This helps create a smooth, creamy filling without lumps.
Print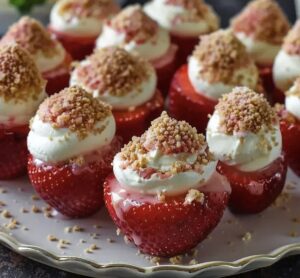
Cheesecake Deviled Strawberries Recipe
- Total Time: 20 minutes
- Yield: 12 1x
Description
Rich homemade strawberry cheesecake deviled strawberries blend creamy filling with fresh fruit for an elegant dessert. Sweet and tangy flavors will delight guests at any special occasion.
Ingredients
Main Ingredients:
- 1 pint (473 ml) fresh strawberries
- 8 ounces (226 grams) cream cheese, softened
- 1/4 cup (36 grams) graham cracker crumbs
Sweeteners and Flavor Enhancers:
- 1/2 cup (60 grams) powdered sugar
- 1 teaspoon (5 ml) vanilla extract
Optional Toppings:
- Chocolate drizzle
- Crushed nuts
- Sprinkles
Instructions
- Thoroughly rinse strawberries under cool water, then gently pat dry with paper towels. Using a sharp paring knife, carefully remove green tops and create a small hollow center without piercing the bottom, ensuring a stable base for filling.
- In a mixing bowl, whip cream cheese until silky and uniform. Gradually incorporate powdered sugar and vanilla extract, blending until the mixture achieves a light, creamy consistency with no lumps.
- Transfer the cheesecake mixture into a piping bag or use a small spoon to precisely fill each strawberry cavity. Slightly overfill to create an elegant, abundant appearance that peaks above the strawberry’s rim.
- Delicately sprinkle graham cracker crumbs over the filled strawberries, ensuring an even, light coating that provides a complementary textural contrast to the creamy filling.
- For additional visual and flavor enhancement, consider optional decorative elements like a fine chocolate drizzle, scattered chopped nuts, or colorful edible sprinkles that complement the dessert’s aesthetic.
- Arrange the adorned strawberries on a chilled serving platter. Refrigerate for approximately 30 minutes at 40°F to solidify the filling and allow flavors to harmonize before presenting to guests.
Notes
- Carefully choose ripe, firm strawberries to ensure the best texture and flavor for your deviled strawberries.
- Soften cream cheese at room temperature for 30 minutes to achieve a smooth, lump-free filling that pipes easily.
- Use a fine-mesh sieve when dusting graham cracker crumbs to create an even, delicate coating on top of the strawberries.
- Keep these treats chilled until serving to maintain their shape and prevent the filling from becoming too soft.
- Prep Time: 20 minutes
- Cook Time: 0 minutes
- Category: Desserts, Snacks
- Method: None
- Cuisine: American
Nutrition
- Serving Size: 12
- Calories: 97
- Sugar: 8 g
- Sodium: 63 mg
- Fat: 6 g
- Saturated Fat: 4 g
- Unsaturated Fat: 2 g
- Trans Fat: 0 g
- Carbohydrates: 10 g
- Fiber: 1 g
- Protein: 2 g
- Cholesterol: 24 mg
Marcus Reed
Founder & Food Content Creator
Expertise
Single-recipe development, Seasonal and local ingredient utilization, Food photography and styling, Culinary writing and content creation
Education
Culinary Arts Certificate, Blue Ridge Community and Technical College, WV
Focus: Fundamentals of culinary techniques, emphasizing hands-on experience in small-scale kitchen settings.
Marcus’s story begins in Asheville, where good food and family kitchens shaped his earliest memories. After hands-on culinary training and a lot of trial (and a little error), he realized that real cooking isn’t about perfection, it’s about connection.
At Pan and Oven, Marcus crafts recipes that are easy to follow, packed with flavor, and built for real kitchens.