Festive Cheese Ball Appetizer Recipe: Party Magic in Minutes
Parties always need that perfect starter, and this crowd-pleasing cheese ball appetizer brings serious wow factor to any gathering.
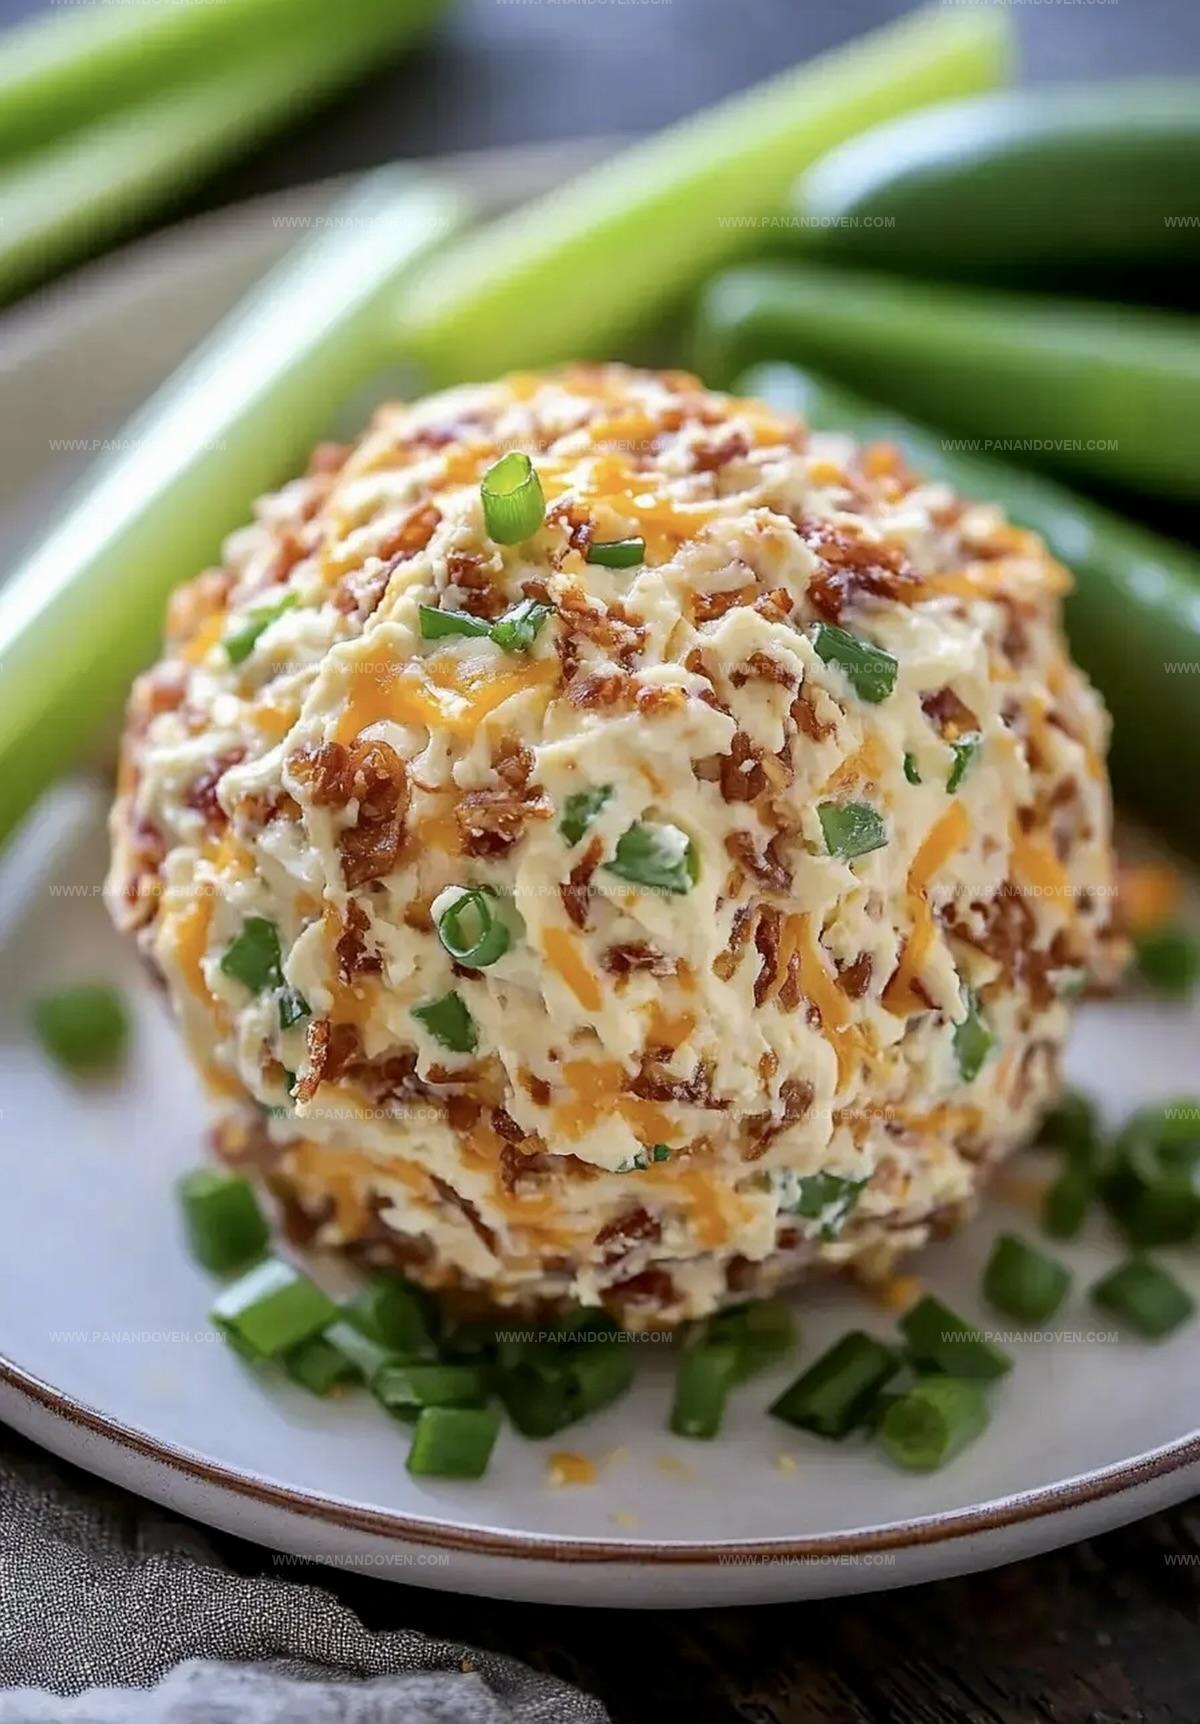
Creamy, rich ingredients blend together to create a delectable spread that guests won’t be able to resist.
Sharp cheddar and tangy cream cheese form the luxurious base of this classic recipe.
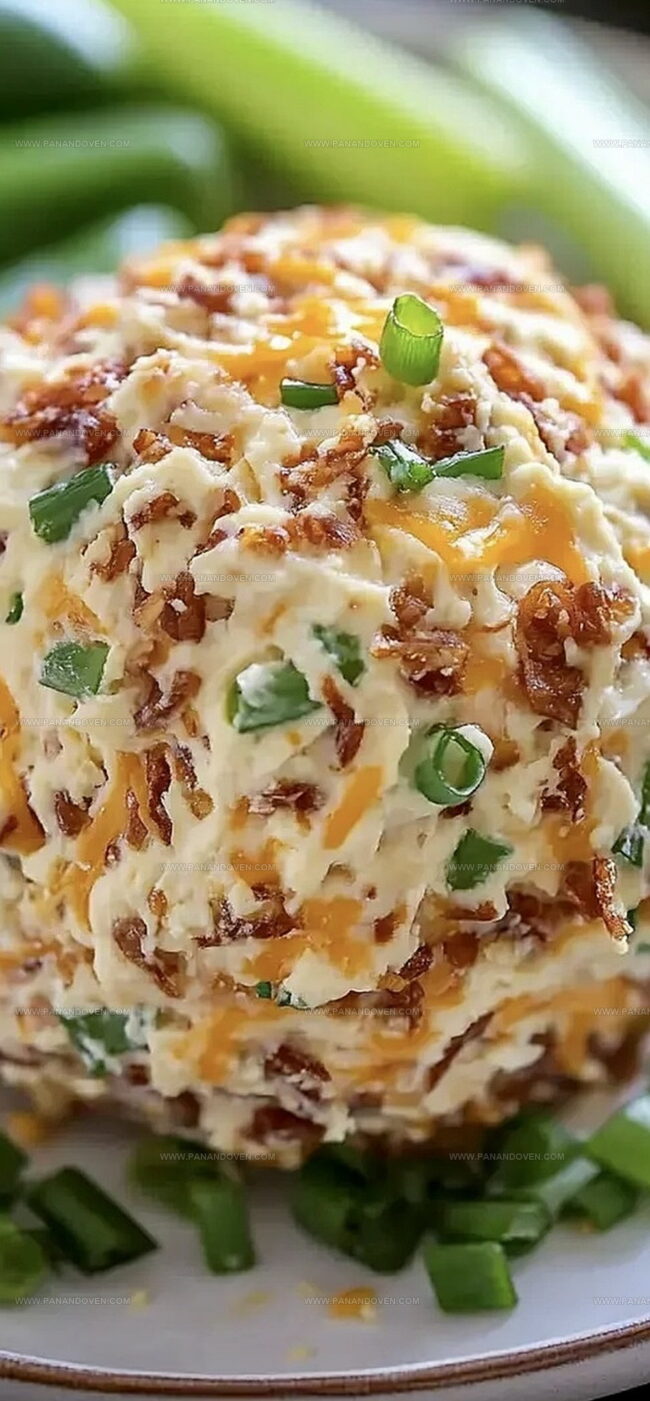
Rolled in crunchy nuts and seasoned with delicate herbs, this appetizer delivers incredible flavor in every single bite.
The combination of textures makes this cheese ball irresistibly smooth yet crunchy.
Serve with crisp crackers or fresh vegetable sticks for a guaranteed hit that will have everyone coming back for more.
Your next social event just got a delicious upgrade.
Why This Jalapeno Cheese Ball Will Steal the Party Show
Everything You Need for a Bold Jalapeno Cheese Ball
Cheese Ball Tools for Effortless Party Prep
Cheese Ball Instructions for a Spicy, Cheesy Appetizer
Step 1: Cream the Base
Grab your hand mixer and blend cream cheese and sour cream until the mixture becomes ultra-smooth and cloud-like.
You’ll want to mix until it’s creamy and free of any lumps.
Step 2: Spice It Up
Toss in these flavor-packed ingredients:Stir everything together until the ingredients are perfectly married and distributed evenly.
Step 3: Shape the Magic
Lay out two long plastic wrap strips in a cross pattern.
Dollop your cheesy mixture right in the center.
Gather up the plastic wrap edges, twist the top to create a tight ball shape.
Make sure it’s snug and compact.
Pop this flavor bomb into the refrigerator and let it chill for at least an hour to set and firm up.
Step 4: Create the Crunchy Coating
Spread out a delicious mixture of:Arrange these on a flat surface, creating an even, inviting layer of texture and flavor.
Step 5: Give It a Rollover
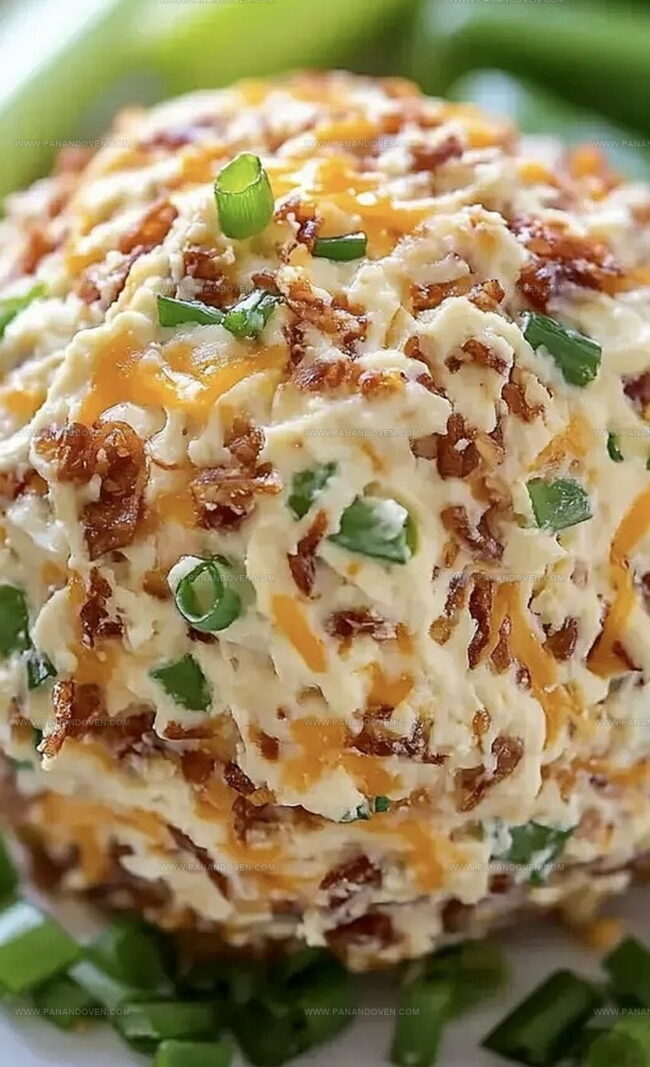
Unwrap your chilled cheese ball and gently roll it through the coating.
Press softly to ensure every inch gets covered in the crunchy, spicy goodness.
Step 6: Serve and Devour
Transfer your masterpiece to a serving platter.
Surround it with tasty dippers like crisp celery sticks, colorful bell peppers, or crunchy pork rinds.
Watch as your guests dive in and enjoy this spicy, cheesy sensation!
Expert Party Tips for Serving the Best Cheese Ball
New Ways to Jazz Up Your Classic Cheese Ball Recipe
Cheese Ball Plating and Pairing Ideas That Impress
Cheese Ball Storage Tips for Next-Day Enjoyment
FAQs

Yes, you can substitute jalapeños with other peppers like poblano or serrano for varied heat levels. Adjust the amount based on your spice preference.
This recipe is naturally gluten-free. Just ensure your cheese, sour cream, and additional ingredients are certified gluten-free if you have sensitivities.
Remove the jalapeño seeds and membranes to reduce heat. You can also use fewer peppers or replace them with mild green chiles for a gentler flavor.
Absolutely! You can make the cheese ball up to 2-3 days before serving. Keep it tightly wrapped in the refrigerator and add the coating just before serving to maintain its crispness.
Print
Cheese Ball Appetizer Recipe
- Total Time: 1 hour 20 minutes
- Yield: 8 1x
Description
Savory cheese ball appetizers bring creamy, tangy flavors perfect for holiday gatherings. Guests will enjoy this simple, crowd-pleasing snack that combines classic ingredients with gourmet appeal.
Ingredients
Main Ingredients:
- 16 ounces (454 grams) cream cheese, softened
- 1 cup (113 grams) shredded sharp cheddar cheese
- 1/2 cup (57 grams) shredded cheddar cheese
Flavor Enhancers:
- 4 tablespoons (60 milliliters) sour cream
- 1/2 teaspoon garlic powder
- Salt and pepper, to taste
Garnish and Mix-ins:
- 3 large jalapenos, seeds and stems removed, finely chopped
- 2 green onions, sliced thin
- 1/3 cup (38 grams) pecans, finely chopped
Instructions
- Utilize a hand mixer to thoroughly blend softened cream cheese and sour cream until achieving a silky, airy consistency.
- Incorporate garlic powder, finely diced jalapenos, shredded cheddar, salt, and pepper into the mixture, stirring until ingredients are completely integrated.
- Create a cheese ball by positioning two intersecting plastic wrap strips on a flat surface, transferring the cream cheese mixture to the center. Gather wrap edges, twist securely to shape the ball, and refrigerate for minimum 60 minutes to solidify.
- Prepare the exterior coating by arranging chopped jalapenos, shredded cheddar, green onions, and crushed pecans into an even, uniform layer on a clean surface.
- Remove chilled cheese ball from refrigerator and gently roll across coating ingredients, ensuring complete and thorough coverage by pressing lightly to adhere toppings to any exposed areas.
- Place the fully coated cheese ball onto a decorative serving platter, accompanied by crisp celery sticks, fresh pepper slices, crunchy pork rinds, or alternative low-carb dipping options for guests to enjoy.
Notes
- Adjust Spice Levels by removing jalapeno seeds for a milder version or adding more for extra heat, ensuring everyone enjoys the appetizer.
- Swap Nuts with crispy bacon bits or everything bagel seasoning for alternative coatings that add crunch and flavor without changing the core recipe.
- Accommodate Dietary Needs by using lactose-free cream cheese and low-fat options to make the cheese ball friendly for different health preferences.
- Prep Ahead by making the cheese ball up to 2 days in advance, keeping it wrapped tightly in the refrigerator to enhance flavor development and save party preparation time.
- Prep Time: 20 minutes
- Cook Time: 1 hour
- Category: Appetizer, Snacks
- Method: Blending
- Cuisine: American
Nutrition
- Serving Size: 8
- Calories: 270
- Sugar: 1 g
- Sodium: 240 mg
- Fat: 22 g
- Saturated Fat: 10 g
- Unsaturated Fat: 12 g
- Trans Fat: 0 g
- Carbohydrates: 8 g
- Fiber: 1 g
- Protein: 7 g
- Cholesterol: 40 mg
Marcus Reed
Founder & Food Content Creator
Expertise
Single-recipe development, Seasonal and local ingredient utilization, Food photography and styling, Culinary writing and content creation
Education
Culinary Arts Certificate, Blue Ridge Community and Technical College, WV
Focus: Fundamentals of culinary techniques, emphasizing hands-on experience in small-scale kitchen settings.
Marcus’s story begins in Asheville, where good food and family kitchens shaped his earliest memories. After hands-on culinary training and a lot of trial (and a little error), he realized that real cooking isn’t about perfection, it’s about connection.
At Pan and Oven, Marcus crafts recipes that are easy to follow, packed with flavor, and built for real kitchens.