
Homemade Butter Mints Recipe: Sweet Nostalgia in Every Bite
Sweet childhood memories swirl around these delightful butter mints that transport you straight back to grandmother’s kitchen.
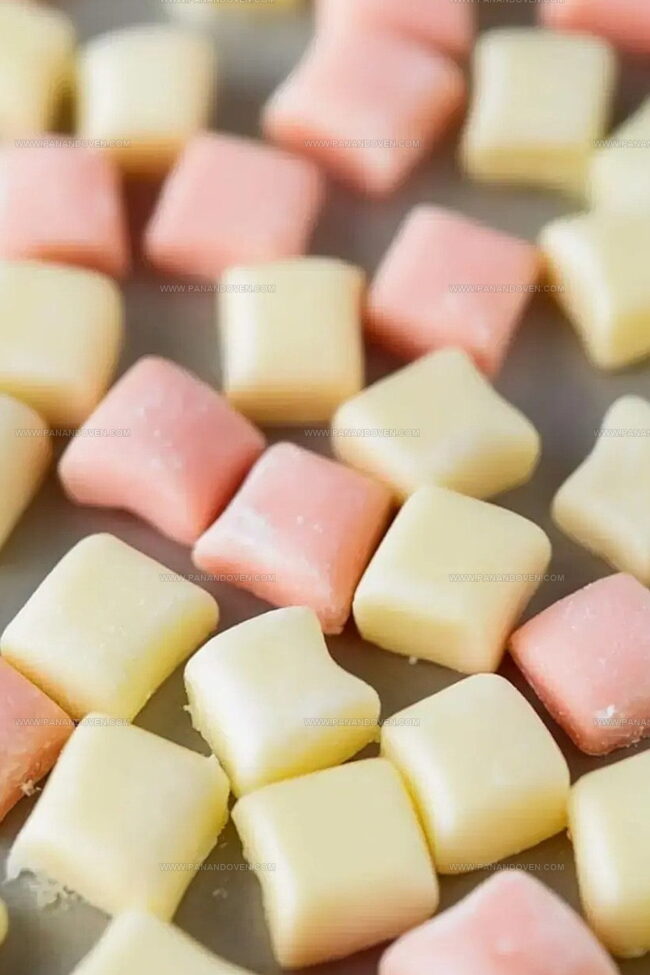
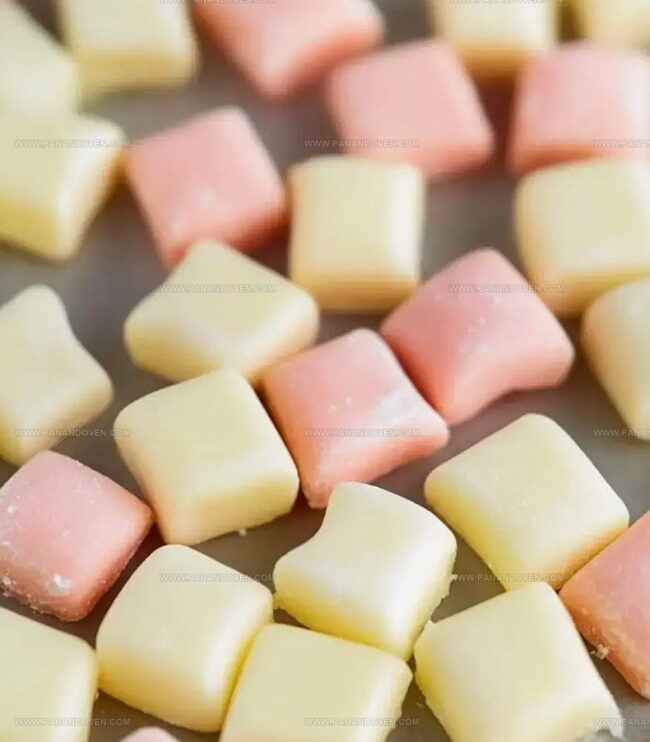
Soft, creamy, and melt-in-your-mouth delicious, these classic butter mints bring nostalgic charm to any gathering.
Crafting these delicate treats requires just a handful of simple ingredients and minimal effort.
Each pastel-colored mint promises a gentle burst of sweetness that dances across your palate.
The recipe perfectly balances sugary elegance with pure simplicity.
Light and refreshing, these homemade mints offer a delightful alternative to store-bought candies.
You’ll love how effortlessly these mints come together, creating a memorable treat that everyone will adore.
Butter Mints Sweet Details
Ingredients for Butter Mints
Butter Ingredients:Sugar Ingredients:Flavor and Moisture Ingredients:Equipment for Butter Mints
Steps for Butter Mints
Step 1: Prepare Creamy Butter Base
Grab your stand mixer or electric mixer and whip the softened butter until it becomes smooth and fluffy, creating a perfect creamy foundation for your delightful mints.
Step 2: Introduce First Sugar Layer
Gently sprinkle in powdered sugar, mixing on low speed to create a smooth, velvety texture without creating a cloud of sugar in your kitchen.
Step 3: Enhance With Flavor Boosters
Incorporate extracts and a pinch of salt, stirring until the mixture transforms with a rich, aromatic profile that will make your taste buds dance.
Step 4: Blend In Silky Cream
Pour in heavy cream and increase the mixer’s speed to medium, watching the mixture become lighter and more malleable with each rotation.
Step 5: Develop Perfect Dough Consistency
Continue adding powdered sugar until the mixture resembles playdough.
Feel free to introduce a splash of food coloring if you want to create vibrant, eye-catching mints.
Step 6: Shape Delectable Mint Treats
Roll the dough into elegant 12-inch logs, then slice into bite-sized pieces.
Carefully place these little treasures on a wax paper-lined baking sheet.
Step 7: Allow Mints To Set
Let your mints rest uncovered at room temperature for several hours, allowing them to firm up and develop their signature melt-in-your-mouth texture.
Tips for Making Butter Mints
Flavor Variations for Butter Mints
Serving Butter Mints
Butter Mints Storage Details
FAQs
Add more powdered sugar gradually until the dough reaches a playdough-like consistency. Cold temperatures and precise measuring help maintain firmness.
While a stand or electric mixer is recommended for smooth, consistent texture, you can use a sturdy wooden spoon and hand mixing. Just ensure butter is very softened and mix thoroughly.
After cutting and placing on wax paper, let mints dry completely at room temperature for several hours. They will firm up and become less sticky as they set.
Print
Butter Mints Recipe
- Total Time: 4 hours 30 minutes
- Yield: 12 1x
Description
Creamy butter mints bring nostalgic Southern charm to dessert tables. Sweet, melting confections provide guests with delightful bite-sized treats that celebrate traditional confectionery craftsmanship.
Ingredients
Main Ingredients:
- 4 cups powdered sugar
- 1/2 cup (120 ml) unsalted butter, softened
Flavor Enhancers:
- 1/4 teaspoon peppermint extract
- 1/8 teaspoon vanilla extract
- 1/8 teaspoon salt
Liquid and Optional Ingredients:
- 1 1/2 tablespoons (22 ml) heavy cream
- Food coloring (optional)
Instructions
- Cream the softened butter in a stand mixer until smooth and velvety, ensuring no lumps remain.
- Gradually incorporate the first portion of powdered sugar at low speed, mixing thoroughly until fully integrated.
- Introduce extracts and salt, blending until the mixture becomes uniform and fragrant.
- Pour in heavy cream and increase mixer speed to medium, creating a silky texture.
- Continue adding remaining powdered sugar until the dough reaches a pliable, play-dough-like consistency. Optional: Add food coloring for visual appeal.
- Carefully form the dough into elongated 12-inch logs, then slice into bite-sized morsels using a sharp knife.
- Arrange mint pieces on wax paper-lined baking sheets, allowing them to air-dry at room temperature for several hours until they develop a firm exterior.
Notes
- Butter Temperature Matters softened butter ensures smooth, creamy texture without lumps, so let it sit at room temperature for 30-45 minutes before starting.
- Mixer Magic using a stand mixer or electric mixer creates consistent, lump-free dough that blends ingredients perfectly and saves arm strength.
- Consistency Check aim for playdough-like texture by gradually adding powdered sugar, which helps control moisture and prevents crumbly or too-wet mints.
- Flavor Flexibility experiment with different extract combinations like peppermint, vanilla, or almond to create unique mint variations that suit personal taste preferences.
- Prep Time: 30 minutes
- Cook Time: 4 hours
- Category: Desserts, Snacks
- Method: Rolling
- Cuisine: American
Nutrition
- Serving Size: 12
- Calories: 152
- Sugar: 12 g
- Sodium: 0.5 mg
- Fat: 8 g
- Saturated Fat: 5 g
- Unsaturated Fat: 3 g
- Trans Fat: 0 g
- Carbohydrates: 18 g
- Fiber: 0 g
- Protein: 0.2 g
- Cholesterol: 31 mg
Clara Thompson
Recipe Developer & Food Educator
Expertise
Plant-based and vegetarian recipe development, Nutritional analysis and meal planning, Culinary education and workshop facilitation, Content writing with a focus on healthy living
Education
Diploma in Culinary Arts, Mt. San Jacinto College, CA
Focus: Comprehensive culinary training with an emphasis on sustainable cooking practices.
Certificate in Nutrition and Healthy Living, Cornell University (Online Program)
Focus: Understanding the principles of nutrition to create balanced and health-conscious recipes.
Clara lives where fresh ideas and fresh ingredients meet. She pairs her culinary know-how with her passion for healthy, planet-friendly cooking.
For Clara, good food should taste great, nourish your body, and feel easy to make. Her recipes highlight whole foods, colorful produce, and a deep respect for seasonal eating.