Spooky Bloody Red Velvet Popcorn Recipe for Halloween Fun
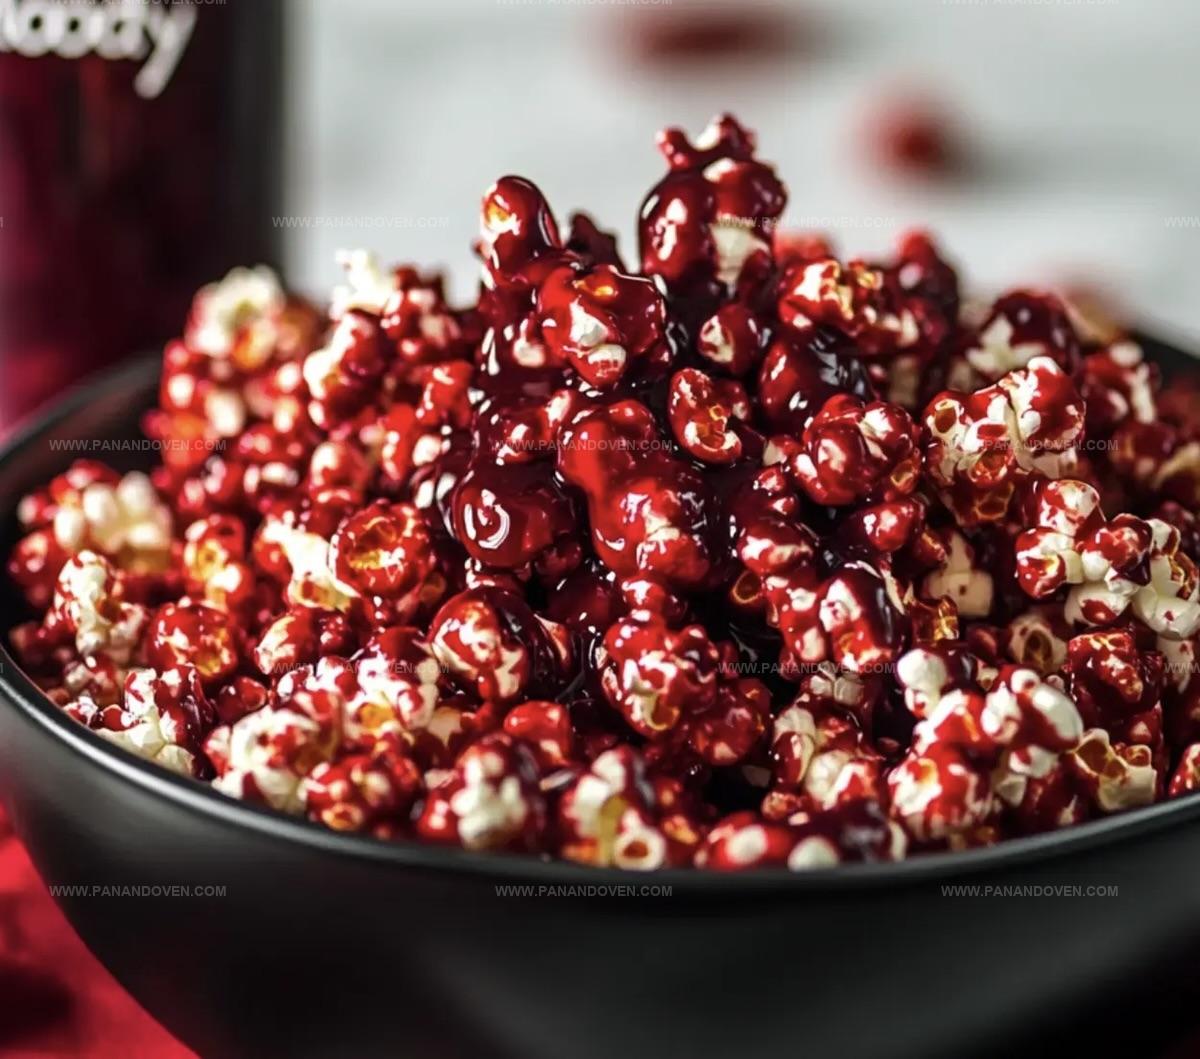
Sweet movie nights reach new heights with this bloody red velvet popcorn that combines decadent dessert flavors with a dramatic crimson twist.
Deep burgundy kernels glisten with rich chocolate undertones, promising a sensational snack experience.
The recipe blends unexpected ingredients into a show-stopping treat that catches everyone’s attention.
Chocolate drizzles and crimson dust create a stunning visual that makes this popcorn impossible to resist.
Each crunchy bite delivers a luxurious balance of sweet and bold flavors.
Prepare to wow your guests with this eye-catching, deliciously unconventional snack that transforms ordinary popcorn into a gourmet delight.
Let the crimson magic begin!
Bloody Red Velvet Popcorn Halloween’s Snack Star
What Goes Into Red Velvet Popcorn
Main Ingredients:Preparation Ingredients:Optional Decorative Ingredients:Tools for Making Spooky Popcorn Treats
How to Prepare Bloody Red Velvet Popcorn
Step 1: Prepare Popcorn Base
Pop fresh popcorn kernels in a large pot or air popper.
Transfer the fluffy white popcorn onto a clean parchment-lined baking sheet, spreading it out in an even layer.
Step 2: Melt Chocolate Coating
Break red velvet chocolate melts into a microwave-safe bowl.
Heat in 15-second bursts, stirring between each interval until the chocolate transforms into a smooth, glossy liquid.
Step 3: Create Bloody Drizzle
Select a vibrant red food coloring or red syrup.
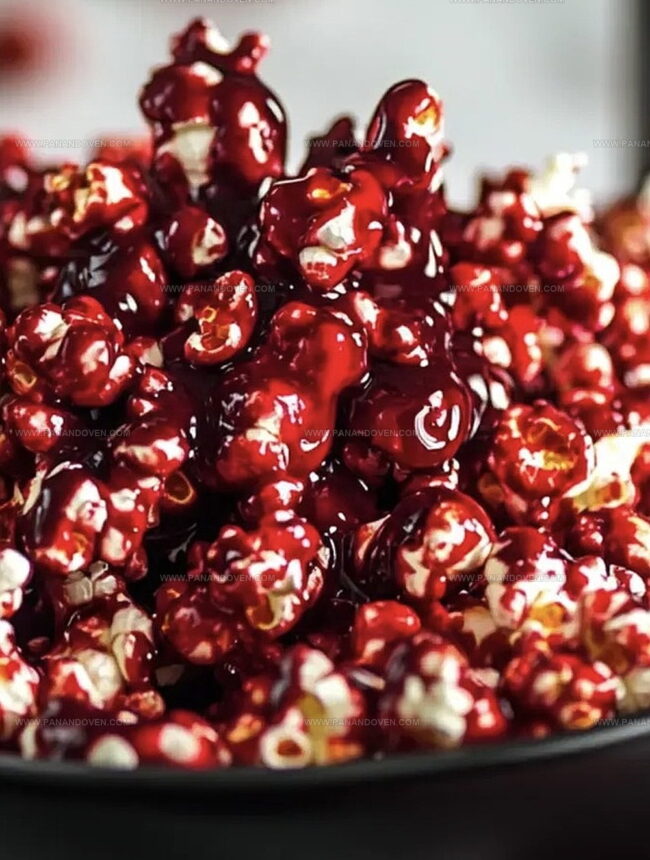
Carefully drizzle the crimson liquid over the popcorn, creating dramatic splatter patterns that resemble blood droplets across the white popcorn landscape.
Step 4: Chocolate Coverage
Pour the melted red velvet chocolate over the popcorn.
Use a silicone spatula to gently fold and coat each kernel, ensuring complete and even coverage.
The chocolate will help the red ‘blood’ droplets stick dramatically.
Step 5: Cool and Harden
Place the baking sheet in a cool area or refrigerator.
Allow the chocolate to solidify completely, which typically takes about 15-20 minutes.
The coating will create a crisp, glossy shell around each popcorn kernel.
Step 6: Break and Serve
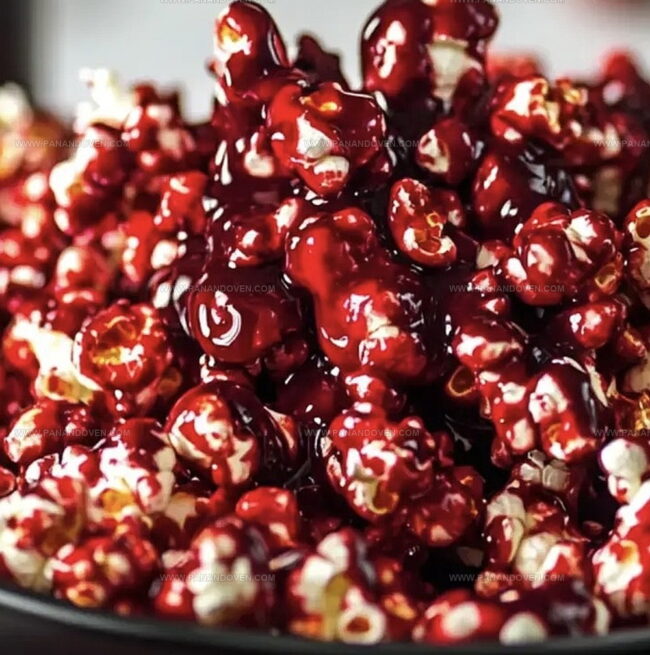
Once hardened, break the popcorn into smaller clusters.
Transfer to a serving bowl, perfect for Halloween parties or spooky movie nights.
The red and white color combination creates a haunting visual treat.
Pro Tips for Popcorn That Pops
Popcorn Twists and Spooky Mix-Ins
How to Serve Red Velvet Popcorn at Parties
Storing Popcorn for Halloween Night
FAQs
The red velvet chocolate melts provide the distinctive red velvet taste and rich color to the popcorn, creating a sweet and decadent coating.
Absolutely! Kids will love the fun Halloween-themed bloody look and the sweet chocolate coating. It’s an easy, no-bake treat that’s safe for children to help prepare.
Yes! You can adapt the color scheme for different occasions. Use white chocolate with green or orange drizzle for Christmas or fall themes, making it a versatile seasonal snack.
The chocolate typically sets within 15-20 minutes at room temperature. You can speed up the process by placing the baking sheet in the refrigerator for about 10 minutes.
Print
Bloody Red Velvet Popcorn Recipe
- Total Time: 30 minutes
- Yield: 10 1x
Description
Bloody red velvet popcorn emerges as a haunting Halloween treat that blends sweet cinema snacks with theatrical flair. Crimson-coated kernels deliver ghoulish glamour, promising spine-chilling delights you cannot resist.
Ingredients
Main Ingredients:
- 10 cups popped popcorn
- 1/2 cup (4 fluid ounces / 118 milliliters) red velvet chocolate melts
Decoration and Flavor Enhancers:
- 1/4 cup (2 fluid ounces / 59 milliliters) red syrup (grenadine or red icing)
Instructions
- Spread freshly popped kernels across a parchment-lined baking sheet, ensuring an even single layer for optimal chocolate coating.
- Utilize microwave-safe container to gently melt red velvet chocolate melts, stirring every 30 seconds until achieving a silky, smooth consistency.
- Carefully cascade the molten red velvet chocolate over the popcorn, using a spatula to create a uniform crimson-tinted coverage.
- Dramatically enhance the Halloween aesthetic by artfully drizzling deep red syrup across the chocolate-coated popcorn, mimicking blood-like streaks.
- Allow the chocolate layer to solidify completely at room temperature for approximately 15-20 minutes, creating a crisp, glossy finish.
- Once chocolate has fully set, break into clusters and serve on a decorative Halloween-themed platter for a spine-chilling snack experience.
Notes
- Ensure parchment paper is evenly laid out to prevent popcorn from sticking and make cleanup easier.
- Use white chocolate with red food coloring as a budget-friendly alternative to red velvet chocolate melts.
- For a gluten-free version, verify that all chocolate and ingredients are certified gluten-free before preparing.
- Sprinkle crushed red velvet cake crumbs or edible glitter on top for extra Halloween-themed texture and visual appeal.
- Prep Time: 10 minutes
- Cook Time: 20 minutes
- Category: Snacks, Desserts
- Method: Baking
- Cuisine: American
Nutrition
- Serving Size: 10
- Calories: 150
- Sugar: 10 g
- Sodium: 50 mg
- Fat: 7 g
- Saturated Fat: 4 g
- Unsaturated Fat: 2 g
- Trans Fat: 0 g
- Carbohydrates: 20 g
- Fiber: 2 g
- Protein: 2 g
- Cholesterol: 5 mg
Marcus Reed
Founder & Food Content Creator
Expertise
Single-recipe development, Seasonal and local ingredient utilization, Food photography and styling, Culinary writing and content creation
Education
Culinary Arts Certificate, Blue Ridge Community and Technical College, WV
Focus: Fundamentals of culinary techniques, emphasizing hands-on experience in small-scale kitchen settings.
Marcus’s story begins in Asheville, where good food and family kitchens shaped his earliest memories. After hands-on culinary training and a lot of trial (and a little error), he realized that real cooking isn’t about perfection, it’s about connection.
At Pan and Oven, Marcus crafts recipes that are easy to follow, packed with flavor, and built for real kitchens.