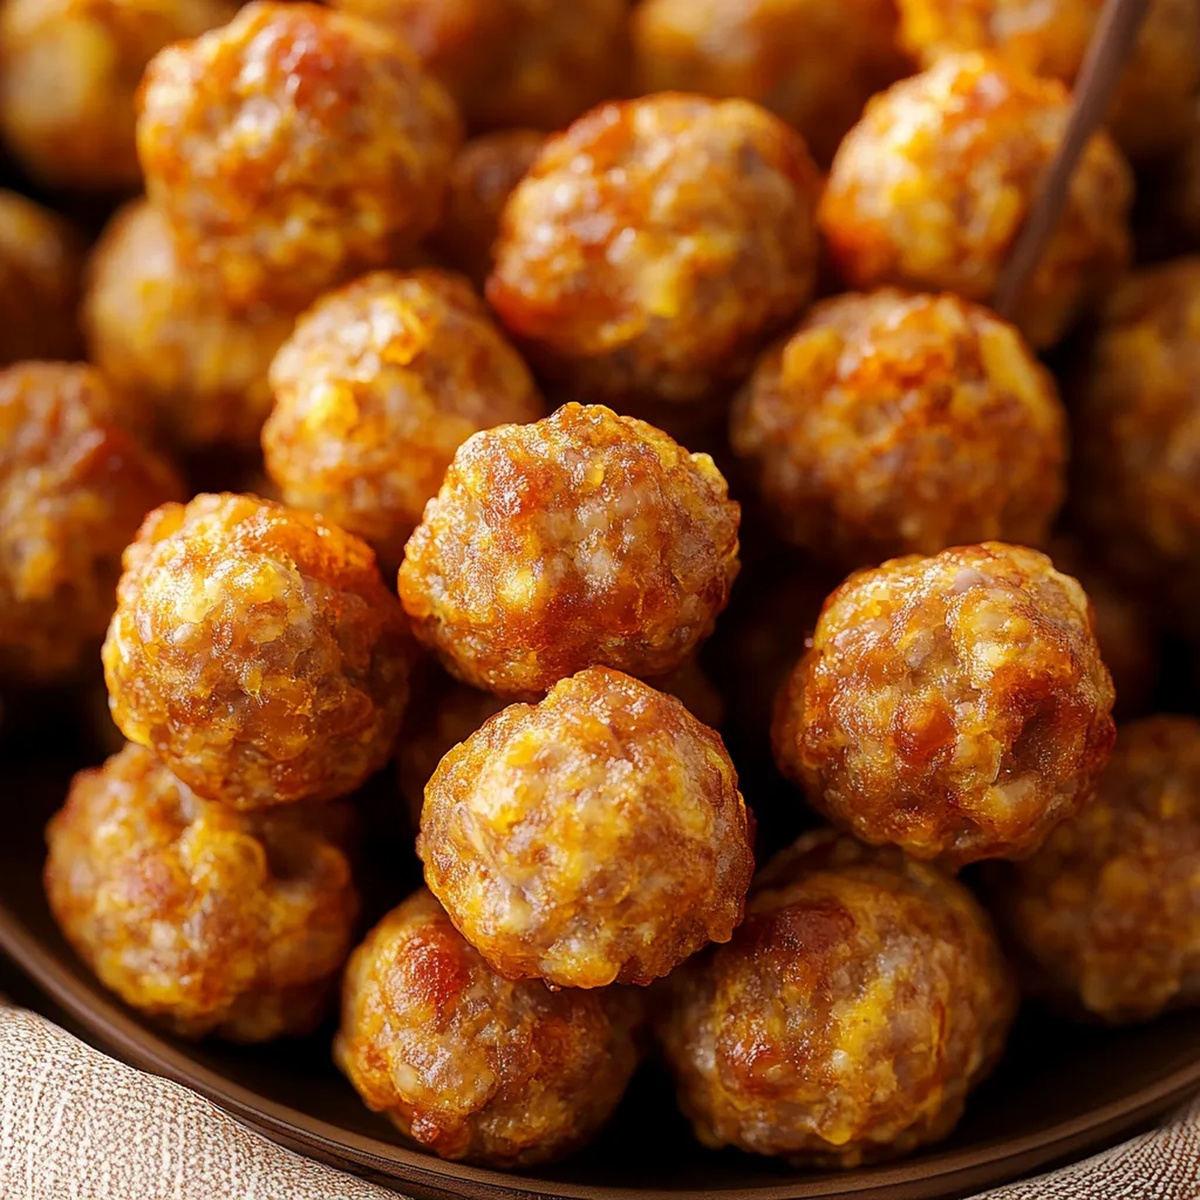
Simple Yet Divine Bisquick Sausage Balls Recipe for Any Occasion
These cheesy Bisquick sausage balls pack a punch of flavor that’ll have everyone reaching for seconds.
Packed with sharp cheddar and spicy breakfast sausage, they transform simple ingredients into an irresistible appetizer.
The combination of Bisquick sausage balls delivers a crispy exterior with a tender, savory interior that melts in your mouth.
Bold spices and gooey cheese create a perfect bite-sized treat for any gathering.
Each ball is a delightful blend of hearty sausage and rich cheese, promising a satisfying snack.
Your guests won’t be able to resist these addictive little morsels that come together in just minutes.
Serve them hot and watch them disappear faster than you can say “more, please!”.
Bisquick Sausage Balls Crowd Favorites
What Goes Into Bisquick Sausage Balls
Meat Base:Dry Ingredients:Cheese and Dairy:Seasonings:Bisquick Sausage Balls Tools and Must-Haves
Bisquick Sausage Balls Step-by-Step Process
Step 1: Warm Up the Oven
Crank your oven to a toasty 350F and grab a baking sheet.
Line it with parchment paper to prevent any sticky situations.
Step 2: Blend the Flavor Explosion
Toss these ingredients into a food processor or stand mixer:Blast everything together until it’s perfectly combined and looks like a delicious, unified mixture.
Step 3: Shape Tasty Morsels
Use your hands or a scoop to create bite-sized balls from the mixture.
Gently place each one on the prepared baking sheet, giving them a little breathing room between each other.
Step 4: Bake to Golden Perfection
Slide the baking sheet into the preheated oven.
Let these savory bites cook for about 15 minutes until they turn a beautiful golden brown.
The edges should look crispy and enticing.
Once done, pull them out and let them cool for a few minutes.
Serve warm and watch them disappear in seconds!
Tips for Irresistible Bisquick Sausage Balls
Fun Ways to Switch Up Bisquick Sausage Balls
Bringing Bisquick Sausage Balls to the Table
Best Ways to Store Bisquick Sausage Balls
FAQs
These bite-sized appetizers are perfect for game day, holiday gatherings, and potlucks. They’re easy to make ahead and can be served hot or at room temperature, making them a crowd-pleasing finger food.
Absolutely! You can experiment with hot Italian sausage, mild breakfast sausage, or turkey sausage to change the flavor profile. Just ensure the sausage has enough fat content to keep the balls moist.
Use full-fat sausage and cheese, and avoid overmixing the ingredients. The fat helps keep the balls tender and juicy. Adding a splash of milk also helps maintain moisture during baking.
Print
Bisquick Sausage Balls Recipe
- Total Time: 35 minutes
- Yield: 24 1x
Description
Sizzling bisquick sausage balls deliver a crowd-pleasing appetizer that combines savory pork and sharp cheddar cheese. Guests will savor these irresistible bites that promise to vanish quickly from party platters.
Ingredients
Meat and Cheese:
- 1 pound (454 grams) uncooked sausage
- 4 cups (454 grams) shredded sharp cheddar cheese
- 1 cup (100 grams) shredded Parmesan cheese
Dry Ingredients:
- 3 cups (375 grams) Bisquick baking mix
Seasonings and Liquid:
- 1/2 cup (120 milliliters) milk
- 1/8 teaspoon garlic powder
- 1/8 teaspoon cayenne pepper
Instructions
- Preheat the oven to 350°F and line a baking sheet with parchment paper for easy cleanup and non-stick surface.
- In a large mixing bowl, thoroughly combine ground sausage, Bisquick mix, shredded cheddar, and sharp cheese until the ingredients are evenly distributed and form a cohesive mixture.
- Use clean hands or a small cookie scoop to shape the mixture into uniform bite-sized spheres, ensuring each ball is compact and approximately 1-inch in diameter.
- Arrange the sausage balls on the prepared baking sheet, spacing them about an inch apart to allow even heat circulation and prevent sticking.
- Bake in the preheated oven for 18-20 minutes, rotating the baking sheet halfway through cooking to ensure consistent golden-brown coloration and complete cooking.
- Remove from the oven when the exterior is crispy and the internal temperature reaches 160°F for food safety.
- Allow the sausage balls to rest on the baking sheet for 3-5 minutes, which helps them firm up and makes handling easier.
- Transfer to a serving platter and enjoy warm as a delightful appetizer or snack.
Notes
- Choose spicy or mild sausage based on heat preference, adjusting cayenne pepper accordingly.
- Shred cheese fresh for better melting and more authentic flavor compared to pre-shredded varieties.
- Avoid overmixing to prevent tough, dense sausage balls; mix just until ingredients are combined.
- Store leftovers in an airtight container in the refrigerator and reheat in the oven to maintain crispiness.
- Prep Time: 15 minutes
- Cook Time: 20 minutes
- Category: Snacks, Appetizer
- Method: Baking
- Cuisine: American
Nutrition
- Serving Size: 24
- Calories: 157
- Sugar: 0.5 g
- Sodium: 413 mg
- Fat: 11 g
- Saturated Fat: 5 g
- Unsaturated Fat: 6 g
- Trans Fat: 0 g
- Carbohydrates: 7 g
- Fiber: 0.3 g
- Protein: 8 g
- Cholesterol: 30 mg


Clara Thompson
Recipe Developer & Food Educator
Expertise
Plant-based and vegetarian recipe development, Nutritional analysis and meal planning, Culinary education and workshop facilitation, Content writing with a focus on healthy living
Education
Diploma in Culinary Arts, Mt. San Jacinto College, CA
Focus: Comprehensive culinary training with an emphasis on sustainable cooking practices.
Certificate in Nutrition and Healthy Living, Cornell University (Online Program)
Focus: Understanding the principles of nutrition to create balanced and health-conscious recipes.
Clara lives where fresh ideas and fresh ingredients meet. She pairs her culinary know-how with her passion for healthy, planet-friendly cooking.
For Clara, good food should taste great, nourish your body, and feel easy to make. Her recipes highlight whole foods, colorful produce, and a deep respect for seasonal eating.