Crispy Beef and Cheese Chimichangas Recipe: A Fiesta of Flavor
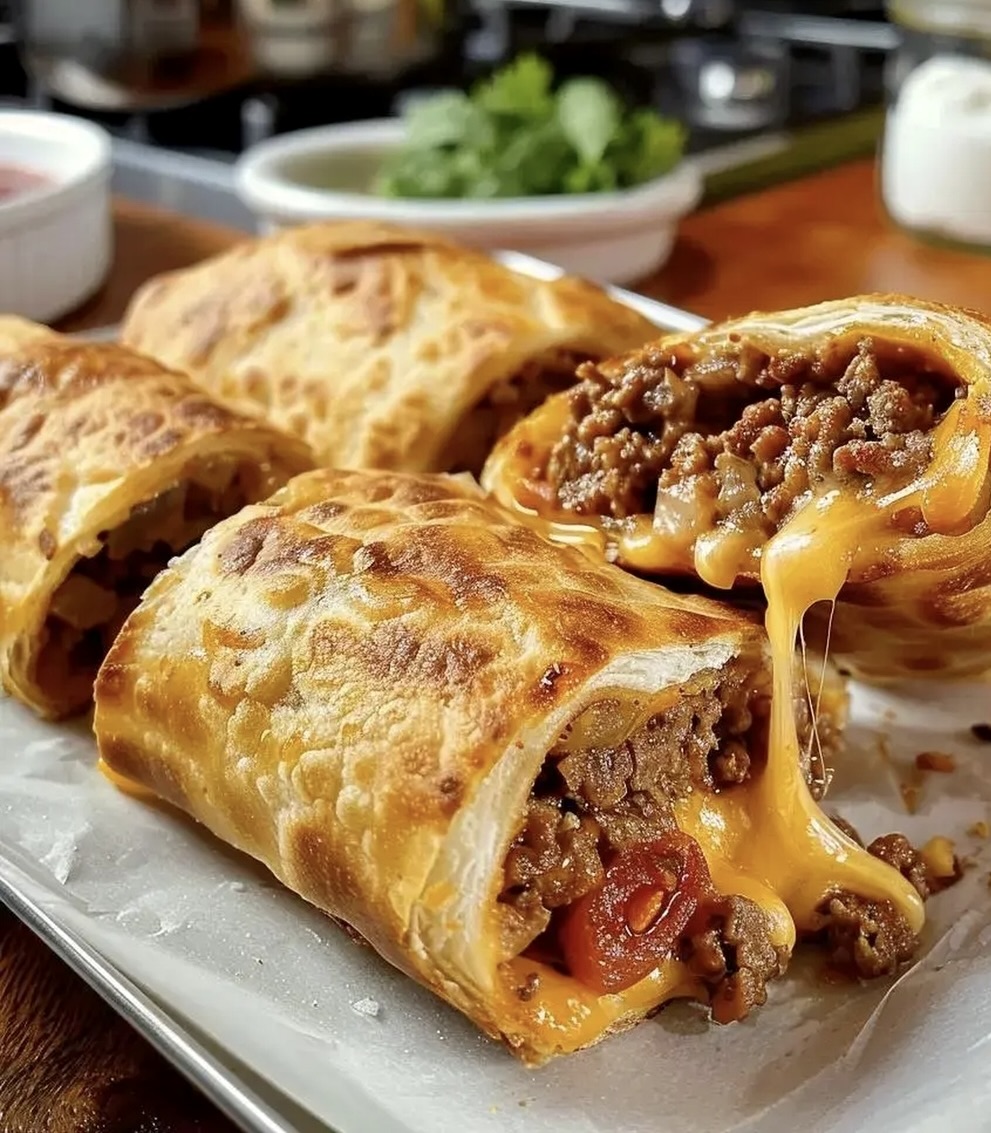
Crispy golden chimichangas stuffed with savory beef and melted cheese tantalize taste buds like nothing else.
These Mexican-inspired delights blend hearty flavors in a delectable handheld package.
Authentic spices and tender beef create a mouthwatering experience that satisfies deep hunger.
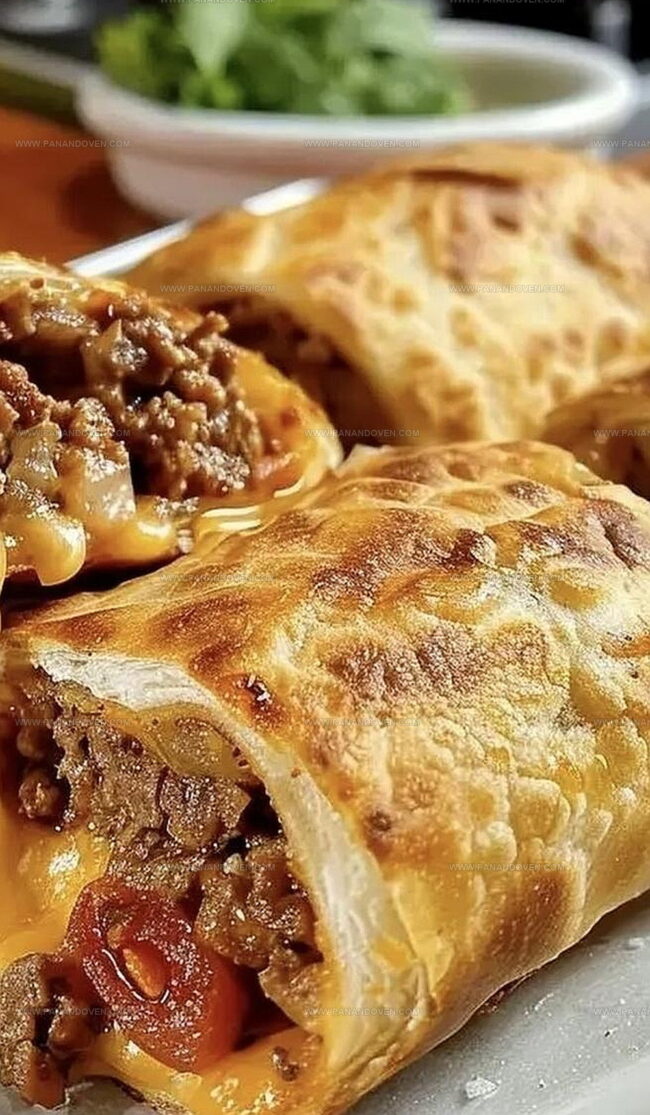
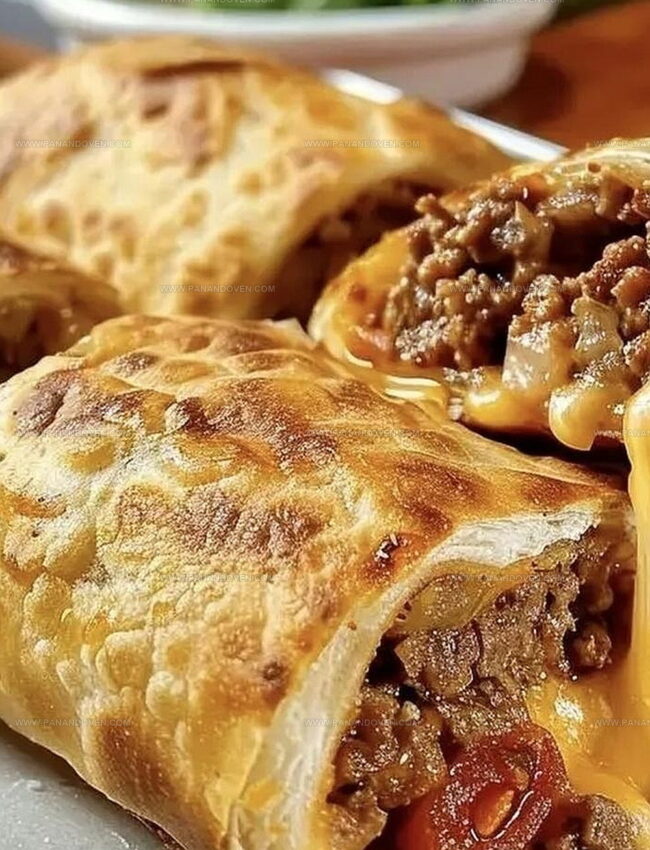
Crunchy exterior gives way to a rich, creamy filling that makes every bite memorable.
The magic happens when seasoned ground beef mingles with gooey cheese inside a perfectly fried tortilla.
Serve these chimichangas hot and watch as everyone around the table becomes instantly excited.
Prepare to transform an ordinary meal into an extraordinary culinary adventure.
Beef and Cheese Chimichangas: Crispy, Savory Tex-Mex Goodness
Gathering Everything for Homemade Chimichangas
Main Protein:Cheese Blend:Aromatics and Seasonings:Wrapping and Cooking:Serving Accompaniments:Essential Tools for Perfect Beef Chimichangas
Filling, Folding, and Frying Chimichangas at Home
Step 1: Brown the Beef
Grab a skillet and heat it up over medium flame.
Toss in ground beef, diced onions, and minced garlic.
Cook everything together, breaking up the beef as it sizzles.
Keep stirring until the meat turns a rich brown and the onions become super soft.
Carefully drain away any extra grease to keep your chimichangas from getting soggy.
Step 2: Spice It Up
Sprinkle in your flavor boosters:Stir the spices into the beef mixture and let them dance around for about two minutes.
This will help the spices release their amazing aromas and infuse the meat with incredible flavor.
Step 3: Add Cheesy Goodness
Take the skillet off the heat and let the beef mixture cool down just a bit.
Now it’s time for the cheese party!
Stir in:Mix everything until the cheese starts to melt and get all gooey and delicious.
Step 4: Wrap It Up
Grab your tortillas and get ready to create magic.
Spoon a generous portion of the beef and cheese mixture right in the center of each tortilla.
Fold the sides in tightly, then roll from the bottom up.
Make sure to create a snug little package that will hold all that yummy filling.
Step 5: Fry to Golden Perfection
Heat up vegetable oil in a deep skillet until it’s nice and hot.
Carefully lower the wrapped chimichangas into the oil.
Fry them until they turn a gorgeous golden brown, rotating them to ensure even crispiness.
Once they’re looking amazing, lift them out and let them drain on paper towels to remove excess oil.
Step 6: Serve and Enjoy
Plate up your crispy chimichangas and set out some tasty sidekicks:Serve immediately while they’re hot and crispy.
Watch everyone’s eyes light up as they dig into these incredible homemade chimichangas!
Chimichanga Tips for Extra Crunch and Melted Cheese
Ways to Mix Up Your Beef Chimichanga Filling
Serving Chimichangas Like a Restaurant Pro
Storing Chimichangas and Keeping Them Crispy
FAQs
The key spices are cumin and chili powder, which add depth and authentic Mexican flavor to the ground beef mixture. These spices help create a rich, warm taste that makes the chimichangas delicious.
To keep the tortillas intact, fold the sides in first, then roll from the bottom, creating a tight seal. This technique ensures the filling stays inside and prevents oil from seeping into the chimichanga during frying.
Yes, while the recipe calls for cheddar and Monterey Jack, you can experiment with other melting cheeses like pepper jack, queso blanco, or a Mexican cheese blend. Just ensure the cheese melts well and complements the beef flavor.
Print
Beef and Cheese Chimichangas Recipe
- Total Time: 25 minutes
- Yield: 4 1x
Description
Mexican-inspired beef and cheese chimichangas bring crispy, golden delight to dinner tables with minimal effort. Packed with savory beef, melted cheese, and zesty seasonings, you’ll savor each crunchy bite of this classic southwestern comfort meal.
Ingredients
Main Proteins:
- 1 pound (1 lb/454 grams) ground beef
- 1 cup (240 milliliters) cheddar cheese, shredded
- 1/2 cup (120 milliliters) monterey jack cheese, shredded
Seasonings and Aromatics:
- 1 onion, finely chopped
- 2 cloves garlic, minced
- 1 teaspoon cumin
- 1 teaspoon chili powder
- 1/2 teaspoon salt
- 1/2 teaspoon black pepper
Accompaniments and Wrappers:
- 6 large flour tortillas
- Vegetable oil, for frying
- Salsa, for serving
- Sour cream, for serving
- Guacamole, for serving
Instructions
- In a skillet over medium heat, sauté ground beef with diced onions and minced garlic until meat browns and onions become translucent, approximately 8-10 minutes.
- Drain excess fat from the skillet and season the beef mixture with cumin, chili powder, salt, and pepper, allowing spices to bloom for 2 minutes.
- Remove skillet from heat and let mixture cool slightly, then fold in shredded cheddar and Monterey Jack cheeses until evenly distributed.
- Warm tortillas briefly to increase flexibility, then place beef and cheese mixture in the center of each tortilla, carefully folding sides inward and rolling from bottom to create a secure packet.
- Heat vegetable oil in a deep skillet to 375°F, carefully placing chimichangas seam-side down and frying until exterior turns crisp and golden brown, rotating to ensure even cooking, about 3-4 minutes per side.
- Transfer chimichangas to paper towel-lined plate to absorb excess oil and drain excess grease.
- Plate hot chimichangas immediately, garnishing with fresh salsa, dollops of sour cream, and chunky guacamole as accompaniments.
Notes
- Choose lean ground beef to reduce excess fat and create a healthier version of the dish.
- Allow meat mixture to cool slightly before adding cheese to prevent immediate melting and ensure even distribution.
- Secure tortilla edges tightly while rolling to prevent filling from leaking during frying.
- Maintain consistent oil temperature around 350°F for perfectly crispy chimichangas without burning.
- Pat tortillas dry before filling to help them crisp up better and prevent soggy results.
- Experiment with ground turkey or plant-based crumbles for lighter, alternative protein options.
- Drain fried chimichangas on a wire rack instead of paper towels to keep them crispier by preventing steam buildup.
- Prep Time: 15 minutes
- Cook Time: 10 minutes
- Category: Dinner, Appetizer, Snacks
- Method: Frying
- Cuisine: Mexican
Nutrition
- Serving Size: 4
- Calories: 550
- Sugar: 2 g
- Sodium: 600 mg
- Fat: 30 g
- Saturated Fat: 12 g
- Unsaturated Fat: 15 g
- Trans Fat: 0 g
- Carbohydrates: 40 g
- Fiber: 2 g
- Protein: 28 g
- Cholesterol: 80 mg
Marcus Reed
Founder & Food Content Creator
Expertise
Single-recipe development, Seasonal and local ingredient utilization, Food photography and styling, Culinary writing and content creation
Education
Culinary Arts Certificate, Blue Ridge Community and Technical College, WV
Focus: Fundamentals of culinary techniques, emphasizing hands-on experience in small-scale kitchen settings.
Marcus’s story begins in Asheville, where good food and family kitchens shaped his earliest memories. After hands-on culinary training and a lot of trial (and a little error), he realized that real cooking isn’t about perfection, it’s about connection.
At Pan and Oven, Marcus crafts recipes that are easy to follow, packed with flavor, and built for real kitchens.