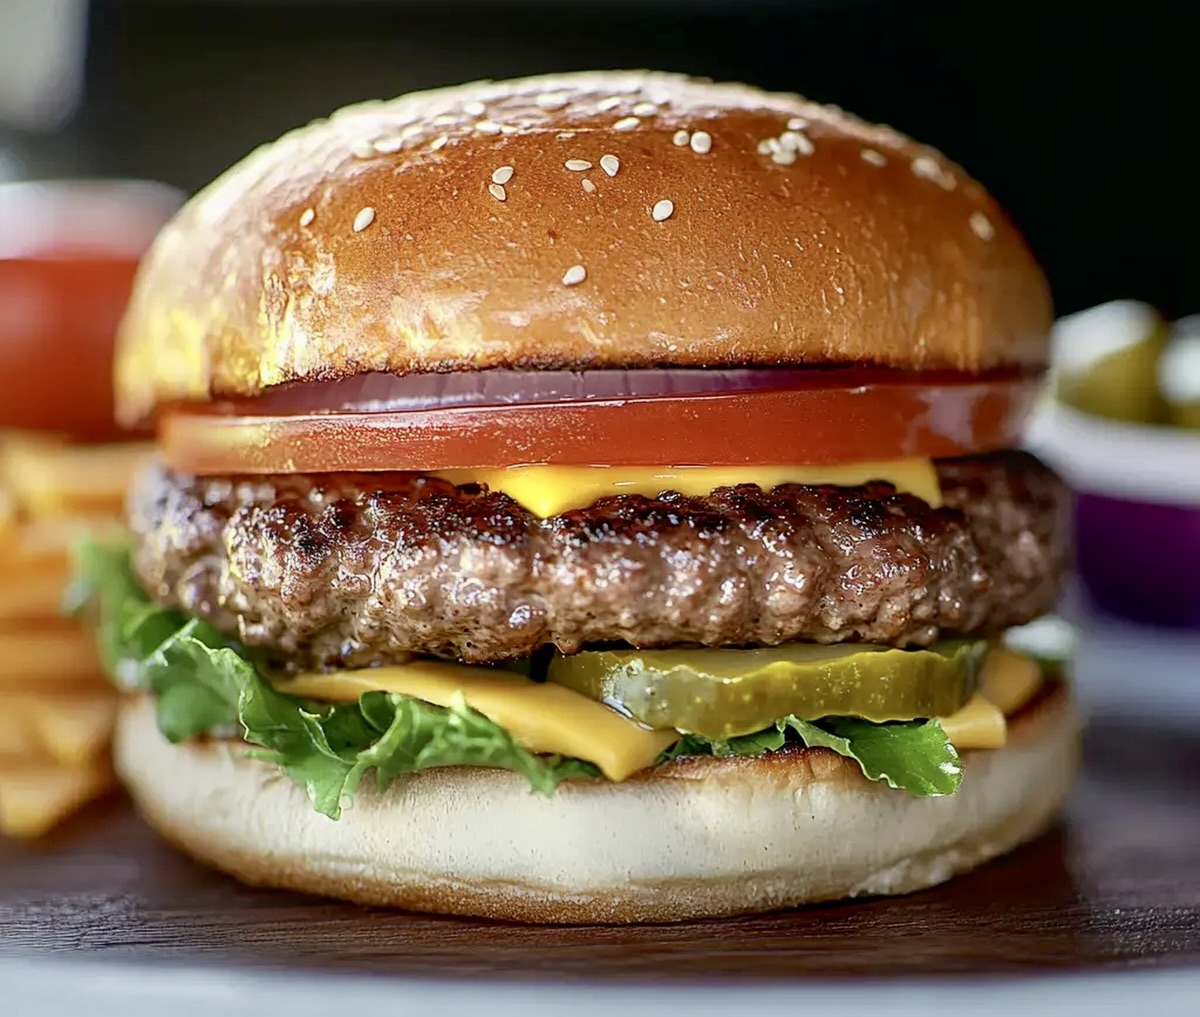
Juicy Classic: The Foolproof Basic Burger Recipe Everyone Loves
Bursting with juicy flavor, this basic burger recipe delivers a mouthwatering meal that satisfies every craving.
Crafting the perfect patty requires simple ingredients and a dash of culinary passion.
the classic burger becomes a canvas for delicious creativity, blending ground beef with subtle seasonings.
Seasoned home cooks and kitchen novices alike can master this straightforward technique.
Each bite promises a tender, savory experience that beats any fast-food alternative.
Sear these patties to golden perfection and watch as friends and family eagerly gather around the table.
You’ll want to fire up the grill and savor every delectable moment of this timeless American favorite.
The Perfect Basic Burger: Allure of a Classic
Must-Have Ingredients for the Perfect Burger
Meat Base:Seasoning:Cooking Enhancers:Tools for Burger Night Excellence
Building The Perfect Basic Burger
Step 1: Prep the Meat
Remove ground beef from the refrigerator and let it rest at room temperature for about 5 minutes.
This helps the meat cook more evenly and ensures a juicier burger.
Step 2: Shape Burger Patties
Gently form the ground beef into three burger patties, being careful not to overwork the meat.
Create a small indentation in the center of each patty with your thumb.
This prevents the burgers from puffing up during cooking and helps them cook more uniformly.
Step 3: Season with Flavor
Generously sprinkle both sides of the patties with salt and freshly ground black pepper.
The seasoning will enhance the natural beef flavor and create a delicious crust.
Step 4: Sizzle to Perfection
Heat a cast iron skillet over medium heat and add butter.
Once the butter is melted and slightly bubbling, carefully place the patties in the pan.
Cook for 3-4 minutes on each side.
For food safety and preferred doneness, use a meat thermometer:Step 5: Rest and Serve
Transfer the cooked burgers to a plate and loosely tent with aluminum foil.
Let them rest for 5 minutes to allow the juices to redistribute.
Serve on toasted, buttered buns with your favorite toppings.
Tips for Juicy, Flavorful Burgers
Creative Takes on a Classic Burger
Plating Ideas for the Perfect Basic Burger
Burger Bliss: Toppings and Pairings
Keeping Burgers Tasty
FAQs
Letting beef sit allows the meat to relax and come to a more even temperature, which helps create a more tender and juicy burger with consistent cooking.
The dimple prevents the burger from puffing up in the center during cooking, ensuring an even thickness and helping the patty cook more uniformly without becoming rounded.
Use a meat thermometer to check internal temperature: 140°F for medium, 160°F for well done. This ensures food safety and your preferred level of doneness.
Print
Basic Burger Recipe
- Total Time: 20 minutes
- Yield: 4 1x
Description
Classic beef burgers showcase meaty perfection with simple ingredients from American grilling traditions. Juicy patties and crisp toppings deliver backyard barbecue satisfaction you’ll savor with each delicious bite.
Ingredients
Main Ingredients:
- 1 pound (450 grams) ground beef chuck or round
Seasonings:
- Salt
- Fresh ground black pepper
Toppings and Serving:
- Butter, as needed
- Hamburger buns, buttered
- Lettuce
- Tomatoes
- Onion
Instructions
- Allow ground beef to reach ambient temperature for optimal patty formation, approximately 5 minutes out of refrigeration.
- Gently shape meat into uniform circular patties, ensuring consistent thickness and creating a subtle central indentation to prevent bulging during cooking.
- Generously apply kosher salt and freshly cracked black pepper across both surfaces of each patty, ensuring even seasoning distribution.
- Preheat cast iron skillet over medium flame, melting butter to create a rich cooking surface with golden-brown potential.
- Carefully place seasoned patties into hot skillet, maintaining steady heat and allowing precise 3-4 minute cooking intervals per side.
- Monitor internal temperature using meat thermometer: 140°F indicates medium doneness, 160°F represents well-done preparation.
- Transfer cooked burgers onto lightly buttered buns, tenting loosely with aluminum foil for 5 minutes to preserve juiciness and redistribute internal moisture.
- Garnish with preferred condiments, fresh vegetables, and accompanying side items for complete culinary presentation.
Notes
- Room Temperature Meat ensures even cooking and helps the patties hold together better, preventing dry edges.
- Create a Thumb Indent in the center of each patty to prevent bulging during cooking, allowing the burger to cook flat and maintain a uniform shape.
- Salt Just Before Cooking to prevent moisture loss, which can make the meat tough and dry.
- Use Cast Iron Pan for superior heat distribution and a perfect crispy exterior that seals in the burger’s juicy interior.
- Let Burgers Rest after cooking to redistribute internal juices, keeping the meat tender and preventing dryness when you take a bite.
- Gluten-Free Option swap regular buns for lettuce wraps or gluten-free burger buns to accommodate dietary restrictions.
- Lean Meat Tip choose 80/20 ground beef for the best flavor and juiciness, avoiding overly lean meat that can become dry and bland.
- Prep Time: 10 minutes
- Cook Time: 10 minutes
- Category: Lunch, Dinner, Snacks
- Method: Frying
- Cuisine: American
Nutrition
- Serving Size: 4
- Calories: 250
- Sugar: 1g
- Sodium: 75mg
- Fat: 18g
- Saturated Fat: 7g
- Unsaturated Fat: 9g
- Trans Fat: 0g
- Carbohydrates: 2g
- Fiber: 0g
- Protein: 20g
- Cholesterol: 70mg


Marcus Reed
Founder & Food Content Creator
Expertise
Single-recipe development, Seasonal and local ingredient utilization, Food photography and styling, Culinary writing and content creation
Education
Culinary Arts Certificate, Blue Ridge Community and Technical College, WV
Focus: Fundamentals of culinary techniques, emphasizing hands-on experience in small-scale kitchen settings.
Marcus’s story begins in Asheville, where good food and family kitchens shaped his earliest memories. After hands-on culinary training and a lot of trial (and a little error), he realized that real cooking isn’t about perfection, it’s about connection.
At Pan and Oven, Marcus crafts recipes that are easy to follow, packed with flavor, and built for real kitchens.