
The Perfect Baked Sweet and Sour Chicken Recipe for Family Dinners
Sweet meets tangy in this mouthwatering baked sweet and sour chicken that promises restaurant-quality flavor right from your home kitchen.
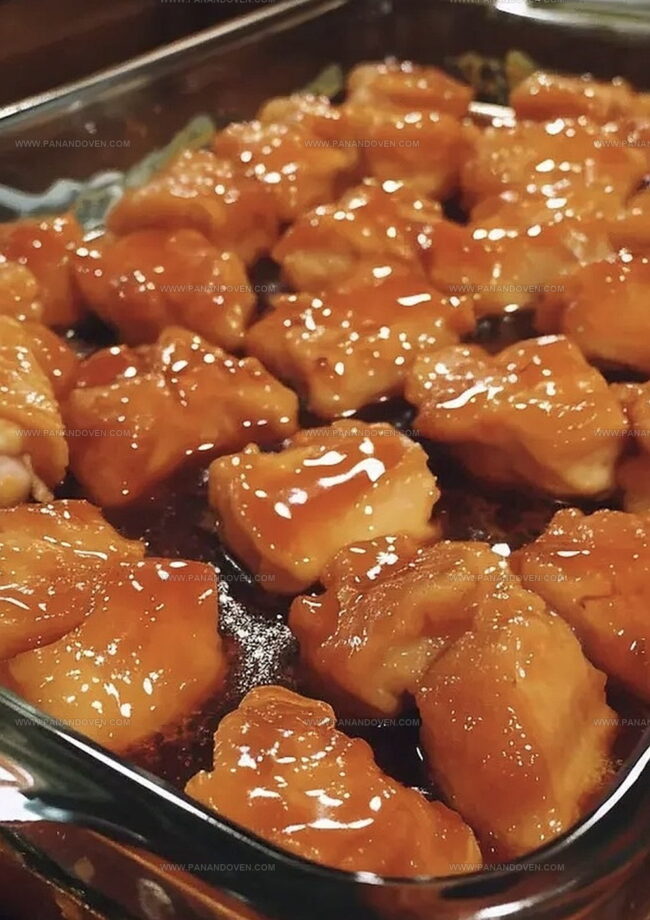
Succulent chicken pieces nestle in a glossy, vibrant sauce that balances sugary sweetness with zesty brightness.
Each bite delivers a perfect harmony of flavors that dance across your palate with delightful complexity.
The golden-brown chicken emerges from the oven crisp and tender, coated in a sauce that clings beautifully to every morsel.
Home cooks can easily recreate this classic dish without the greasy mess of deep-frying.
The recipe transforms simple ingredients into an impressive meal that will have everyone asking for seconds.
Prepare to be amazed by how simple yet spectacular this dinner can be.
Baked Sweet and Sour Chicken: Tangy Takeout At Home
Sweet & Sour Chicken Ingredient Rundown
Main Protein:Coating Ingredients:Sauce Ingredients:Cooking Ingredients:Baking Tools For Saucy Chicken
Making Crispy, Tangy Chicken At Home
Step 1: Warm Up the Oven
Crank the oven to a cozy 325F.
Grab a 13 x 9-inch pan and line it with parchment paper, creating a perfect cooking surface.
Step 2: Dress the Chicken
Season chicken breasts with a sprinkle of salt and pepper.
Pour cornstarch into a large ziplock bag, then tumble in the chicken.
Give it a good shake to create a powdery coating.
Step 3: Whip the Eggs
Crack eggs into a shallow bowl and whisk them until they’re smooth and well-combined.
Step 4: Golden Sear
Fire up a skillet with oil over medium-high heat until it’s dancing and sizzling.
Dunk each chicken breast into the egg mixture, then carefully place them in the hot skillet.
Sear until they turn a beautiful golden brown.
Transfer the seared chicken to the prepared pan.
Step 5: Craft the Magical Sauce
In a medium bowl, mix together:Whisk these ingredients until they become a harmonious blend of sweet and tangy goodness.
Step 6: Bake to Perfection
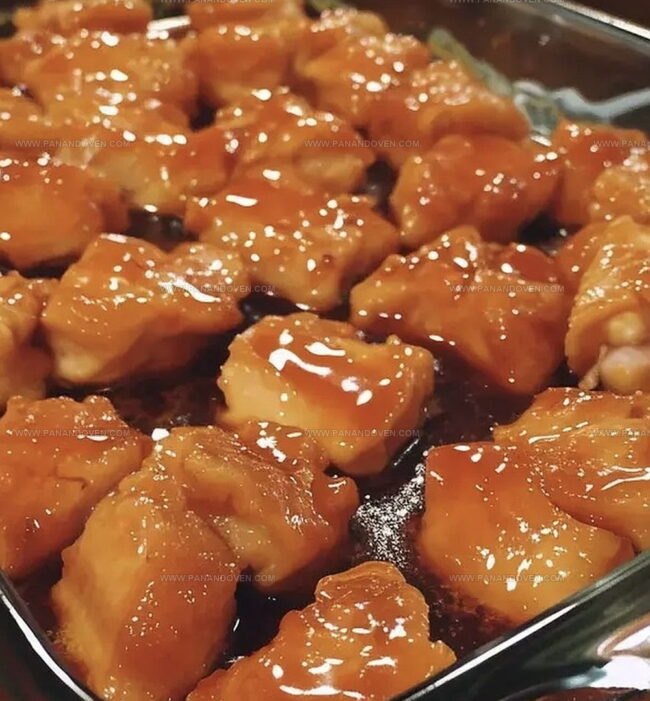
Pour the sauce generously over the chicken.
Slide the pan into the oven and bake for one hour.
Halfway through, give the chicken a gentle toss to ensure even coating.
Serve alongside fluffy rice for a complete meal that’ll make taste buds dance.
Tips For Sticky, Flavorful Chicken
Sweet & Sour Swaps & Veggie Ideas
Serving Sweet And Sour Chicken Hot
Storing Sweet And Sour Chicken
FAQs
Cornstarch creates a crispy exterior and helps the egg coating stick better to the chicken, ensuring a golden, crunchy texture when seared.
Yes, chicken thighs work well in this recipe. They tend to be more flavorful and juicy, but you’ll need to adjust cooking time slightly to ensure they’re fully cooked.
Reduce the sugar amount or substitute with honey for a more balanced sweetness. You can also add a bit more vinegar to cut through the sweetness and create a tangier flavor profile.
Print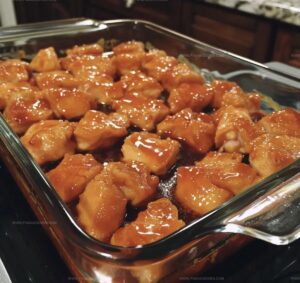
Baked Sweet and Sour Chicken Recipe
- Total Time: 1 hour 20 minutes
- Yield: 4 1x
Description
Homemade sweet and sour chicken blends crispy breaded chicken with a tangy sauce from Chinese-American cuisine. Delightful flavors combine perfectly, offering you a restaurant-quality meal made easily at home.
Ingredients
Main Protein:
- 4 boneless skinless chicken breasts, cut into 1-inch (2.5 cm) pieces
Coating Ingredients:
- 1 cup corn starch
- 2 large eggs
- 1/4 cup (60 ml) vegetable oil
Sauce Ingredients:
- 1/2 cup (100 g) granulated sugar
- 1/4 cup (60 ml) ketchup
- 1/2 cup (120 ml) apple cider vinegar
- 2 tablespoons (30 ml) soy sauce
- 1 teaspoon garlic powder
- 1/2 teaspoon sea salt
Instructions
- Preheat the oven to 325°F and line a 13 x 9-inch baking dish with parchment paper, ensuring complete coverage for easy cleanup.
- Season chicken breasts with salt and pepper, then place cornstarch in a large ziplock bag. Thoroughly coat each chicken piece by shaking the bag vigorously.
- Whisk eggs in a shallow bowl until well blended and smooth.
- Heat oil in a skillet over medium-high heat until it shimmers. Dip each cornstarch-coated chicken piece into the beaten eggs, then carefully place in the hot skillet.
- Sear chicken until golden brown on both sides, creating a crispy exterior that will help retain moisture during baking.
- Transfer seared chicken to the prepared baking dish, arranging pieces in a single layer.
- Combine sugar, ketchup, vinegar, soy sauce, garlic powder, and sea salt in a medium bowl. Whisk thoroughly until the sauce is completely integrated and smooth.
- Pour the sauce evenly over the chicken, ensuring each piece is well-coated.
- Bake for 1 hour, carefully turning the chicken halfway through to promote even cooking and sauce distribution.
- Remove from oven and let rest for 5 minutes before serving alongside steamed rice.
Notes
- Swap cornstarch with almond flour or gluten-free flour blend for a low-carb or gluten-free version of the dish.
- Reduce sugar content by using honey or maple syrup as alternative sweeteners for a healthier twist.
- Marinate chicken in the sauce for extra flavor absorption before baking to enhance the overall taste profile.
- Use boneless, skinless chicken thighs instead of breasts for a more tender and juicy result that stays moist during baking.
- Prep Time: 20 minutes
- Cook Time: 1 hour
- Category: Dinner, Appetizer, Snacks
- Method: Baking
- Cuisine: Chinese
Nutrition
- Serving Size: 4
- Calories: 532
- Sugar: 24 g
- Sodium: 400 mg
- Fat: 20 g
- Saturated Fat: 3 g
- Unsaturated Fat: 15 g
- Trans Fat: 0 g
- Carbohydrates: 62 g
- Fiber: 0 g
- Protein: 27 g
- Cholesterol: 186 mg
Marcus Reed
Founder & Food Content Creator
Expertise
Single-recipe development, Seasonal and local ingredient utilization, Food photography and styling, Culinary writing and content creation
Education
Culinary Arts Certificate, Blue Ridge Community and Technical College, WV
Focus: Fundamentals of culinary techniques, emphasizing hands-on experience in small-scale kitchen settings.
Marcus’s story begins in Asheville, where good food and family kitchens shaped his earliest memories. After hands-on culinary training and a lot of trial (and a little error), he realized that real cooking isn’t about perfection, it’s about connection.
At Pan and Oven, Marcus crafts recipes that are easy to follow, packed with flavor, and built for real kitchens.