The Perfect Baked Chicken Chimichangas Recipe for Taco Tuesday
Crispy, golden baked chicken chimichangas bring a delightful twist to traditional Mexican cuisine.
These mouthwatering parcels pack a punch of flavor without the deep-fried guilt.
Tender shredded chicken nestles inside warm tortillas, creating a perfect balance of textures and tastes.
Every bite promises a delectable combination of spices and savory filling.
The baking method ensures a satisfying crunch while keeping the meal lighter and healthier.
Melted cheese and zesty seasonings transform simple ingredients into an extraordinary meal.
Serve these chimichangas for a crowd-pleasing dinner that will have everyone asking for seconds.
Baked Chicken Chimichangas: Why They’re a Weeknight Hit
What You’ll Need for Baked Chicken Chimichangas
Main Ingredients:Seasoning and Flavor Enhancers:Baking and Serving Ingredients:Handy Kitchen Tools for Chimichanga Success
How to Bake Flavorful Chicken Chimichangas
Step 1: Whip Up Cheesy Base
In a mixing bowl, blend cream cheese, Pepperjack cheese, and taco seasoning until smooth and creamy.
The combination creates a rich, flavorful foundation for your chimichangas.
Step 2: Fold In Savory Chicken
Gently incorporate shredded cooked chicken into the cheese mixture, ensuring every bite will be packed with delicious protein and flavor.
Step 3: Wrap And Prepare
Distribute the chicken cheese mixture evenly across tortillas.
Carefully fold in sides and roll each tortilla into a neat package, sealing in all the delectable ingredients.
Step 4: Prep The Oven
Fire up your oven to 350°F (175°C).
Lightly coat a 9×13-inch baking dish with cooking spray to prevent sticking.
Step 5: Position Chimichangas
Arrange rolled chimichangas seam-side down in the prepared baking dish.
Spritz the tops of tortillas with cooking spray for extra golden crispiness.
Step 6: Bake To Perfection
Slide the baking dish into the preheated oven.
Bake for 15 minutes, then carefully flip each chimichanga.
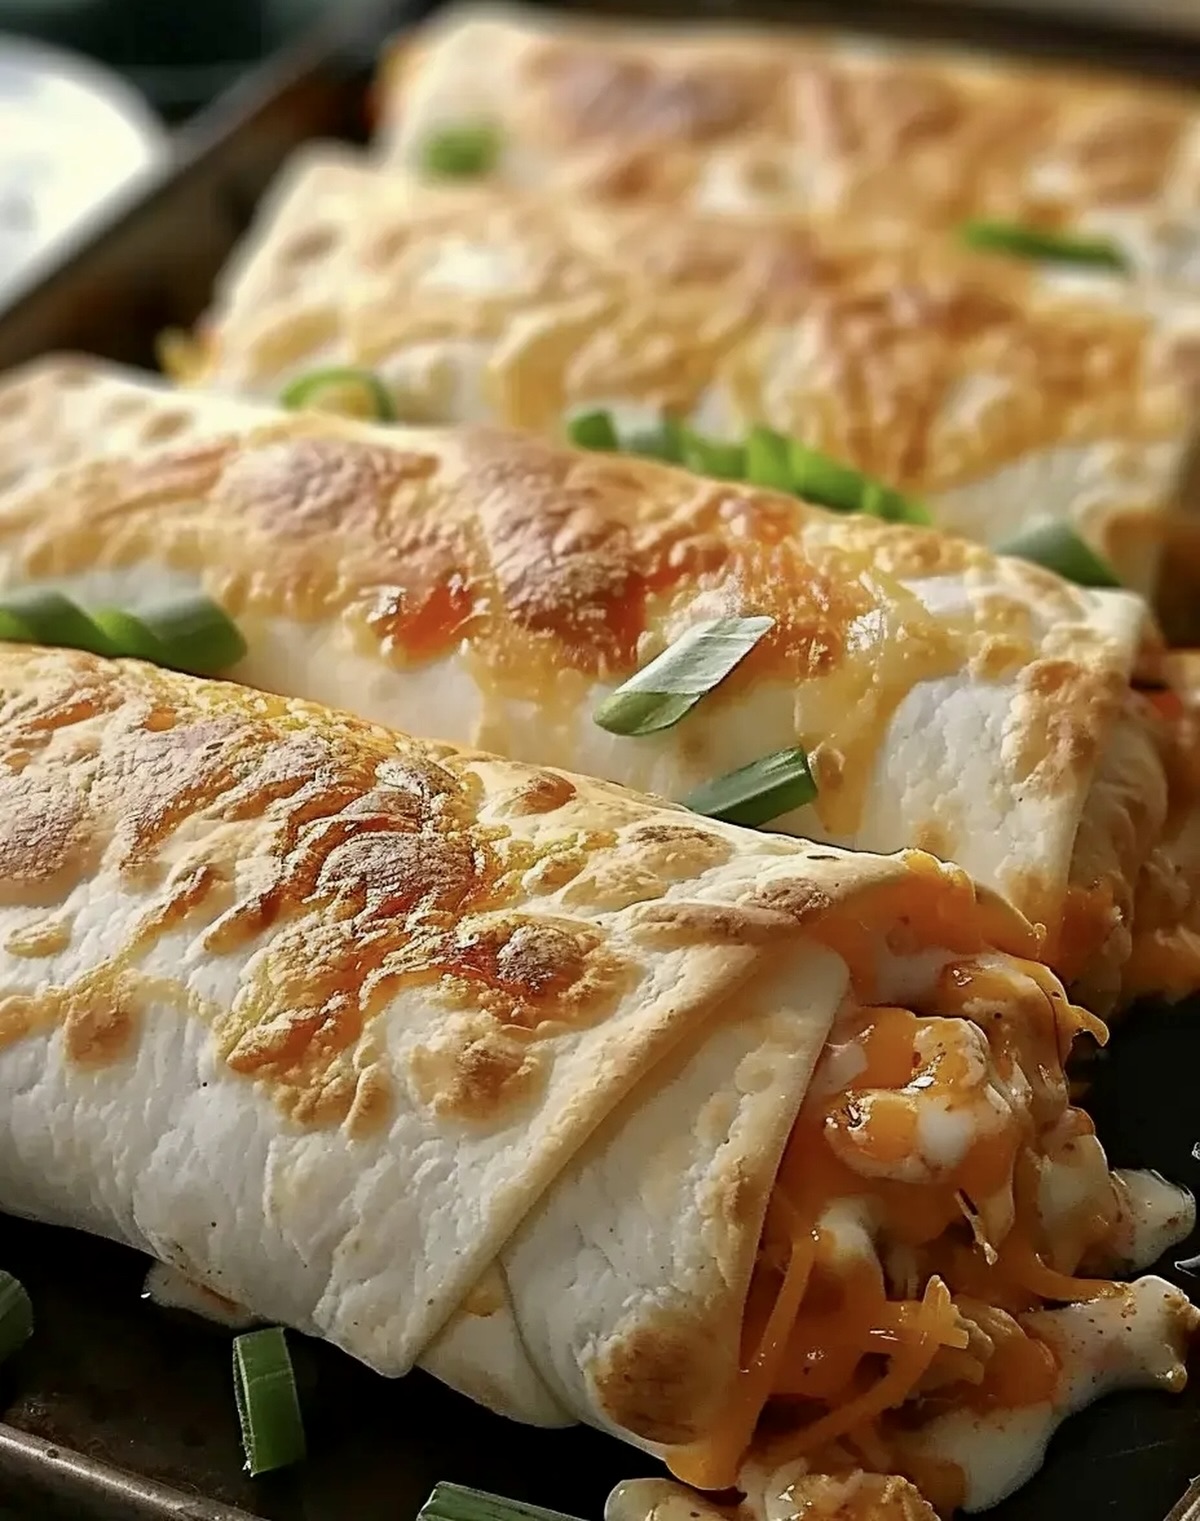
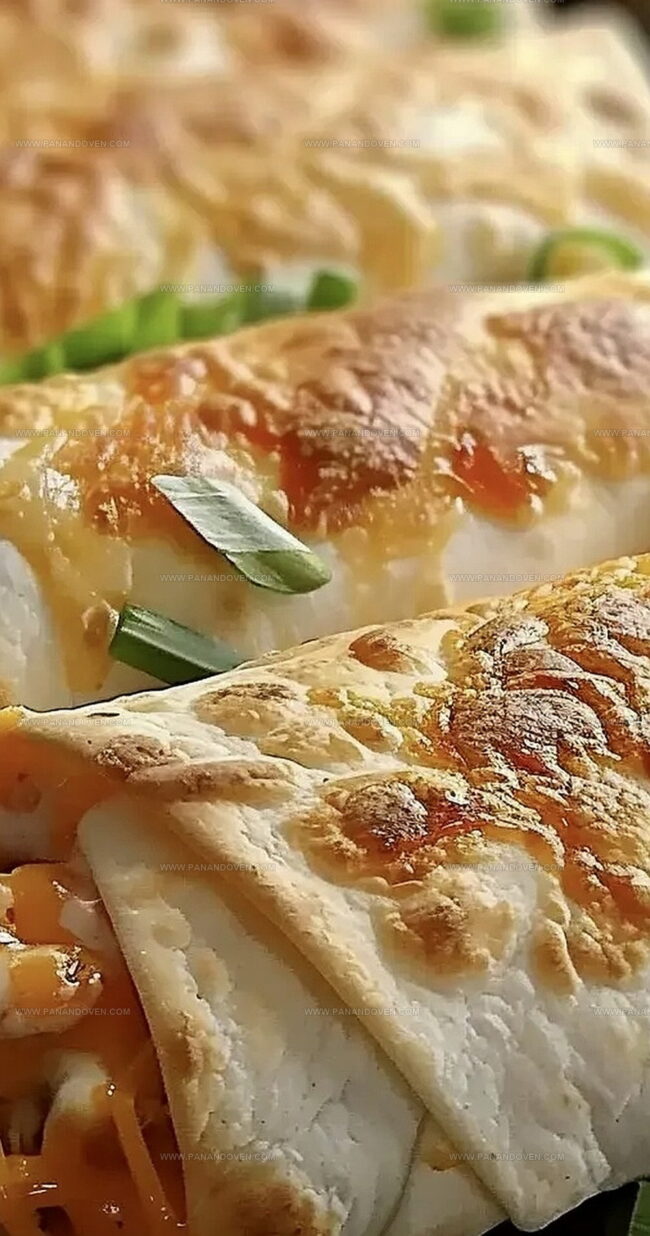
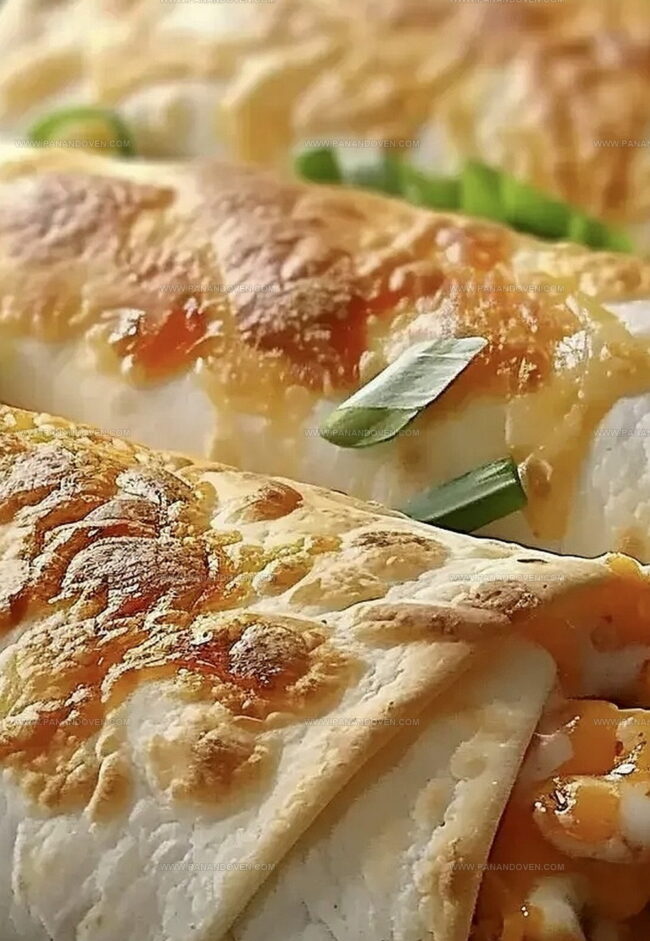
Continue baking for another 15 minutes until they turn beautifully golden and crisp.
Step 7: Dress And Serve
Pull the chimichangas from the oven.
Plate immediately and top with:Enjoy your sizzling, crispy creation!
Tricks for Crispy, Golden Chicken Chimichangas
Chimichanga Filling Variations to Explore
Serving Ideas for Baked Chicken Chimichangas
Storing Chimichangas for the Next Day
FAQs
Yes, rotisserie chicken works perfectly and saves time. Just shred the meat and mix it with the cheese and seasoning.
Add some diced jalapeños to the chicken mixture or use a hot taco seasoning blend to increase the heat level.
Substitute with monterey jack or cheddar cheese. The key is using a cheese that melts well and adds good flavor.
You can assemble the chimichangas earlier in the day and refrigerate them. Just bake when ready to serve, adding a few extra minutes to the cooking time.
Print
Baked Chicken Chimichangas Recipe
- Total Time: 50 minutes
- Yield: 4 1x
Description
Savory baked chicken chimichangas offer a healthier twist on the classic Mexican dish. Crispy tortillas filled with tender chicken and melted cheese provide a delightful meal you can easily prepare at home.
Ingredients
Protein:
- 1 lb cooked chicken, shredded
Cheese:
- 8 oz (226 grams) cream cheese
- 8 oz (226 grams) pepperjack cheese, shredded
- Shredded cheddar cheese (for garnish)
Additional Ingredients:
- 8 flour tortillas
- 1.5 tablespoons taco seasoning
- Cooking spray
Garnish and Serving:
- Green onions, sliced
- Sour cream
- Salsa
Instructions
- In a mixing bowl, blend cream cheese, Pepperjack cheese, and taco seasoning until smooth and uniform.
- Incorporate shredded cooked chicken into the cheese mixture, ensuring even distribution.
- Allocate the chicken-cheese blend evenly across flour tortillas, carefully folding edges and rolling each to create sealed packets.
- Heat oven to 350°F and prepare a 9×13-inch baking dish with cooking spray to prevent sticking.
- Position rolled chimichangas seam-side down in the prepared dish, lightly misting tortilla surfaces with cooking spray for enhanced crispiness.
- Bake for 15 minutes, then gently flip each chimichanga and continue baking for another 15 minutes until exterior turns golden brown and crisp.
- Extract chimichangas from oven and plate immediately, complementing with optional garnishes like shredded cheddar, sliced green onions, sour cream, and salsa for added flavor and visual appeal.
Notes
- Choose lean chicken breast for a healthier version, which reduces overall fat content while maintaining delicious flavor profile.
- Experiment with whole wheat tortillas to boost fiber intake and create a more nutritious meal option.
- Swap dairy ingredients with plant-based alternatives like vegan cream cheese and dairy-free cheese for lactose-intolerant or vegan dietary needs.
- Prep extra filling and freeze for quick future meals, allowing convenient batch cooking and meal planning convenience.
- Prep Time: 20 minutes
- Cook Time: 30 minutes
- Category: Dinner, Snacks
- Method: Baking
- Cuisine: Mexican
Nutrition
- Serving Size: 4
- Calories: 550
- Sugar: 2 g
- Sodium: 800 mg
- Fat: 30 g
- Saturated Fat: 15 g
- Unsaturated Fat: 10 g
- Trans Fat: 0 g
- Carbohydrates: 40 g
- Fiber: 2 g
- Protein: 35 g
- Cholesterol: 100 mg
Marcus Reed
Founder & Food Content Creator
Expertise
Single-recipe development, Seasonal and local ingredient utilization, Food photography and styling, Culinary writing and content creation
Education
Culinary Arts Certificate, Blue Ridge Community and Technical College, WV
Focus: Fundamentals of culinary techniques, emphasizing hands-on experience in small-scale kitchen settings.
Marcus’s story begins in Asheville, where good food and family kitchens shaped his earliest memories. After hands-on culinary training and a lot of trial (and a little error), he realized that real cooking isn’t about perfection, it’s about connection.
At Pan and Oven, Marcus crafts recipes that are easy to follow, packed with flavor, and built for real kitchens.