Irresistible Bacon Cheeseburger Bombs with Dipping Sauce Recipe
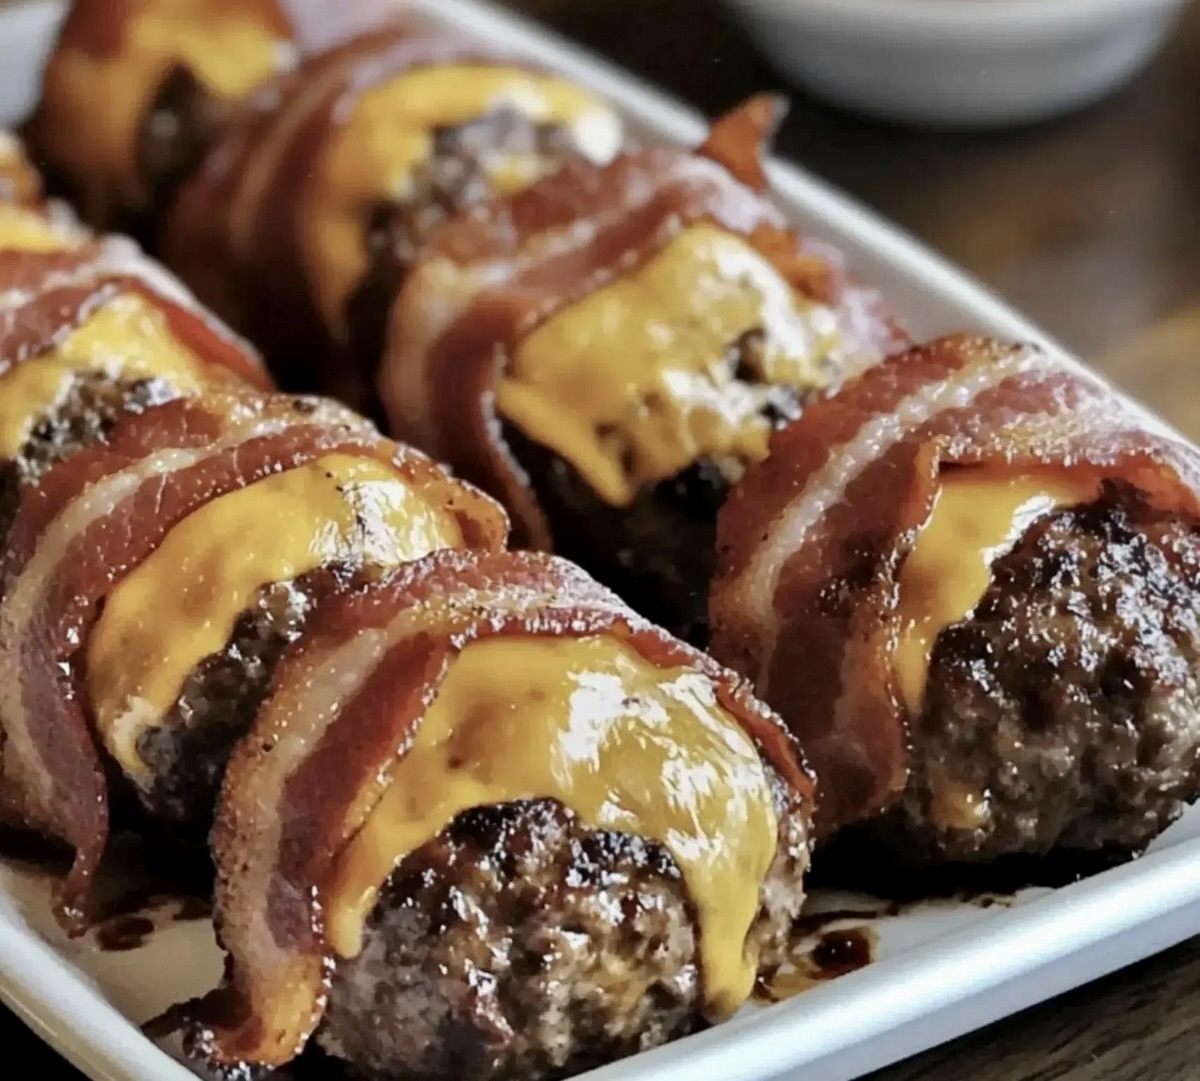
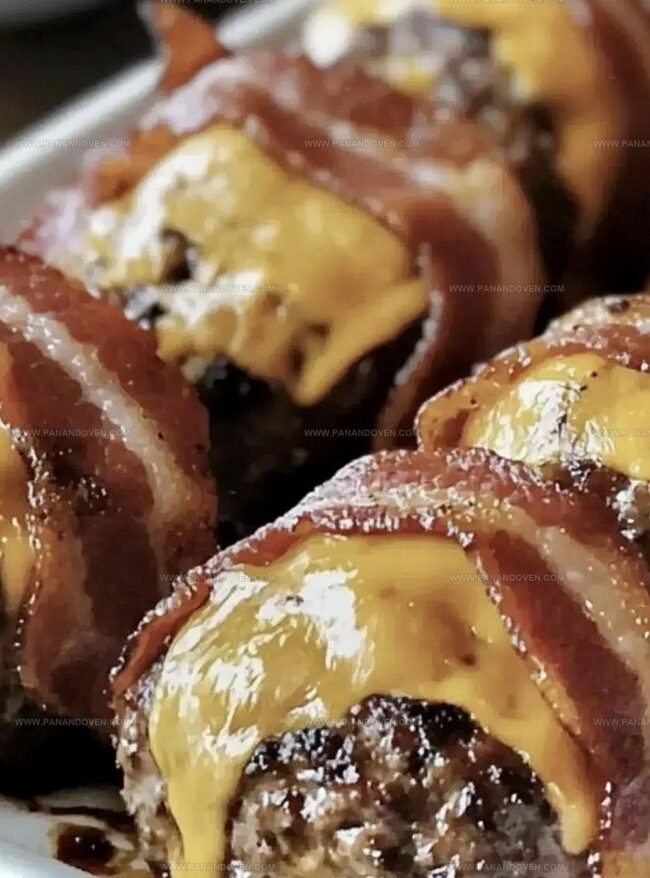
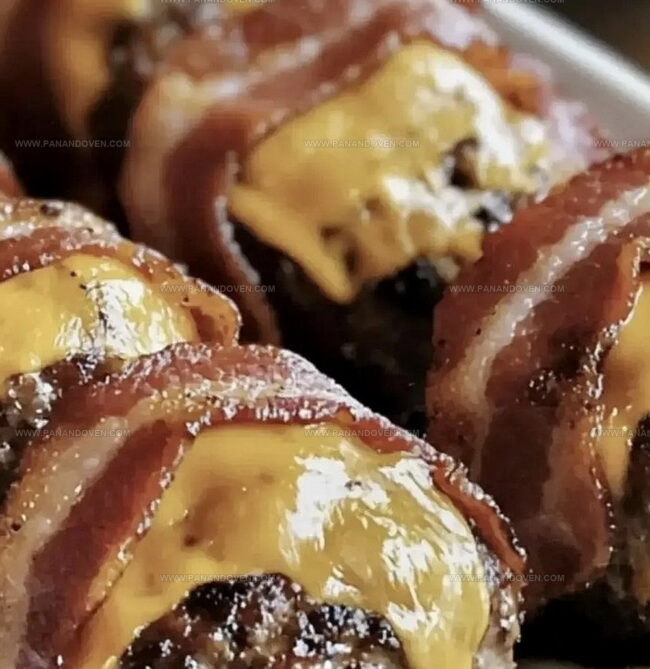
Bursting with flavor, these delectable bacon cheeseburger bombs pack an irresistible punch of savory goodness.
Ground beef sizzles alongside crispy bacon bits in a mouthwatering combination that screams comfort food.
Soft, golden dough wraps around melted cheese and seasoned meat, creating a handheld delight that will make taste buds dance.
Each bite delivers a perfect blend of rich, smoky elements that satisfy deep hunger cravings.
Crispy on the outside and juicy on the inside, these bombs elevate classic burger flavors into an exciting appetizer.
The accompanying creamy dipping sauce adds an extra layer of deliciousness that transforms this dish from simple to spectacular.
Everyone at the table will be reaching for seconds of these irresistible bacon cheeseburger bombs.
Bacon Cheeseburger Bombs: Snack Explosion!
Loaded Ingredients For Cheeseburger Bombs That Wow
Protein Base:Seasoning Blend:Dipping Sauce Components:Must-Have Tools For Shaping The Perfect Bombs
How To Craft Gooey Bacon Cheeseburger Bombs
Step 1: Preheat Cooking Surface
Heat your grill or oven to 375°F (190°C) to ensure a perfect cooking environment for your delicious bombs.
Step 2: Blend Burger Mixture
In a large mixing bowl, combine ground beef with:Gently mix ingredients without overworking the meat to maintain tenderness.
Step 3: Shape Meat Portions
Divide the seasoned beef into 12 equal portions.
Carefully flatten each portion into a small, uniform patty using your hands.
Step 4: Create Cheesy Centers
Place a single chunk of cheddar cheese in the middle of each meat patty.
Carefully fold the beef around the cheese, sealing it completely to form a compact ball.
Step 5: Wrap With Crispy Bacon
Encase each beef ball with a slice of bacon, ensuring full coverage.
Secure the bacon using toothpicks to prevent unraveling during cooking.
Step 6: Cook to Perfection
Grill or bake the bacon-wrapped bombs for 25-30 minutes.
Cook until bacon turns crispy and golden, and beef reaches a safe internal temperature.
Step 7: Whip Up Tangy Dipping Sauce
In a separate bowl, combine:Whisk ingredients until smooth and well-integrated.
Step 8: Serve and Enjoy
Transfer the hot bacon cheeseburger bombs to a serving platter.
Accompany with the homemade thousand island dressing for dipping.
Bon appétit!
Tricks For Getting Crispy, Cheesy Bombs Every Time
Fun Cheeseburger Bomb Flavors For Snack Lovers
Creative Dipping And Serving Styles For Bombs
How To Keep Cheeseburger Bombs Deliciously Warm
FAQs
Use a meat thermometer to check that the internal temperature of the beef reaches 160°F (71°C), which ensures the meat is safely cooked through while keeping the cheese melted inside.
Yes, you can assemble the bacon cheeseburger bombs up to 24 hours in advance. Keep them covered in the refrigerator and cook just before serving to maintain their fresh taste and crispy texture.
No problem! These bacon cheeseburger bombs work perfectly in an oven. Just place them on a baking sheet with a wire rack to allow excess fat to drip away and ensure crispy bacon.
Print
Bacon Cheeseburger Bombs with Dipping Sauce Recipe
- Total Time: 50 minutes
- Yield: 6 1x
Description
Crispy bacon cheeseburger bombs offer a delightful twist on classic burger flavors. Ground beef, melted cheese, and crumbled bacon create an irresistible handheld treat you’ll savor with zesty dipping sauce.
Ingredients
Main Ingredients:
- 1 pound (454 grams) ground beef
- 12 slices bacon
- 8 ounces (226 grams) cheddar cheese, cut into cubes
Seasonings:
- 1 teaspoon salt
- 1/2 teaspoon black pepper
- 1/2 teaspoon garlic powder
- 1/2 teaspoon onion powder
- 1 toothpick (for securing bacon)
Dipping Sauce:
- 1/2 cup mayonnaise
- 2 tablespoons ketchup
- 2 tablespoons sweet pickle relish
- 1 teaspoon white vinegar
- 1 teaspoon sugar
- 1/4 teaspoon salt
- 1/4 teaspoon paprika
Instructions
- Preheat the cooking surface to 375°F (190°C), ensuring even heat distribution for optimal cooking.
- Combine ground beef with a blend of salt, pepper, garlic powder, and onion powder, mixing thoroughly to distribute seasonings evenly.
- Carefully divide the seasoned beef into 12 uniform portions, gently flattening each into a thin, consistent patty.
- Position a single cube of cheddar cheese at the center of each patty, then delicately encase the cheese by folding the beef around it, creating a compact ball.
- Meticulously wrap each beef sphere with a slice of bacon, securing the covering with a toothpick to maintain structural integrity.
- Cook the bacon-wrapped beef bombs for 25-30 minutes, rotating occasionally to ensure crispy bacon and fully cooked meat throughout.
- Craft the dipping sauce by whisking together mayonnaise, ketchup, relish, vinegar, sugar, salt, and paprika until smooth and well-integrated.
- Transfer the sizzling bacon cheeseburger bombs to a serving platter, accompanied by the freshly prepared thousand island dressing for an indulgent dipping experience.
Notes
- Make sure ground beef is cold when forming patties to help them hold shape better.
- Use thick-cut bacon for maximum crispiness and better coverage around the beef balls.
- Choose sharp cheddar cheese for more intense flavor that melts perfectly inside the bombs.
- Pat ground beef dry with paper towels before seasoning to ensure better meat texture and prevent excess moisture.
- For gluten-free option, skip breadcrumbs and use almond flour or crushed pork rinds as binding alternative.
- Experiment with different cheese varieties like pepper jack or smoked gouda for unique flavor profiles.
- Allow meat to rest at room temperature for 15 minutes before cooking to ensure even internal temperature.
- Use a meat thermometer to check internal beef temperature reaches 160°F for food safety.
- Prep Time: 20 minutes
- Cook Time: 30 minutes
- Category: Appetizer, Snacks, Dinner
- Method: Grilling
- Cuisine: American
Nutrition
- Serving Size: 6
- Calories: 570 kcal
- Sugar: 2 g
- Sodium: 910 mg
- Fat: 42 g
- Saturated Fat: 16 g
- Unsaturated Fat: 20 g
- Trans Fat: 1 g
- Carbohydrates: 6 g
- Fiber: 0 g
- Protein: 36 g
- Cholesterol: 100 mg
Marcus Reed
Founder & Food Content Creator
Expertise
Single-recipe development, Seasonal and local ingredient utilization, Food photography and styling, Culinary writing and content creation
Education
Culinary Arts Certificate, Blue Ridge Community and Technical College, WV
Focus: Fundamentals of culinary techniques, emphasizing hands-on experience in small-scale kitchen settings.
Marcus’s story begins in Asheville, where good food and family kitchens shaped his earliest memories. After hands-on culinary training and a lot of trial (and a little error), he realized that real cooking isn’t about perfection, it’s about connection.
At Pan and Oven, Marcus crafts recipes that are easy to follow, packed with flavor, and built for real kitchens.