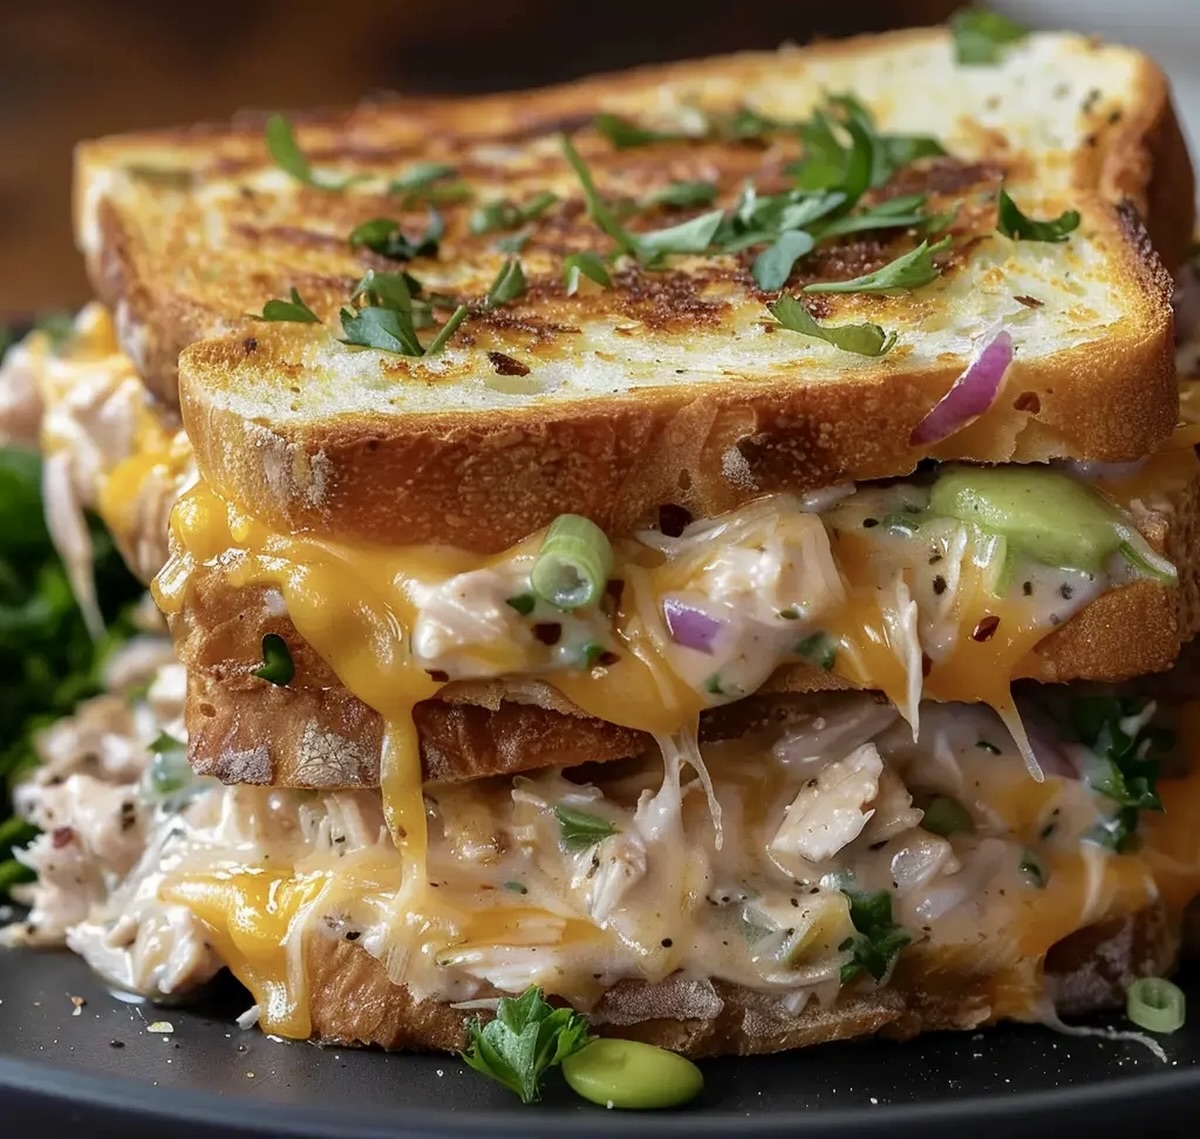
The Best Air Fryer Tuna Melts Recipe for Crispy, Golden Perfection
Crispy bread and gooey cheese come together in a mouthwatering air fryer tuna melts that redefine comfort food.
This quick and easy recipe turns ordinary ingredients into an extraordinary lunch or dinner.
tuna packed with flavor combines perfectly with melted cheese on golden-brown bread.
The air fryer works magic, creating a crisp exterior while keeping the inside tender and delicious.
Every bite delivers a satisfying crunch and rich, creamy texture that’ll have you coming back for more.
Packed with protein and incredibly simple to prepare, these tuna melts are a game-changer for busy weeknight meals.
Grab a plate and get ready to enjoy a classic sandwich with a modern, crispy twist.
Air Fryer Tuna Melts: Crispy, Cheesy, Totally Irresistible
The Essentials For Classic Tuna Melts With A Twist
Main Ingredients:Vegetable Ingredients:Seasoning and Binding Ingredients:Tools Needed To Air Fry Tuna Melts To Perfection
Steps To Make Tuna Melts Crispy On The Outside, Gooey Inside
Step 1: Preheat Air Fryer
Heat your air fryer to 375F (190C) for a quick 3-5 minutes to ensure it’s ready for perfectly crispy sandwiches.
Step 2: Create Tuna Filling
Grab a mixing bowl and combine the following ingredients:Mix everything thoroughly until the ingredients are well blended and create a delicious tuna salad.
Step 3: Prepare Bread
Take your bread slices and generously spread butter on the outer sides of each piece.
This will help create a golden, crispy exterior when cooked.
Step 4: Build Sandwich
Layer the sandwiches by spreading the tuna mixture on one slice of bread.
Top with two slices of cheddar cheese.
Close the sandwich by placing the second slice of bread on top.
Step 5: Load Air Fryer
Carefully transfer the assembled sandwiches into the air fryer basket.
Make sure the sandwiches are not touching or overlapping to ensure even cooking.
Step 6: Cook To Perfection
Air fry the tuna melts at 375F (190C) for 5-7 minutes.
Flip the sandwiches halfway through cooking to achieve an evenly golden and crispy exterior.
The cheese should be completely melted and bubbly.
Step 7: Serve And Enjoy
Remove the tuna melts from the air fryer with care.
Let them rest for a minute to cool slightly before serving.
Slice diagonally and serve immediately while hot and crispy.
Tips For Air Frying The Perfect Tuna Melt Every Time
Variations To Switch Up Your Tuna Melt Flavors
Fun Ideas For Serving Tuna Melts Anytime
Tuna Melt Storage Tips For On-The-Go Lunches
FAQs
Yes, you can use sourdough, whole wheat, or any sturdy bread that can hold the tuna mixture and crisp up well in the air fryer.
Buttering the bread helps create a crispy, golden-brown exterior and adds extra flavor to the tuna melt. If you want to reduce calories, you can use a light spray of cooking oil instead.
Look for golden-brown, crispy bread and fully melted, bubbly cheese. The sandwich should be heated through and have a nice crunch when you bite into it.
Print
Air Fryer Tuna Melts Recipe
- Total Time: 17 minutes
- Yield: 2 1x
Description
Classic air fryer tuna melts deliver a crispy, golden-brown sandwich packed with creamy tuna and melted cheese. Comfort food enthusiasts will savor this quick, easy meal that brings restaurant-style satisfaction directly to home kitchens.
Ingredients
Main Ingredients:
- 10 ounces (283 grams) tuna, drained
- 4 slices sourdough bread or your choice
- 4 slices sharp cheddar cheese
Tuna Mixture Ingredients:
- 1/4 cup (60 milliliters) mayonnaise
- 3 tablespoons (45 milliliters) red onion, diced
- 3 tablespoons (45 milliliters) celery, diced
- 1 tablespoon (15 milliliters) chopped fresh parsley
- 1 tablespoon (15 milliliters) lemon juice
- 1 teaspoon (5 milliliters) Dijon mustard
- Salt and black pepper to taste
Cooking Ingredient:
- 1 tablespoon (15 milliliters) unsalted butter
Instructions
- Heat the air fryer to 375F (190C) for 3-5 minutes, creating an optimal cooking environment for crispy sandwiches.
- Combine drained tuna with mayonnaise, red onion, celery, parsley, lemon juice, Dijon mustard, salt, and pepper in a mixing bowl, blending ingredients thoroughly to create a cohesive tuna salad.
- Apply butter evenly across the exterior surfaces of each bread slice, ensuring complete and consistent coverage.
- Layer one slice of bread with prepared tuna mixture, then top with two slices of cheddar cheese, creating a flavor-packed sandwich base.
- Gently position the assembled sandwiches inside the air fryer basket, maintaining space between each sandwich to promote even cooking.
- Cook the sandwiches at 375F (190C) for 5-7 minutes, rotating midway through cooking to achieve golden-brown exteriors and fully melted cheese.
- Remove the tuna melts carefully from the air fryer, allowing them to rest briefly before serving to enhance texture and prevent burning.
Notes
- Customize the tuna mixture by adding chopped pickles or capers for extra tanginess and texture.
- Swap regular bread with gluten-free options to make the recipe suitable for those with gluten sensitivities.
- Use Greek yogurt instead of mayonnaise for a lighter, protein-packed alternative that reduces overall calories.
- Experiment with different cheese varieties like Swiss, provolone, or pepper jack to create unique flavor profiles.
- Prep Time: 10 minutes
- Cook Time: 7 minutes
- Category: Lunch, Dinner, Snacks
- Method: Air Frying
- Cuisine: American
Nutrition
- Serving Size: 2
- Calories: 485
- Sugar: 3 g
- Sodium: 800 mg
- Fat: 28 g
- Saturated Fat: 13 g
- Unsaturated Fat: 10 g
- Trans Fat: 0 g
- Carbohydrates: 37 g
- Fiber: 2 g
- Protein: 30 g
- Cholesterol: 75 mg
Marcus Reed
Founder & Food Content Creator
Expertise
Single-recipe development, Seasonal and local ingredient utilization, Food photography and styling, Culinary writing and content creation
Education
Culinary Arts Certificate, Blue Ridge Community and Technical College, WV
Focus: Fundamentals of culinary techniques, emphasizing hands-on experience in small-scale kitchen settings.
Marcus’s story begins in Asheville, where good food and family kitchens shaped his earliest memories. After hands-on culinary training and a lot of trial (and a little error), he realized that real cooking isn’t about perfection, it’s about connection.
At Pan and Oven, Marcus crafts recipes that are easy to follow, packed with flavor, and built for real kitchens.